bluename
The Ultimate Soil Mix Recipe for Silver Edge Spider Plants: My Loose and Breathable DIY Ratio
For years, my Silver Edge Spider Plant was just… surviving. Its iconic creamy-white edges were lackluster, growth was painfully slow, and the worst part? I’d constantly battle soggy soil after watering. The roots seemed suffocated. I tried every commercial “all-purpose” potting mix on the shelf, but nothing provided that perfect balance of moisture retention and drainage this particular cultivar craves. Frustration led me to experiment, and after countless trials, I perfected a loose and breathable DIY soil mix recipe for Silver Edge Spider Plants. This isn't just theory; it's the result of getting my hands dirty, observing for weeks, and learning from mistakes. If you want your plant to thrive, not just survive, the secret starts from the ground up.
Why Your Silver Edge Spider Plant is Begging for a Custom Soil Mix
Most generic potting soils are too dense and moisture-retentive for the thick, tuberous roots of Spider Plants, especially the variegated types like the Silver Edge. These roots act as water reservoirs, making them prone to rot in compacted, slow-drying mediums. The Royal Horticultural Society (RHS) emphasizes that good drainage is "crucial" for preventing root rot in potted plants, a principle that is doubly important for succulents and plants with similar low tolerance for "wet feet."
A loose, well-aerated potting medium does more than just drain water. It allows oxygen to reach the roots, fuels healthy growth, and supports the robust root system needed for producing those coveted plantlets or "spiderettes." My goal was to create a mix that mimics the well-draining conditions these plants love, providing a stable foundation for vibrant variegation and prolific growth.
My Tested & Proven DIY Soil Ratio for Spider Plants
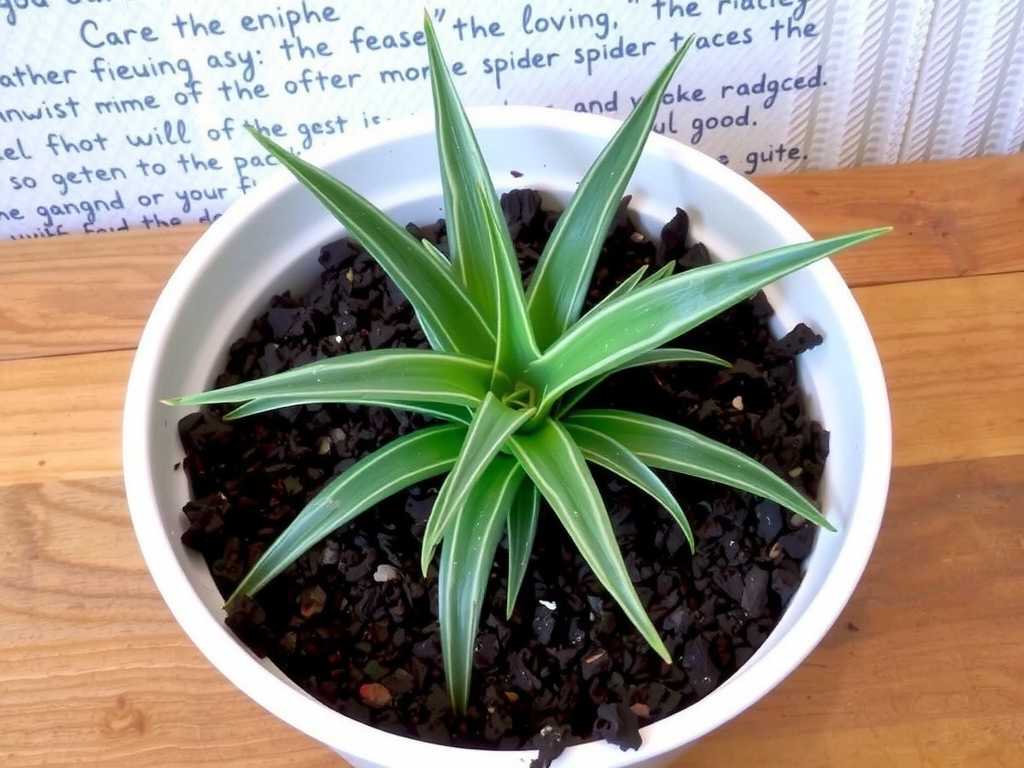
After consulting resources from the American Horticultural Society (AHA) on soil structure and blending advice from experienced growers, I landed on a simple, effective 3-part recipe. It prioritizes structure, aeration, and slight moisture retention.
The Ingredients:
- 2 parts All-Purpose Potting Soil: This forms the base, providing some nutrients and fine matter. Choose a reliable, peat or coir-based mix without added moisture-retaining crystals.
- 1 part Perlite: This is the non-negotiable ingredient for breathable plant soil. These white, porous granules create essential air pockets, prevent compaction, and dramatically improve drainage. For an even looser mix, you can increase this portion slightly.
- 1 part Orchid Bark (Small/Medium Grade): This is the magic component for loose soil for indoor plants. The chunky bark pieces create long-lasting structure, ensure the mix doesn't break down quickly, and further enhance drainage and airflow around the roots.
Optional but Recommended: A handful of horticultural charcoal per gallon of mix. It helps to absorb impurities and can mildly sweeten the soil, discouraging fungal growth.
Step-by-Step: How I Mixed and Repotted My Plant
1. Gathering and Prepping: I laid out all my ingredients on a large tarp in a well-ventilated area (perlite dust is best not inhaled). I moistened the potting soil slightly to control dust. The orchid bark was ready to use straight from the bag.
2. The Mixing Process: Using a small bucket as my "part" measure, I combined two scoops of potting soil, one scoop of perlite, and one scoop of orchid bark. I mixed them thoroughly with my hands, breaking up any clumps until the components were evenly distributed. The visual and textural change was immediate—light, chunky, and clearly airy.
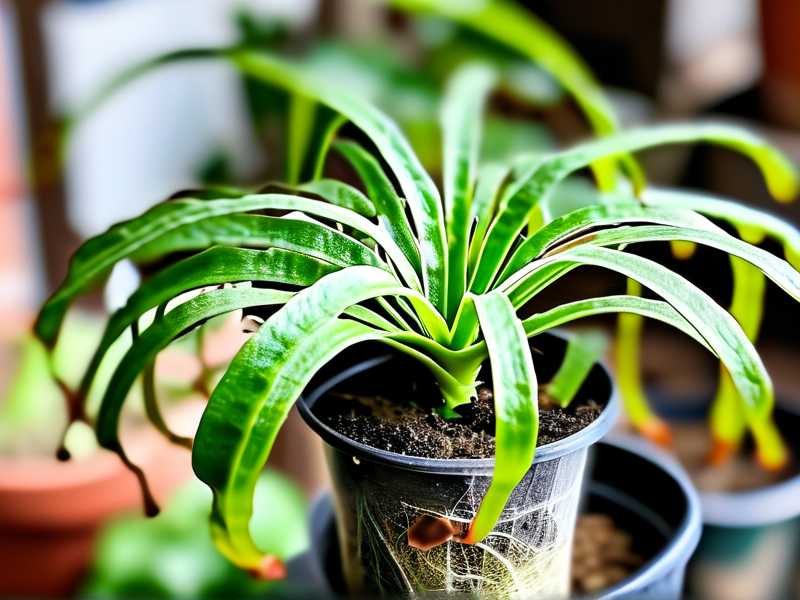
3. The Repotting: I gently removed my Silver Edge from its old, soggy soil, carefully teasing apart the dense root ball. I was met with a few brown, mushy roots—confirming my drainage suspicions. Using clean scissors, I pruned these away. I placed a layer of the new mix in the bottom of a clean pot with a drainage hole, set the plant in, and filled around the sides, gently tamping to settle. I did not pack it down tightly. Finally, I gave it a thorough watering until it ran freely from the drainage hole, which it did remarkably quickly—a great first sign.
The 2-Week Observation: From Stagnant to Spectacular
The transformation wasn't overnight, but the progression was clear and measurable.
Week 1: The most immediate change was in watering dynamics. The soil surface dried noticeably faster than before, but the lower layer retained a slight, pleasant dampness. The plant showed no signs of transplant shock or wilting; instead, the existing leaves seemed perkier. There was zero odor of dampness from the pot—a common issue I had before.
Week 2: This is when new growth became evident. I spotted not one, but two new, bright green shoots emerging from the center of the plant. Their variegation was strikingly crisp, with the white edges clearly defined against the green. The existing foliage looked healthier, with less browning on the very tips. The true test came with the next watering: water absorption was even, and drainage remained instantaneous, with no pooling on the saucer. The DIY soil ratio for Chlorophytum was demonstrably working.
The Pitfalls I Encountered (And How You Can Avoid Them)
My journey to this perfect mix wasn't without hiccooks. Here’s what went wrong initially and how I fixed it.
Pitfall 1: The "Too Dense" Mix. My first attempt used only potting soil and a little sand. It compacted over time, becoming a hard, water-repellent block. The roots were starved of air.
- Solution: I abandoned sand for indoor mixes. Introducing orchid bark was the game-changer, providing permanent, chunkier aeration that doesn't degrade or compact like sand can.
Pitfall 2: Overdoing the "Lightness." In another trial, I used mostly coconut coir and perlite. While incredibly loose and breathable, it dried out too quickly, requiring frequent watering and stressing the plant.
- Solution: Reintroducing a quality potting soil as the base (2 parts) provided the necessary slight moisture retention and a steady, slow release of nutrients, creating a balanced environment for the roots.
Pitfall 3: Ignoring the Pot.
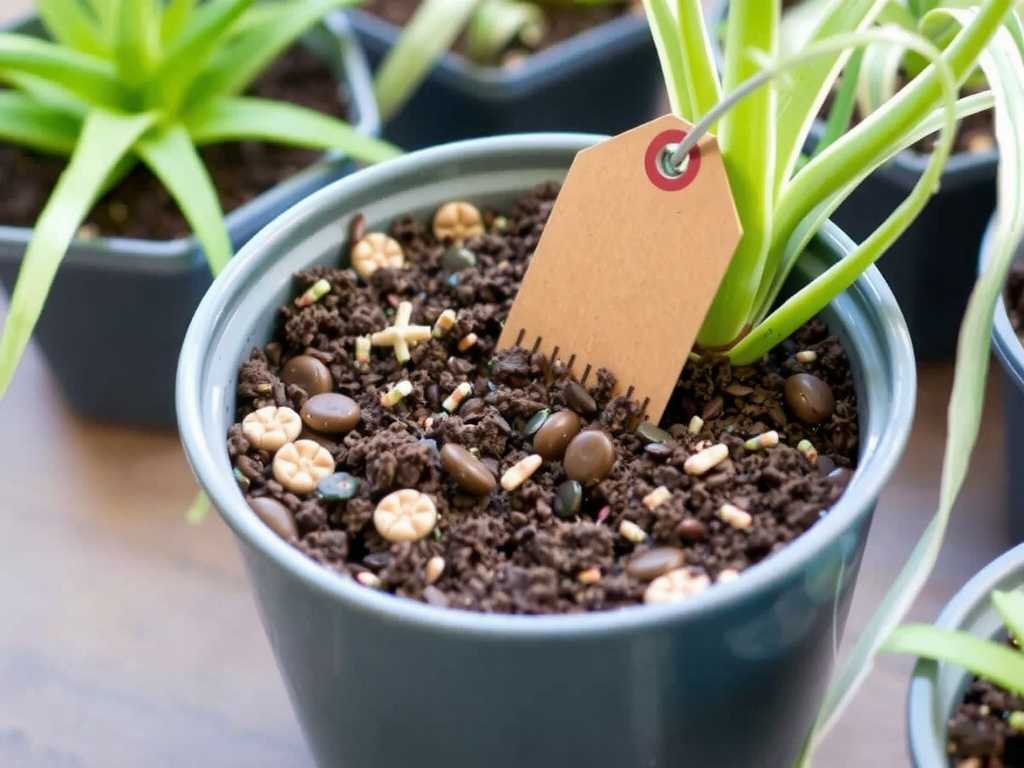
- Solution: The best soil mix is defeated by a pot without a drainage hole. Always use a container with at least one hole. I also learned that a pot only 1-2 inches larger in diameter than the root ball is ideal; too large a pot holds excess wet soil, undermining the mix's drainage properties.
Frequently Asked Questions
Can I use cactus/succulent mix for my Silver Edge Spider Plant? You can, and it's a decent store-bought alternative due to its good drainage. However, I find many commercial cactus mixes can still be too fine. I often "boost" them by adding an extra handful of perlite or orchid bark to increase loft and create an even more breathable plant soil environment, which Spider Plants truly appreciate.
How often should I water with this new DIY mix? Throw out a strict schedule. The improved drainage means you'll water more frequently than with a dense mix, but the plant will be healthier for it. The best method is the finger test: insert your finger into the soil up to the first knuckle. If it feels dry, it's time to water thoroughly. In my typical indoor conditions, this meant watering about once a week, compared to every 10-14 days with the poor old mix.
Do I need to fertilize more often with this chunky, fast-draining mix? Potting soil contains some nutrients, but they will deplete over time. During the active growing season (spring and summer), I feed my Spider Plant with a balanced, water-soluble fertilizer diluted to half-strength every 4-6 weeks. The excellent drainage of this loose soil for indoor plants prevents fertilizer salt buildup, making feeding safer and more effective. In fall and winter, I stop fertilizing altogether.
Creating this specific Soil Mix Recipe for Silver Edge Spider Plants transformed my plant from a stagnant decor piece into a vigorous, growing highlight of my collection. The difference a loose and breathable DIY soil ratio makes is not subtle—it's foundational. It empowers you to control the root environment, directly influencing the health and beauty of the foliage above. By understanding the components, following the simple mixing steps, and learning from the common mistakes, you can give your Spider Plant the resilient, airy home its roots deserve. The reward is a plant that doesn't just live with you, but grows and flourishes.