 bluename
Winter Care for spider plants: Your Guide to Maintaining the Perfect 15-22°C
Winter is coming, and if you're like me, your heart sinks a little for your indoor jungle. I used to watch my beloved spider plants, those resilient champions of neglect, start to look sad and crispy as the temperature dropped. The biggest challenge? Keeping them in their happy zone. Through trial, error, and a lot of thermometer-watching, I've learned that consistent winter care for spider plants hinges on one crucial factor: maintaining a stable temperature between 15 and 22°C (59-72°F). Let me walk you through my real-world, two-week journey to perfect this, complete with the mistakes I made and how I fixed them.
Why Temperature is the Silent Game-Changer
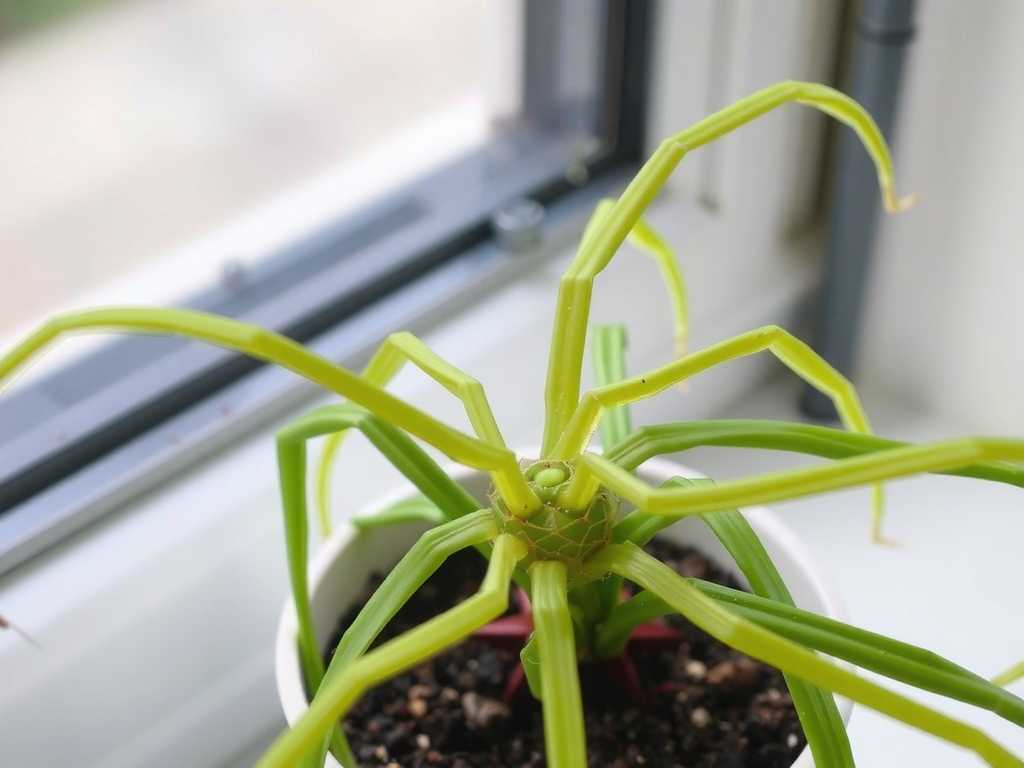
You might think watering or light is king, but in winter, temperature dictates everything. The Royal Horticultural Society (RHS) clearly states that spider plants (Chlorophytum comosum) thrive in average room temperatures and can suffer in cold drafts or sudden temperature swings. When the ambient temperature falls below 10°C (50°F), growth stalls, and leaf damage begins. More critically, cold soil slows water uptake dramatically, making overwatering—the #1 killer—a constant threat. My goal was simple: create a stable microclimate within that golden 15-22°C range to keep photosynthesis humming and roots healthy.
My Two-Week Winter Care Protocol: A Step-by-Step Diary
I selected two mature spider plants for this experiment: "Vita," placed in my often-drafty home office, and "Verde," residing in my living room. I armed myself with a digital hygrometer/thermometer to track conditions.
Week 1: Assessment and Initial Adjustments
- Day 1-3: The Baseline Reality Check. I placed the thermometer next to each plant. The results were sobering. My office (Vita's spot) fluctuated between 13°C at night (near the window) and 19°C during the day. The living room (Verde) was more stable, but a popular seat was right in the path of a heating vent, creating a hot, dry zone of 24°C.
- Day 4-7: Taking Action.
- Relocation: I moved Vita 1.5 meters away from the window and placed her on a tall plant stand. Cold air falls, so getting her off the potentially chilly floor was key. For Verde, I simply shifted her a meter to the side, away from the direct blast of the vent.
- The Insulation Trick: I placed both pots inside slightly larger decorative cache pots. The air gap between the pots acts as a brilliant insulator, buffering the root ball from rapid temperature changes. This is a pro tip I now use for all my sensitive plants.
- Watering Recalibration: I stuck my finger deep into the soil. It was still moist from a watering 10 days prior—a clear sign of slowed metabolism. I decided to withhold water entirely for the first week and monitor.
The First Pitfall and Solution: The Draft I Didn't Feel
By Day 5, Vita, despite being moved, showed the first brown, crispy leaf tips. I was frustrated. The thermometer now read a steady 18°C. Then, I ran my hand around the area and felt it: an invisible, icy draft sneaking through the old window frame. The solution? I used a simple, removable weather-stripping tape around the window sash. Within 24 hours, the localized temperature stabilized at 17.5°C. The lesson: Your thermostat might read fine, but micro-drafts are plant assassins.
Week 2: Observation, Refinement, and Signs of Success
- Day 8-14: Stabilization and Response. With the draft sealed, both environments held steady. Vita's spot averaged 18°C, Verde's a perfect 20.5°C.
- Watering Judgement Call: On Day 10, the soil for both was dry down to my second knuckle. Using room-temperature water (never cold from the tap!), I gave them a thorough but careful drink, ensuring all excess drained away immediately. This aligns with the American Horticultural Society's advice to let the soil dry out more between waterings in cooler conditions.
- The Humidity Factor: Stable temperatures often mean lower humidity due to heating. I placed a shallow tray filled with water and pebbles near the plants, creating a passive humidifier. I avoided misting, as it can promote fungal issues in stagnant winter air.
The Results After 14 Days of Focused Care
The difference was clear. No new brown tips appeared on either plant after the draft was eliminated. Verde, in her stable spot, even produced a small, bright new leaf—a sure sign of contentment. Vita's growth had paused, but her color was a deep, healthy green without further decline. The soil moisture probe showed a perfect, slow dry-down cycle. By focusing on maintaining optimal spider plant temperature in winter, I had prevented the typical spiral of stress, overwatering, and decay.
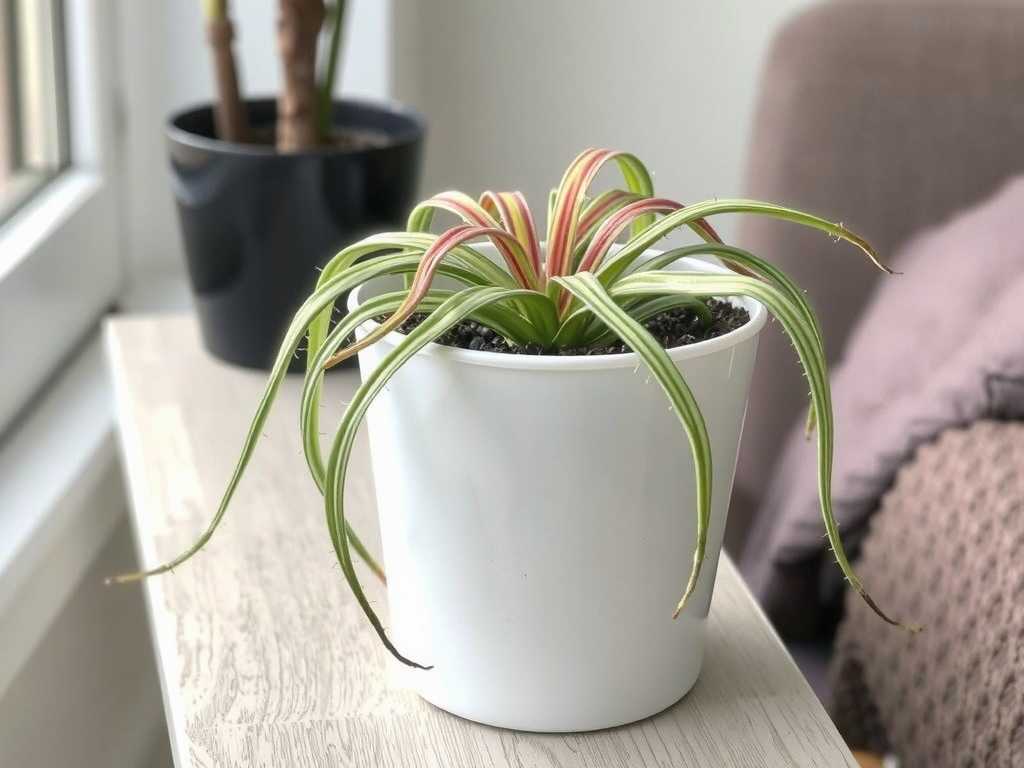
Your Action Plan for a Cozy Spider Plant
- Invest in a Thermometer: Don't guess. A cheap digital model is your best friend.
- Become a Draft Detective: Check windows, doors, and even air vents. Relocate plants accordingly.
- Insulate the Roots: Use the double-pot method. It's stylish and functional.
- Water with Temperature in Mind: Use tepid water and only when the soil is dry much deeper than you'd check in summer. Think "moisture management," not "schedule."
- Avoid Heat Sources: Radiators, fireplaces, and vents create hot, dry air that can scorch leaves and leach moisture rapidly. A distance of at least 1-2 meters is safe.
Common Winter Spider Plant Dilemmas, Solved
My plant has brown tips even though I'm careful with temperature. What now? This is incredibly common and was my first hurdle. Consistent temperature control is step one. Step two is almost always about water quality and humidity. Spider plants are sensitive to fluoride and salts in tap water. Try using distilled, rainwater, or filtered water for a few waterings. Combine that with the pebble tray method to gently raise humidity, and new growth should come in clean.
The leaves are looking pale and limp, not crispy. Is it too cold? Likely, yes. Limp, pale leaves often signal cold damage to the roots or foliage. Check for drafts first. If the plant is in a consistently cool spot below 15°C, consider a gentle heat source like a thermostatically controlled seedling mat placed near, not under, the pot to warm the ambient air. Never place a plant directly against a heater.
Can I fertilize my spider plant in winter if I keep it warm? It's best to hold off. Even in a warm room, the reduced light levels of winter mean your plant's growth is naturally slower. Fertilizing can lead to salt buildup in the soil and stress the roots. Resume a diluted, balanced feed in early spring when you see clear signs of new growth.
Winter doesn't have to be a season of survival for your spider plants. By prioritizing a stable, cozy environment between 15 and 22°C, you're working with their natural rhythm. It transforms care from a guessing game into a simple act of stewardship. Watch for drafts, water with patience, and your spiderettes will not only make it through but will greet spring with vibrant, grateful growth.





