 bluename
If your spider plant sits directly on a cold tile or concrete floor, its roots are quietly suffering every single night. I learned this the hard way after killing three spider plants in two years. The fix is simpler than you think: build DIY plant risers to lift spider plant pots above cold floor surfaces. That one change keeps roots warmer, improves drainage, and stops the soggy-bottom problem that kills most houseplants.
Here's the thing nobody tells beginners. Cold floors pull heat out of pots. Wet soil plus cold roots equals root rot. The RHS puts it plainly: poor drainage and cold, waterlogged compost are among the top killers of container plants.
I built my own risers for about eight dollars in under twenty minutes. Two weeks later my spider plant was pushing out new pups. Let me walk you through exactly how I did it, what went wrong, and what I'd tell any new plant parent to avoid.
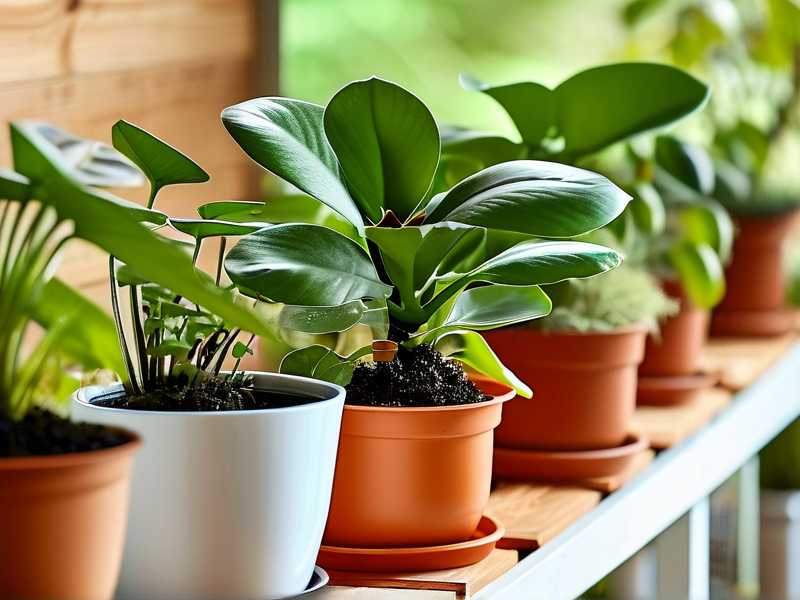
Why Cold Floors Are Secretly Killing Your Spider Plant
Spider plants come from South Africa. They like warmth, bright indirect light, and soil that dries out between waterings.
A cold floor works against all of that.
When a pot sits flat on tile, concrete, or a chilly basement floor, the bottom of the soil stays damp far longer than it should. Roots hate that. They need air pockets. Constant cold moisture suffocates them, and that's when rot sets in.
I noticed this with my second spider plant. The leaves went pale and limp even though I was watering "correctly." When I finally pulled it out of the pot, the bottom roots were brown mush. The topsoil felt dry. The bottom was a swamp. The floor was the culprit.
A riser fixes this. It lifts the pot so air can move underneath. Water drains freely. The roots stay warmer. It's a small change with a big payoff.
The Three Deadly Mistakes I Made Before Building Risers
I want to save you the plant graveyard I went through. Here are the three mistakes that cost me the most plants.
Mistake One: Overwatering
This is the big one. 90% of indoor plants die from overwatering. I was guilty of it for years.
I thought more water meant more love. It doesn't. It means root rot.
When a pot sits on a cold floor, the soil at the bottom stays wet for days. You water again thinking it's dry on top, and now you've got a permanently soggy root zone. The riser breaks that cycle because drainage actually works.
Mistake Two: Light in the Wrong Spot
I once put a spider plant in a dark corner because I read they tolerate low light. They survive low light. They don't thrive.
Then I overcorrected and put one in direct afternoon sun. The tips burned crispy brown within a week.
The sweet spot is bright, indirect light. Near a window but not baking in direct rays. If your plant is stretching thin and pale, it wants more light. If the leaves are scorched, it wants less.
Mistake Three: Using the Wrong Pot
I started with a decorative pot that had no drainage hole. Big mistake.
Water collected at the bottom with nowhere to go. Combined with a cold floor, it was a death sentence.
Now I always use a pot with drainage holes, then set that inside a slightly larger decorative pot, or just let it drain freely on a riser. The AHS recommends containers with proper drainage as a baseline for healthy plants, and after my failures, I get why.
What You'll Need to Build DIY Plant Risers
You don't need fancy tools. Here's what I used for my first set.
- Four small terracotta saucers or plant pot feet
- A pack of wooden dowels or bamboo skewers
- A hot glue gun or wood glue
- A small handsaw or craft knife
- Optional: cork sheets, small tiles, or plastic bottle caps
- A ruler or measuring tape
- Sandpaper (fine grit)
Honestly, you probably already have half of this in a junk drawer. I did.
Step-by-Step: How I Built My Risers
I'll walk you through the exact build I used.
Step One: Measure Your Pot Base
Flip your spider plant pot over. Measure the diameter of the base.
My pot base was about five inches across. I wanted the riser a touch smaller so it wouldn't stick out and look messy.
Step Two: Cut Your Dowels
I cut four dowel pieces to about two inches tall. Two inches is enough to let air flow but not so tall the pot looks unstable.
You can go three inches if you want more airflow. I tried three inches too, and it worked fine. Just make sure the base is wide enough to stay steady.
Step Three: Build the Frame
I glued the four dowels to a small square base made from a cork sheet. Then I glued a second cork square on top of the dowels.
That gave me a little table, basically.
If you don't have cork, you can use a small tile, a piece of wood, or even a sturdy plastic lid. I've used all three at this point.
Step Four: Let It Cure and Sand the Edges
Give the glue a full hour to cure. Don't rush this. I rushed one and it collapsed under a heavy pot two days later.
Sand any rough edges so they don't snag your pot or your fingers.
Step Five: Place and Test
Set your spider plant pot on the riser. Give it a gentle nudge. It shouldn't wobble.
If it does, widen the base or lower the height. Stability matters more than height.
Alternative Risers I Tried (And What Worked Best)
Not everyone wants to build from scratch. I tested a few shortcuts.
Bottle Caps: I glued four plastic bottle caps to a small tile. It worked, but the caps crushed under heavier pots. Fine for small spider plants, not great long-term.
Cork Sheets Alone: I stacked three thick cork rounds and set the pot on top. This worked surprisingly well. Cork insulates, so it also adds warmth. Downside is it compresses over time.
Terracotta Feet: You can buy these cheap. They're basically little clay legs you set under the pot. They work great but cost more than DIY. I use these now for my bigger pots.
Wooden Dowel Frame: This is still my favorite. Cheap, sturdy, and I can customize the height.
My Two-Week Observation: What Actually Changed
I built risers for six of my spider plants and left two on the floor as a control group. Kind of nerdy, I know. But I wanted real data.
Day 1-3: Nothing visible. Soil on the riser pots started drying faster on the bottom. That was the first sign it was working.
Day 4-7: The control plants on the floor still had damp bottoms. The riser plants were drying evenly. I noticed the riser plants perked up slightly, leaves a bit stiffer.
Day 8-10: One riser plant pushed out a tiny new leaf in the center. The control plants showed no new growth. One control plant's lower leaves started yellowing.
Day 11-14: The riser plants clearly looked healthier. Two of them had new pups forming. The control plant that had yellowed was now drooping. I ended up moving it onto a riser to save it.
By the end of two weeks, the difference was obvious. Better drainage, warmer roots, happier plants.
The Science Behind Why Risers Work
I'm not a botanist. But I've read enough and killed enough plants to understand the basics.
Roots need oxygen. When soil stays waterlogged, air pockets fill with water, and roots can't breathe. Cold slows everything down, including the plant's ability to use water. So on a cold floor, water sits around roots longer, and rot moves in.
A riser does three things:
- It lifts the pot so air circulates underneath.
- It reduces contact with the cold surface, keeping soil warmer.
- It lets excess water drain away freely instead of pooling.
Simple physics. Big impact.
How to Match Your Riser to Your Spider Plant's Needs
Not all spider plants need the same setup. Here's how I decide.
Small pots (4-6 inches): A two-inch riser is plenty. Cork or bottle caps work.
Medium pots (6-8 inches): Go with a three-inch riser. Make sure the base is wide. I use wooden frames for these.
Large pots (8+ inches): Use store-bought terracotta feet or build a wider wooden frame. These pots get heavy, so stability is key.
Hanging pots: You don't need a riser, but make sure the pot drains fully before hanging it back up. I learned that one after dripping water on my floor.
Watering Changes You Should Make Once You Add Risers
Adding a riser changes how your soil dries. Pay attention.
I had to adjust my watering schedule. My riser pots dried out faster because airflow increased. That's a good thing. But it also meant I needed to check them more often at first.
Stick your finger two inches into the soil. If it's dry, water. If it's damp, wait. Don't water on a fixed schedule. Water based on what the soil tells you.
Also, always empty the saucer or drip tray after watering. A riser helps drainage, but standing water in a saucer defeats the purpose.
Real Mistakes I Made With Risers (So You Can Avoid Them)
Mistake: Making the riser too tall. I built a four-inch riser once. The pot wobbled and nearly fell. Two to three inches is the sweet spot.
Mistake: Using weak glue. Hot glue works for light pots. For heavier ones, use wood glue or screws.
Mistake: Skipping the base. My first riser was just four dowels glued directly to the pot. Bad idea. The pot cracked. Always use a base plate.
Mistake: Not sanding. Rough edges snagged my pot and scratched my shelf. Sand everything.
How Risers Fit Into a Bigger Plant Care Routine
Risers aren't a magic fix. They're one piece of the puzzle.
You still need the right light. Bright, indirect. You still need the right soil. Well-draining mix. You still need to avoid overwatering.
But risers make all of those easier. They give you a buffer against your own mistakes.
I think of it like this: risers buy you time. If you accidentally overwater, the riser helps the excess drain before it becomes a problem. That extra margin is huge for beginners.
Seasonal Considerations for Your Risers
Winter is when risers matter most. Floors get colder. Soil dries slower. Roots are more vulnerable.
In summer, risers still help, but the effect is less dramatic. I keep mine on year-round because it's just easier.
If you have heated floors, you might not need risers for warmth. But you still benefit from the drainage and airflow.
FAQ: Your Questions About DIY Plant Risers
Can I use anything as a plant riser?
Yes. Bottle caps, cork, tiles, wooden blocks, even small bricks. Just make sure it's stable and lets air flow under the pot. I've used all of these at some point.
How tall should a plant riser be?
Two to three inches is ideal for most spider plants. Taller risers work but can be unstable with heavy pots. Stability matters more than height.
Do risers really make a difference?
In my two-week test, yes. Riser plants dried more evenly, grew faster, and looked healthier than the ones on the floor. The difference was clear.
A Few Final Thoughts From Someone Who's Killed More Plants Than I'd Like to Admit
I spent years blaming myself for killing plants. Turns out, I was just missing a few simple pieces. Drainage was one. Warmth was another. Risers solved both at once.
If you take one thing from this, let it be this: lift your pots off the cold floor. Build a riser. It takes twenty minutes and costs almost nothing.
Your spider plant will thank you. Mine did. Two weeks was all it took to see the change, and I haven't looked back since.





