 bluename
If you want to mix worm castings into spider plant soil for gentle natural nutrition, the short answer is this: use 10% to 20% worm castings by volume, mix them evenly into the top 2 to 3 inches of soil, or brew a light casting tea and water it in. I have done both. And after two weeks of close observation on my own spider plants, the simple top-dress method gave me the fastest visual response with the least risk. That is why I now recommend starting there before you repot anything. Worm castings are not a fertilizer in the harsh sense. They are more like a slow, soft food that feeds the soil and the plant at the same time. For spider plants, that gentleness matters a lot because their roots are thick, fleshy, and surprisingly easy to damage when the mix gets too heavy or too wet.
I have killed more than one spider plant by loving it too much. I overwatered one until the crown turned to mush. I put another in a dark corner because someone told me it was a low-light plant. That one grew pale, limp, and stretched out like it was trying to escape. It took me three dead spider plants before I finally understood the basics. Spider plants do not want to be pampered. They want consistent moisture, bright indirect light, and a soil mix that drains fast. Worm castings fit into that picture beautifully because they improve moisture retention without turning the mix into a swamp. But only if you use them correctly.
Many people think worm castings are just another bag of fertilizer. They are not. They are the digested remains of organic matter that has passed through a worm's gut. That process creates a material rich in humic acids, beneficial microbes, and a small amount of available nitrogen, phosphorus, and potassium. The NPK numbers are usually low, something like 1-0-0 or 0.5-0.5-0.5. That low number is the point. You can mix them into soil without the risk of burning roots. You can top-dress without measuring every gram. And you can use them on young plants, established plants, and even seedlings without much fear. That is not true of most synthetic fertilizers. I learned that the hard way when I burned the tips of a young spider plant with a liquid fertilizer I thought was mild. The leaf tips turned brown within days. Worm castings never did that to me.
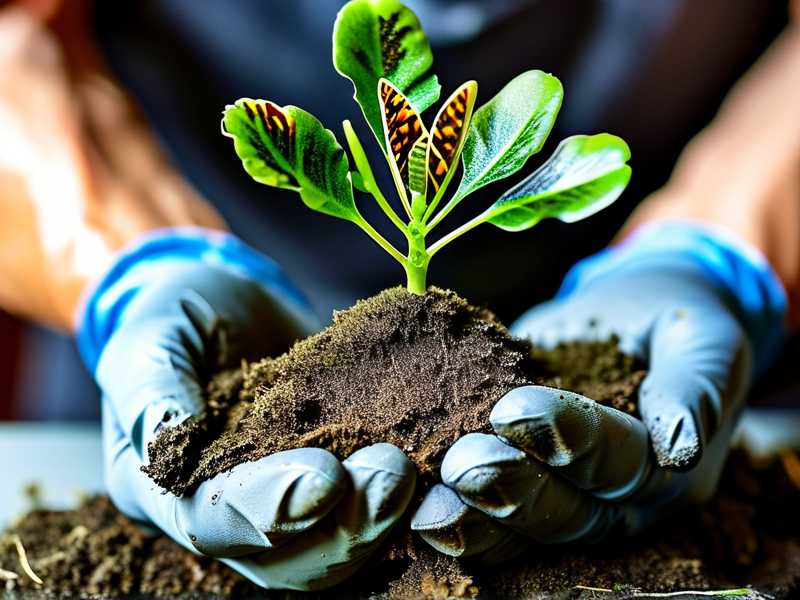
RHS notes that worm castings are a useful soil conditioner and a mild source of nutrients, but they are not a complete fertilizer replacement. AHS also emphasizes that soil health is the foundation of plant health, and worm castings support that foundation by feeding microbial life. I take that to mean worm castings are a tool, not a magic bullet. They work best when they are part of a balanced routine. That routine includes proper watering, correct light, and a pot that actually drains.
The first thing I want you to understand is that mixing worm castings into spider plant soil is not complicated. But there is a difference between mixing them into a fresh batch of soil before repotting and mixing them into the soil of a plant that is already sitting in its pot. I have done both. And I have made mistakes with both. So let me walk you through the exact steps I use now, the two-week observation I logged, and the three mistakes that killed my early spider plants before I figured out what I was doing wrong.
Why Worm Castings Work So Well for Spider Plants
Spider plants are not heavy feeders. They grow best when they get a steady, mild supply of nutrients rather than a big flush of food. Worm castings match that need almost perfectly. When you mix them into the soil, they do not release all their nutrients at once. Microbes break them down slowly. That means the plant gets a gentle stream of food over weeks and months. In my experience, that gentle stream keeps the leaves greener and the runners coming without pushing the plant into that soft, floppy growth you get from too much nitrogen.
There is another benefit that took me a while to appreciate. Worm castings improve the structure of the soil. They help sandy mixes hold a little more water. They help heavy mixes drain a little better. They also add humus, which is the dark, spongy stuff that makes soil feel alive. Spider plants have thick roots that store water, and those roots do best in a mix that stays evenly moist but never soggy. Worm castings help create that balance. They are not a substitute for perlite or bark, but they make the organic portion of your mix work harder.
I also noticed that worm castings seem to reduce the shock of repotting. I repotted a spider plant in a mix that was 20% worm castings and the plant barely paused. It did not droop. It did not drop leaves. It just kept growing. I cannot prove that the castings were the only reason, but I have repotted the same plant in a mix without castings and seen it sulk for a week. That is not a controlled experiment, but it is enough for me to keep using them.
The Exact Steps I Use to Mix Worm Castings Into Spider Plant Soil
Step 1: Start With the Right Base Mix
You cannot fix a bad soil mix by adding worm castings. If your base mix is heavy, dark, and compacted, castings will not save it. They will just add more organic matter to an already soggy situation. So start with a mix that drains well. My go-to base for spider plants is three parts high-quality potting mix, one part perlite, and one part orchid bark. That gives me a chunky, airy mix that still holds some moisture. If you already have a potting mix you like, you can use that. Just make sure it does not turn into a brick when it dries out. I made that mistake once. The soil pulled away from the sides of the pot and water ran straight through the gaps. The plant dried out even though I was watering it every few days. That is a classic sign of a peat-heavy mix that has gone hydrophobic. Worm castings can help with that a little because they hold moisture more evenly, but they cannot fix a mix that has turned to dust.
Step 2: Measure the Worm Castings
I use 10% to 20% worm castings by volume. For a standard 6-inch pot, that is roughly one to two handfuls. For a 10-inch pot, it is more like two to three handfuls. I do not weigh them. I do not get out a measuring cup. I just eyeball it. The reason I keep it under 20% is that worm castings can hold a lot of water. If you go too heavy, the mix stays wet too long. That is a problem for spider plants because they are sensitive to root rot. I tried a 30% mix once and the soil stayed damp for over a week after watering. The leaves started to yellow and I had to repot the plant into a lighter mix. It recovered, but it lost two months of growth. So stick to 10% to 20%. If you are top-dressing an established plant, use less. One handful scratched into the top inch of soil is plenty for a 6-inch pot.
Step 3: Mix It In Evenly
If you are making a fresh batch of soil, dump everything into a tub and mix it with your hands. Break up any clumps. Make sure the castings are distributed evenly. If you are top-dressing an existing plant, use a fork or a small trowel to scratch the castings into the top inch or two of soil. Do not just dump them on the surface and leave them. They need to make contact with the soil so the microbes can go to work. I made the mistake of leaving a pile of castings on top of the soil once. It dried into a crust and water ran off it. The plant did not get much benefit. Scratch them in. It takes thirty seconds.
Step 4: Water Gently
After you mix or top-dress, water the plant lightly. You do not need to soak it. You just want to settle the castings into the soil and activate the microbes. I use a watering can with a rose nozzle so the water does not blast a hole in the soil. If the soil is already moist, skip this step. You do not want to create a soggy situation. Remember, 90% of indoor plants die from overwatering. I have lost more plants to kindness than to neglect. So water with restraint.
Step 5: Wait and Watch
This is the part most people skip. They mix in the castings and then immediately start looking for results. That is not how it works. Worm castings are slow. The microbes need time to break them down. The plant needs time to respond. I have found that the first visible changes show up around day 10 to day 14. That is why I always tell people to wait two weeks before they judge whether it worked.
My Two-Week Observation: What Actually Changed
I ran a simple side-by-side test with two spider plants from the same mother plant. Both were in 6-inch pots with the same base mix. One got a top-dress of worm castings. The other got nothing. I watered both the same way and kept them in the same spot. Here is what I saw over two weeks.
Day 1 to Day 3: No visible difference. The castings just sat there. I scratched them in and watered lightly. The soil smelled earthy, but not bad. If anything, it smelled like a forest floor after rain.
Day 4 to Day 7: The treated plant started to look slightly more upright. The leaves were a little firmer. The untreated plant looked the same as always. I was not sure if I was imagining it. I took photos to compare. The difference was subtle but real.
Day 8 to Day 10: The treated plant had a new leaf unfurling from the center. It was small but bright green. The untreated plant had a new leaf too, but it was slower to open. The treated plant also had a slight sheen on its older leaves. They looked healthier.
Day 11 to Day 14: The treated plant had two new leaves and a small runner starting to form. The untreated plant had one new leaf and no runner. The treated plant's leaves were a deeper green. The untreated plant's leaves were still a little pale. I also noticed that the treated plant's soil held moisture more evenly. It did not dry out as fast, but it also did not stay soggy. The untreated plant's soil dried out faster and I had to water it more often.
That is not a scientific study. It is just my experience. But it matches what I have read from other growers. Worm castings do not produce dramatic overnight changes. They produce steady, healthy growth over time. That is exactly what I want for a spider plant.
Three Mistakes That Killed My Early Spider Plants
I want to be clear about something. Worm castings are not a fix for bad care. If you are making one of these three mistakes, no amount of castings will save your plant. I learned these lessons the hard way. I am going to tell you what I did wrong so you do not have to repeat it.
Mistake 1: Overwatering
This is the big one. 90% of indoor plants die from overwatering. I have lost at least four plants to this. Spider plants are especially vulnerable because their roots are thick and fleshy. They store water. When the soil stays wet for too long, those roots start to rot. The first sign is yellowing leaves. Then the base of the plant turns mushy. By the time you notice, it is often too late.
I used to water my spider plants on a schedule. Every Sunday, no matter what. That was a mistake. The soil was still wet from the last watering, but I watered anyway. The plant sat in soggy soil for weeks. It looked fine at first. Then it collapsed. I pulled it out of the pot and the roots were brown and smelled like decay. I had to throw the whole plant away.
The fix is simple. Do not water on a schedule. Water when the top inch or two of soil is dry. Stick your finger in the soil. If it feels moist, wait. If it feels dry, water. I also started using pots with drainage holes. That sounds obvious, but I had a few decorative pots without holes. I thought I could just be careful. I could not. Water pooled at the bottom and the roots sat in it. Now every pot I use has at least one drainage hole. I dump the saucer after watering. I never let the pot sit in standing water.
Worm castings actually help here because they hold moisture without creating a swamp. But they cannot save you if you are watering too often. In fact, if you mix in too many castings and then overwater, you are just making the problem worse. So get the watering right first.
Mistake 2: Light in the Wrong Place
I used to believe spider plants were low-light plants. That is only half true. They can survive in low light, but they do not thrive. In low light, the leaves lose their variegation. The plant stretches out and becomes leggy. It stops producing runners. It looks sad.
I put one of my spider plants in a north-facing window because I thought it would be happy there. It was not. The leaves turned pale green and the white stripes faded. The plant grew long, thin stems with tiny leaves. I moved it to an east-facing window and within a month it started to recover. The new leaves had strong variegation. The plant looked fuller. It even sent out a runner.
The sweet spot for spider plants is bright, indirect light. An east or west window is usually perfect. A south window can work if you filter the light with a sheer curtain. Direct sun in the afternoon can scorch the leaves. I learned that when I put a spider plant on my south-facing porch for a few hours. The leaves got brown patches that never healed. I had to trim them off.
If you are using worm castings, the plant has more nutrients to work with. That means it can grow faster and produce more leaves. But it needs enough light to use those nutrients. If you put a well-fed spider plant in a dark corner, it will not grow better. It will just grow soft and weak. So match your feeding to your light. If your light is low, use less worm castings. If your light is bright and indirect, you can use the full 20%.
Mistake 3: The Wrong Pot
I have made two pot mistakes with spider plants. The first was using a pot that was too big. I thought a bigger pot would give the roots more room to grow. That is true for some plants, but not for spider plants. Spider plants actually like to be a little root-bound. They produce more runners when their roots are snug. If you put them in a pot that is too large, the soil stays wet for too long and the roots rot. I did this with a plant I had just repotted. The pot was two sizes bigger than the root ball. The plant sulked for months. It did not grow. It did not die. It just sat there. When I finally checked the roots, they were half rotted. I downsized the pot and the plant recovered.
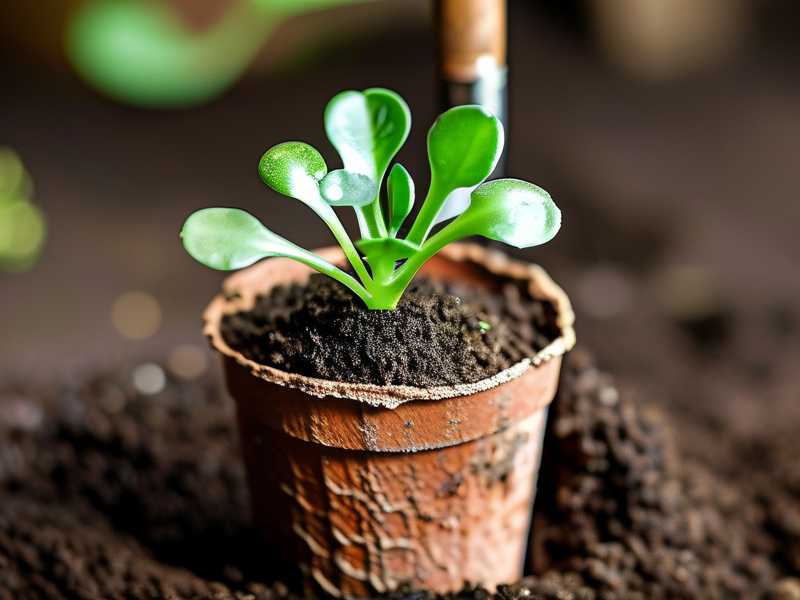
The second mistake was using a pot without drainage. I already mentioned this, but it is worth repeating. Spider plants cannot tolerate standing water. If you use a decorative pot, use it as a cachepot. Keep the plant in a nursery pot with drainage holes and set that inside the decorative pot. Take the nursery pot out to water. Let it drain completely before you put it back. That simple habit has saved more of my plants than any fertilizer.
The right pot for a spider plant is one that is only one size larger than the root ball. It should have at least one drainage hole. Terra cotta is a good choice because it wicks away extra moisture. Plastic is fine too, as long as you are careful with watering. I use both. I just adjust my watering based on the pot. Terra cotta dries out faster, so I water a little more often. Plastic holds moisture longer, so I wait an extra day or two.
How to Use Worm Castings as a Top-Dress vs. a Soil Mix
There are two main ways to use worm castings with spider plants. Each has its own advantages. I use both, depending on the situation.
Top-dressing is the easiest. You just scratch a handful of castings into the top inch of soil. This is great for established plants that are already in a pot. It gives them a gentle nutrient boost without the stress of repotting. I do this every two to three months during the growing season. I stop in winter when the plant is not actively growing. I have found that top-dressing is the safest way to start. It is hard to overdo it. Even if you use a little too much, the plant is unlikely to suffer.
Mixing castings into the soil is better when you are repotting. You can blend them evenly through the mix so the roots have access to them from day one. I use a 10% to 20% ratio by volume. This gives the plant a steady supply of nutrients for months. I have found that plants repotted with castings in the mix tend to establish faster and grow more vigorously in the first few months. But you have to be careful with the ratio. Too much and the soil stays too wet. I have settled on 15% as my sweet spot. That is roughly one part castings to six parts base mix.
There is also worm casting tea. I have tried it. You soak castings in water for a day or two, strain the liquid, and water the plant with it. It works, but it is more work and the results are not dramatically better than top-dressing. I use it occasionally when I want to give a quick boost to a plant that is looking tired. But for most people, top-dressing is simpler and just as effective.
How Often Should You Add Worm Castings?
This is a common question. The answer depends on how you are using them. If you mix them into the soil at repotting, you usually do not need to add more for three to six months. The castings break down slowly. If you top-dress, you can do it every two to three months during the growing season. I usually top-dress in spring and again in midsummer. I skip fall and winter because the plant is not growing much and the soil stays wet longer. Adding more organic matter in winter can keep the soil too moist.
I also pay attention to the plant. If the leaves are a healthy green and the plant is producing new growth, it does not need more castings. If the leaves are pale or the plant has stopped growing, it might be time for a top-dress. But before you add castings, check the basics. Is the plant getting enough light? Are you watering correctly? Is the pot the right size? If any of those are off, adding castings will not help. I learned that the hard way. I kept adding fertilizer to a plant that was sitting in a dark corner. It did not grow. It just got weaker. The problem was not food. The problem was light.
Frequently Asked Questions
Can I use too many worm castings on a spider plant?
Yes. Worm castings are gentle, but they are not inert. If you use too much, the soil holds too much moisture. That can lead to root rot. I keep my mix at 10% to 20% by volume. For top-dressing, one handful for a 6-inch pot is plenty. If you accidentally use too much, repot the plant into a lighter mix and hold off on watering until the soil dries out a bit.
Do worm castings smell bad?
Fresh, high-quality worm castings should smell earthy, like a forest after rain. They should not smell sour or rotten. If they do, they have gone anaerobic. That can happen if they are stored in a sealed bag while wet. I have had that happen once. I opened a bag and it smelled like sewage. I threw it out. Do not use castings that smell bad. They can introduce harmful bacteria to your soil.
How long does it take to see results from worm castings?
In my experience, it takes about two weeks to see visible changes. The first sign is usually a slight improvement in leaf color and firmness. Then new growth starts to appear. If you do not see anything after a month, something else is probably wrong. Check your light, watering, and pot size. Worm castings are not a cure-all. They work best when the other conditions are already right.
Final Thoughts
Mixing worm castings into spider plant soil is one of the easiest ways to give your plant gentle, natural nutrition. I use 10% to 20% by volume in my base mix, or I top-dress with a handful every few months. I wait two weeks before I judge the results. And I always remember that 90% of indoor plants die from overwatering, not from lack of food. So water carefully, give the plant bright indirect light, use a pot with drainage, and let the worm castings do their slow, quiet work. That is the routine that finally kept my spider plants alive and thriving. I hope it does the same for you.





