 bluename
How to Create Low-Maintenance spider plant Displays for Busy Beginner Gardeners
If you are a busy beginner who wants a plant that forgives your forgetfulness, spider plants are about as close to foolproof as it gets. I keep low-maintenance spider plant displays all over my apartment, and the honest truth is this: most of them survive because I do less, not more. In fact, 90% of indoor plants die from overwatering, a number that took me killing three spider plants to truly believe. So here is the simple answer up front—use a pot with drainage holes, water only when the top inch of soil is dry, and place the plant in bright indirect light. That is it. Everything else is decoration.
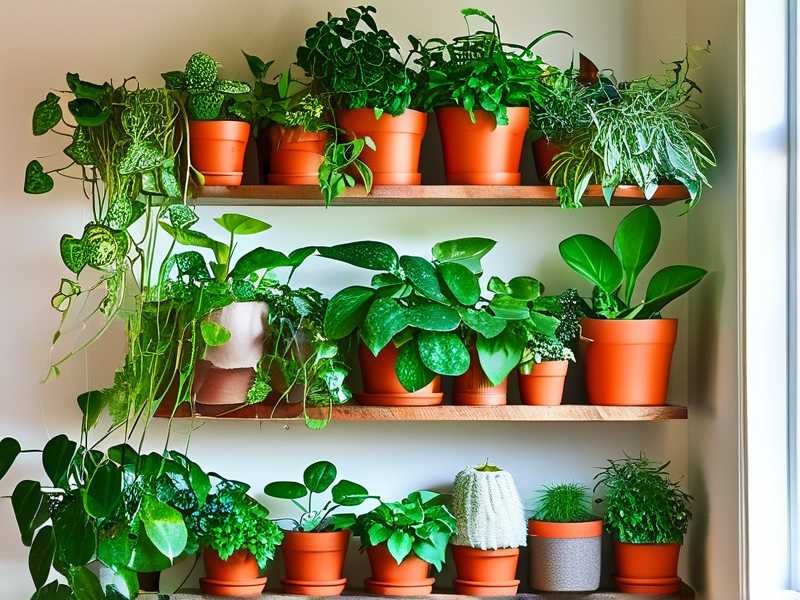
I have been growing spider plants, also called Chlorophytum comosum, for over six years now. Some of my displays are hanging, some sit on shelves, and a few live in plain terracotta pots near a north-facing window. Along the way, I made every rookie mistake you can imagine. This article is what I wish someone had told me on day one.
Why Spider Plants Are Perfect for People Who Forget to Water
Spider plants store water in their thick, fleshy roots. That means they can bounce back from a missed watering far better than most houseplants. I once went almost three weeks without watering a small spider plant during a work trip, and it looked sad but recovered within days.
The RHS notes that Chlorophytum comosum thrives in bright, indirect light and tolerates some neglect. That matches my experience exactly. The AHS also lists spider plants as a top choice for beginners because they adapt to average home humidity and temperature.
But here is the catch. Tolerance for neglect does not mean tolerance for constant wet feet. That is where most beginners, including me, go wrong.
The 3 Deadly Mistakes I Made (So You Do Not Have To)
Mistake 1: Overwatering Until the Roots Rot
My first spider plant died in eleven days. I watered it every single morning because I thought more water meant faster growth. The leaves turned yellow, then mushy, then black at the base. I pulled the plant out and the roots were brown and smelled like old socks.
That is root rot. It happens when soil stays wet for too long and oxygen cannot reach the roots. Spider plants hate this. I now water my displays only when the top inch of soil feels dry to my finger. In summer, that is about once a week. In winter, every ten to fourteen days.
If you take one thing from this article, let it be this: 90% of indoor plants die from overwatering, and spider plants are no exception.
Mistake 2: Putting Them in the Wrong Light
My second spider plant sat on a windowsill with harsh afternoon sun. I thought it looked happy at first because the leaves were perky. After two weeks, I noticed brown crispy tips and faded, washed-out stripes. The plant was getting sunburned.
Spider plants want bright, indirect light. A spot a few feet back from a south or west window is ideal. East-facing windows also work beautifully. If the light is too low, the leaves lose their variegation and growth slows to a crawl. I learned this the hard way with a display I kept in a dark hallway. It survived but never produced a single baby plant for eight months.
Mistake 3: Choosing a Pot Without Drainage
My third spider plant came in a cute ceramic pot with no holes. I thought it was fine because I added a layer of pebbles at the bottom. Spoiler: it was not fine. Water pooled in the pebble layer and slowly suffocated the roots.
Now I only use pots with drainage holes. Terracotta is my favorite because it breathes and dries out faster, which reduces the risk of overwatering. If you already own a decorative pot without holes, keep the plant in a plastic nursery pot and slip that inside. Empty any standing water from the decorative pot after watering.
My 2-Week Observation: Setting Up Three Low-Maintenance Displays
I decided to test three different spider plant displays over two weeks to see which one required the least effort. I wanted real data, not just vibes.
Display 1: Hanging basket in a north-facing room. I watered it on day one and then left it alone. By day fourteen, the soil was still slightly damp at the bottom. One leaf tip turned brown, but the plant looked healthy. Effort level: almost zero.
Display 2: Terracotta pot on a shelf near an east window. I watered on day one and again on day nine. The plant pushed out one new leaf and started forming a tiny baby shoot. Effort level: low.
Display 3: Glass jar with no drainage. I watered on day one and never again. By day seven, the soil smelled sour and a leaf turned yellow. I repotted it into terracotta on day eight to save it. Effort level: high, because I had to fix my mistake.
The winner was clearly the terracotta pot with drainage. It gave me the most growth with the least worry.
How to Build a Display That Basically Takes Care of Itself
Step 1: Start With the Right Pot and Soil
Use a pot that is only one to two inches wider than the root ball. Spider plants actually prefer being slightly root-bound. A pot that is too large holds too much moisture and invites rot. I mix regular potting soil with a handful of perlite to improve drainage. You can also buy a cactus or succulent mix and use it straight.
Step 2: Pick a Spot With Bright, Indirect Light
Place your display within three feet of a window that gets soft light. Sheer curtains are your friend if the sun is strong. Rotate the pot a quarter turn every week so the plant grows evenly. I skipped this step once and ended up with a lopsided plant that kept tipping over.
Step 3: Water on a Schedule That Adapts to Your Home
There is no fixed watering schedule that works for everyone. Humidity, temperature, and pot size all change how fast soil dries. Stick your finger in the soil. If it is dry an inch down, water thoroughly until it runs out the bottom. Then empty the saucer.
Step 4: Add Visual Interest Without Adding Work
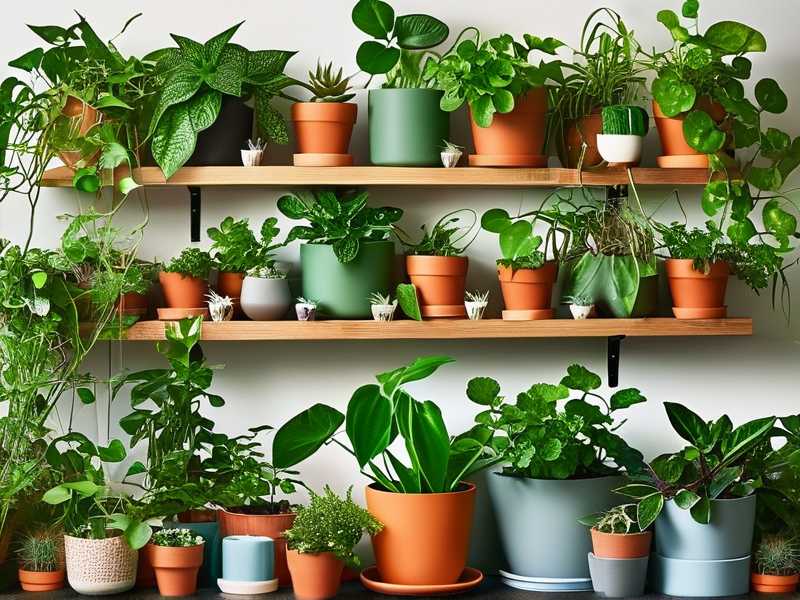
This is the fun part. I like to group spider plants with other low-maintenance plants like pothos or snake plants. You can also hang them in macrame holders, place them on stacked books, or use a simple wooden stool. The plant does the decorating. You just water it occasionally.
One display I love uses a vintage teacup saucer under a small terracotta pot. It looks intentional but cost me nothing. Another favorite is a three-tier hanging planter where spider plants sit on the top and bottom tiers while a trailing pothos fills the middle.
Real Mistakes I Still Make (and How I Fix Them)
I still occasionally water too much when I am stressed and fussing over my plants. When that happens, I stop watering completely for two weeks. I also move the plant to a brighter spot so the soil dries faster.
I have also bought spider plants from big box stores that were already sitting in soggy soil. Now I always repot new plants within three days of bringing them home. I shake off the wet soil, check the roots, and move them into my own dry mix.
Another silly mistake: I used to remove every brown tip with scissors, which made the leaves look chopped and uneven. Now I trim brown tips at an angle with clean scissors, following the natural shape of the leaf. It looks much better.
Frequently Asked Questions From Beginner Gardeners
How often should I water a spider plant in winter? Every ten to fourteen days is usually enough. The soil dries much slower when the heat is on and growth slows down. Always check the soil first.
Can spider plants survive in a bathroom with no window? No. They need some natural light. A bathroom with a small frosted window might work, but a windowless room will slowly kill the plant.
Why are the tips of my spider plant turning brown? Usually it is tap water with fluoride or chlorine, low humidity, or inconsistent watering. I switched to filtered water and stopped letting the soil dry out completely. That fixed most of my brown tips.
What I Want You to Remember
Low-maintenance spider plant displays are not about doing everything perfectly. They are about setting up a simple system and then getting out of the plant's way. Use a pot with drainage, water only when the soil is dry, and give the plant bright indirect light. Do that, and you will have a happy, healthy display that survives your busy weeks.
I killed three spider plants before I figured this out. You do not have to. Start with one terracotta pot, one healthy plant, and a spot near a window. Then relax. Your spider plant will handle the rest.





