 bluename
How to Identify spider plant Nutrient Deficiency on Mature Lower Foliage Leaves
If you are staring at yellow, browning, or limp lower leaves on your spider plant and wondering what on earth is wrong, you are in the right place. I can tell you from experience that identifying spider plant nutrient deficiency on mature lower foliage leaves comes down to one key detail: the problem shows up on the oldest leaves first. That happens because nutrients like nitrogen, potassium, and magnesium are mobile. When the plant is short on them, it pulls those nutrients out of the lower leaves and sends them to the new growth at the top. So the top looks fine while the bottom starts falling apart.
That single pattern is your biggest clue. If the damage is on the mature lower foliage, you are probably dealing with a nutrient issue, not a pest or a disease.
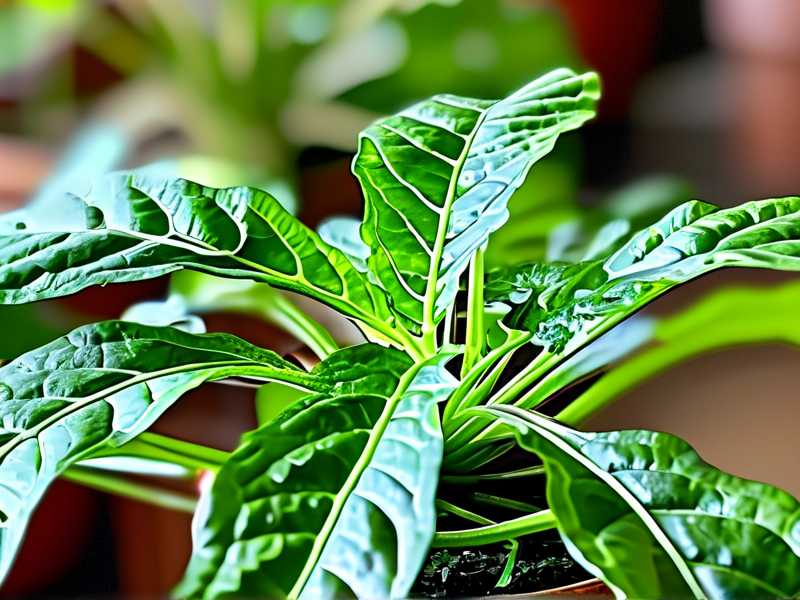
I learned this the hard way. I once spent two weeks misting, repotting, and fussing over a spider plant that was dropping lower leaves. Turns out I was overwatering it the whole time, which caused root damage that mimicked a nutrient deficiency. It took me killing my third spider plant before I finally understood the difference.
So before you reach for fertilizer, read this whole thing. There is a good chance the real fix has nothing to do with nutrients at all.
Quick Answer: What Lower-Leaf Damage Actually Means
Let me give you the fast version first.
If the mature lower leaves on your spider plant turn pale yellow starting at the tip and working inward, that is usually a nitrogen deficiency.
If the edges of those lower leaves turn brown and crispy while the center stays green, think potassium.
If the lower leaves turn yellow between the veins but the veins stay green, that points to magnesium.
And if the whole plant looks stunted with dark, dull leaves and purple tinges, phosphorus may be the issue, though this is rare indoors.
But here is the catch. These same symptoms can show up when the roots are drowning from too much water. And that is far more common.
The RHS (Royal Horticultural Society) points out that nutrient deficiencies in container plants often stem from poor growing conditions rather than a genuine lack of food. That matches what I have seen over and over.
So the rule I follow now is this: check the soil and the roots first. Only then do I treat it as a nutrient problem.
Why Mature Lower Leaves Show Symptoms First
This part is important and a lot of people skip over it.
Spider plants move nutrients around inside themselves. Nitrogen, potassium, and magnesium are all “mobile” nutrients. When the plant cannot get enough from the soil, it steals them from the oldest tissue and sends them upward.
Think of it like a family running low on money. They stop spending on the old car and put every dollar into keeping the kids fed. The lower leaves are that old car.
New leaves stay green and glossy. The mature lower foliage pays the price.
That is why you should never diagnose a spider plant by looking only at the top. Flip those lower leaves over. Look at the tips. Look at the edges. That is where the story is told.
Nitrogen Deficiency: The Most Common One I See
This is the one I run into most often with spider plants.
Here is what it looks like on mature lower foliage:
- The leaf starts turning yellow at the tip.
- The yellow moves inward toward the base.
- The leaf eventually goes completely pale and drops off.
- The rest of the plant may look a little pale green overall.
The American Horticultural Society (AHS) notes that nitrogen is the nutrient plants need in the largest amounts, and it leaches out of potting soil faster than most people realize. That is especially true when you water frequently.
What I do about it:
I use a balanced liquid fertilizer, diluted to half strength. I apply it every two weeks during spring and summer. I stop feeding in late fall and winter because spider plants slow down and do not use much.
I tried a full-strength dose once, thinking more would be better. I burned the leaf tips and set the plant back a month. Half strength is plenty.
Potassium Deficiency: The Crispy Edge Problem
Potassium deficiency looks different.
On mature lower leaves, you will see:
- Brown, crispy edges, especially near the leaf tip.
- A thin yellow halo between the brown edge and the green center.
- The leaf may curl slightly or feel weak.
I once ignored this on a spider plant for three weeks because I thought the brown tips were from tap water. They were not. The browning was moving up the edges in a pattern that water damage does not usually follow.
What I do about it:
I switch to a fertilizer that includes potassium, usually a tomato-type feed diluted way down. I also check my watering routine because inconsistent moisture makes potassium uptake worse.
A quick note: brown tips alone are not proof of potassium deficiency. Low humidity, fluoride in tap water, and overwatering all cause brown tips too. The difference is that potassium deficiency browns the edges of multiple lower leaves, not just the tips.
Magnesium Deficiency: The Striped Look
This one is less common indoors but still worth knowing.
Magnesium deficiency on mature lower foliage looks like:
- Yellow patches between the veins.
- The veins themselves stay green.
- It usually starts on older leaves and moves upward.
I have only seen this once, on a spider plant I had in a potting mix that was too old and compacted. The plant had been in the same soil for nearly two years.
What I do about it:
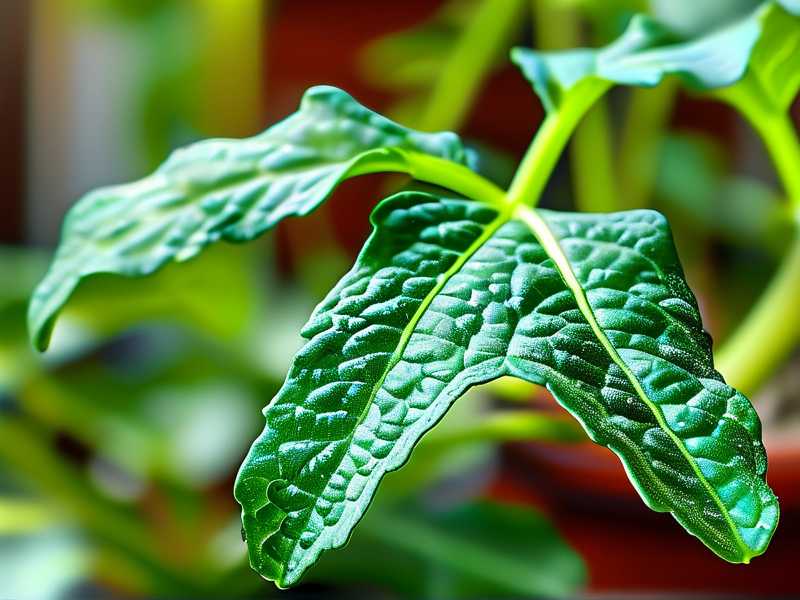
I repot with fresh soil and add a small amount of Epsom salts, about half a teaspoon per quart of water, once a month for two months. That cleared it up for me.
But honestly, if your soil is fresh and you fertilize occasionally, magnesium deficiency is unlikely. Do not jump to this conclusion first.
The 3 Beginner Mistakes That Wreck Spider Plants
I need to talk about this because I made all three.
Mistake 1: Overwatering
This is the big one. You have heard it before, but it bears repeating. 90% of indoor plants die from overwatering. That includes spider plants.
When the soil stays wet, the roots suffocate and rot. A rotten root cannot absorb nutrients, so the plant shows deficiency symptoms even when there is plenty of food in the soil.
I killed my second spider plant this way. I thought I was being attentive. I was actually drowning it.
How I fixed it: I let the top inch of soil dry out completely before watering again. I also switched to a pot with drainage holes, which brings me to mistake number three.
Mistake 2: Wrong Light
Spider plants are forgiving, but they are not cave plants.
In low light, they grow slowly and use fewer nutrients. That sounds fine, but it means any fertilizer you add sits in the soil and builds up. Then you get salt burn that looks like nutrient deficiency.
In harsh direct sun, the leaves bleach and scorch, which also looks like a problem.
What I do: Bright, indirect light. A few feet back from a south or west window. That is the sweet spot for me.
Mistake 3: Wrong Pot
I once planted a spider plant in a decorative pot with no drainage hole. Every watering was a slow death sentence. The soil stayed soggy at the bottom, the roots rotted, and the lower leaves yellowed.
I did not figure it out for two weeks.
What I do now: Every spider plant goes in a pot with drainage holes. I use a well-draining mix, usually cactus soil blended with regular potting mix. I never let the pot sit in standing water.
My 2-Week Observation: What I Actually Saw
I want to share a real timeline from a spider plant I rescued last year.
Day 1: I noticed three mature lower leaves were yellowing from the tips. The rest of the plant looked okay.
Day 2-4: I checked the soil. It was damp. I had watered two days earlier. I decided to wait and let it dry out.
Day 5: The yellowing had not spread. The soil was finally dry at the top inch. I watered lightly.
Day 7: One lower leaf had gone fully yellow and dropped. But no new leaves were yellowing. That told me it was not an active spreading deficiency.
Day 9: I fed with half-strength balanced fertilizer.
Day 11: The plant looked stable. No new yellowing on the lower leaves.
Day 14: I saw a tiny new leaf emerging from the center. That was my signal that the plant was recovering.
The lesson? The old damaged leaves did not turn green again. They never do. What matters is whether the damage stops spreading to new leaves. If it does, you are on the right track.
How to Tell Nutrient Deficiency Apart from Overwatering
This is the million-dollar question, and I wish someone had told me sooner.
Signs it is overwatering:
- Soil stays wet for more than a week.
- The pot feels heavy.
- The lower leaves are yellow and mushy, not dry.
- You smell something sour or rotten near the soil.
- The plant wilts even though the soil is wet.
Signs it is a nutrient deficiency:
- Soil dries out normally between waterings.
- The lower leaves are yellow or brown but not soft.
- The pattern matches a specific nutrient, like tip yellowing or edge browning.
- The plant has been in the same soil for many months without feeding.
If you are not sure, do not fertilize. Repot with fresh soil and fix your watering first. That solves most cases.
What I Feed My Spider Plants Now
I keep it simple.
- Balanced liquid fertilizer, diluted to half strength.
- Every two weeks in spring and summer.
- Once a month in fall.
- Nothing in winter.
I also flush the soil every few months by watering heavily and letting it drain completely. That washes out salt buildup from fertilizer.
I have not had a nutrient deficiency since I started this routine. The key was fixing my watering and my pot choice first.
Frequently Asked Questions
Can a spider plant recover from nutrient deficiency on lower leaves?
Yes, but the damaged leaves will not turn green again. What you are looking for is new growth and no spreading damage. If the plant stops losing lower leaves and starts pushing out new ones, it is recovering.
Should I cut off the yellowing lower leaves?
I usually wait until they are fully yellow or brown and pull away easily. If they are still partly green, the plant is still using them. Cutting too early stresses the plant a little. Once they are crispy or mushy, remove them so pests do not move in.
How often should I fertilize a spider plant indoors?
Every two weeks at half strength during the growing season works for me. In winter, I stop entirely. Overfeeding is just as bad as underfeeding, and it causes salt buildup that looks like a deficiency.
At the end of the day, identifying spider plant nutrient deficiency on mature lower foliage leaves is about pattern recognition. The lower leaves tell you the story, but the soil and roots tell you the truth. Check your watering first. Fix your pot and your light. Then, if those are dialed in, feed lightly and watch for two weeks. That approach has saved more of my plants than any fertilizer ever did.





