bluename
How to Build Simple Cable Organizers to Tidy Long spider plant Trailing Vines
Spider plants are generous growers. Give them decent light and a little water, and they'll reward you with cascades of trailing vines that eventually turn into a tangled mess. If you're staring at a curtain of hopelessly knotted spiderettes right now, here's the short answer: simple cable organizers — the same cheap clips and sleeves people use for computer wires — are one of the easiest ways to tidy long spider plant trailing vines without harming the plant.
I've been growing spider plants for over a decade, and I only figured this out after my fourth one turned into what my partner politely called "the jungle curtain." Two weeks after I started using basic cable organizers, the vines were trained, the plant looked intentional, and I stopped accidentally snapping stems every time I walked past it.

Why Spider Plant Vines Get Messy in the First Place
Spider plants (Chlorophytum comosum) throw out long stolons — those skinny, arching stems — and each one ends in a baby plantlet. Indoors, with no wind and no natural surface to drape over, those stolons just pile on top of each other.
RHS notes that spider plants naturally spread by producing these plantlets, which is why they multiply so fast in a happy home. Left alone, the vines wrap around each other. They also wrap around shelves, curtain rods, and each other. Untangling them later risks breaking stems that won't grow back from the same point.
So the goal isn't to stop the vines. It's to guide them.
What You'll Actually Need
You don't need a fancy system. Here's what worked for me:
- Adhesive cable clips (the small plastic kind with a sticky back)
- Self-gripping cable ties, sometimes sold as reusable hook-and-loop ties
- A few clear cable sleeves or spiral wrap, about half an inch wide
- Small command hooks if you don't want adhesive on a shelf
- Clean scissors
Skip anything with sharp edges. Skip metal twist ties. I tried those once and the coating flaked off within a week, leaving a rusty spot near a stem.
Step 1: Untangle Before You Organize
Before you stick anything to anything, lay the plant on a table or gently lift the pot and let the vines hang free.
Work slowly. Separate each stolon by hand, starting from the base and moving outward. If two vines are twisted together, don't pull. Rotate them apart.
I learned this the hard way. On my second spider plant, I yanked a knot apart and heard a clean snap. That stolon died back to the crown. It took almost three months before a replacement grew.
Step 2: Decide on a Shape
You have three realistic options:
- The cascade — let vines hang straight down, clipped loosely to a wall or shelf edge.
- The fan — spread vines outward like spokes so each one gets light.
- The wrap — coil vines gently around the pot rim for a compact look.
Most people want the cascade. It looks the most "spider plant" and it's the least work. I use the fan for plants sitting in a bright window, because crowded vines shade each other and the lower leaves start to yellow.
Step 3: Attach the Cable Clips
Peel the backing off an adhesive cable clip. Press it where you want the vine to travel. Wait an hour before threading anything through it — the adhesive needs time.
Space clips every 6 to 10 inches. Closer than that and you're just adding clutter.
I made the mistake of attaching clips while the plant was still hanging. The vines moved, the clips landed crooked, and I had to peel them off. Two of them took paint with them. Now I always mark positions with a pencil first.
Step 4: Use Ties, Not Knots
This is the part most guides get wrong. You are not tying the plant down. You're just keeping it from swinging.
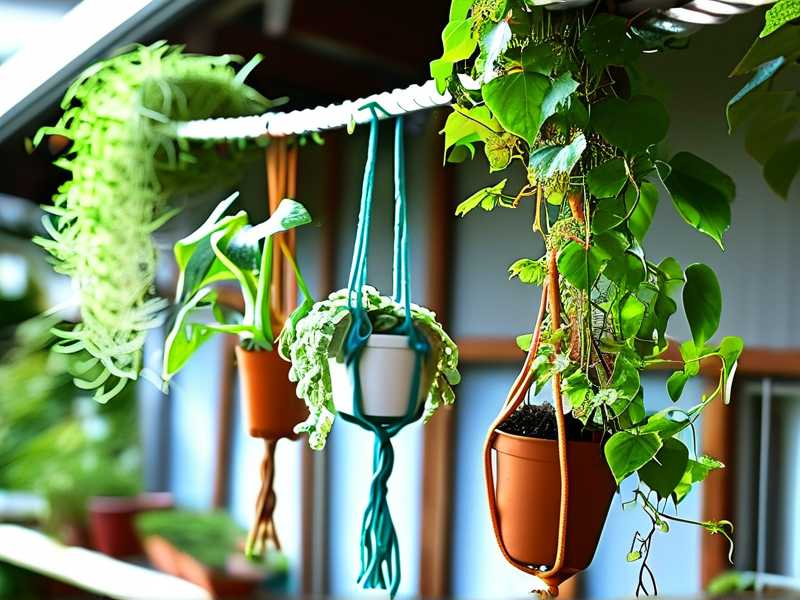
Loop a self-gripping tie around the stolon and the clip. Close it loosely — you should be able to slide a finger between the tie and the stem. Tight ties cut into the plant's tissue, and that's how you get brown, pinched stems.
I killed a whole set of plantlets this way in year two. The ties were fine for about five days, then the stems swelled slightly and the ties bit in. Lesson learned.
Step 5: Bundle Thick Sections with a Sleeve
If you have more than five or six vines, individual clips start to look messy. That's when a clear cable sleeve helps.
Group three or four stolons together. Slide them into a sleeve. Run the sleeve down along a shelf edge or wall. It looks deliberate, almost like a design feature.
AHS recommends giving spider plants room to spread, so don't compress the vines into one tight bundle. Leave at least a couple of inches of breathing room.
Two-Week Observation: What Actually Happens
Here's what I saw over 14 days after setting this up on a mature spider plant with nine trailing vines:
- Days 1–3: The vines held their new positions. One plantlet near the top lightened slightly, probably from the change in angle.
- Days 4–7: New growth started bending toward the clips. Spider plants adapt fast when they're not fighting themselves.
- Days 8–10: A small stolon that had been hidden behind the bunch emerged and started extending downward. I hadn't even known it was there.
- Days 11–14: The whole plant looked lighter. Leaves that had been shadowed by the tangle greened up. No stems snapped. No ties left marks.
Honestly, the difference was bigger than I expected.
The Three Mistakes That Kill indoor plants (And Yes, They Apply Here Too)
Spider plants are forgiving, but they still die from the same things everything else dies from. Worth saying plainly: 90% of indoor plants die from overwatering. That includes spider plants.
Mistake 1: Overwatering
I've done this. More than once. The leaves go pale, then the tips brown, then the crown turns to mush.
Water only when the top inch of soil feels dry. In winter, that might be every two weeks.
Mistake 2: Wrong Light
Spider plants want bright, indirect light. Direct midday sun scorches the leaves. Deep shade stalls growth and the vines stop extending.
If your plant isn't producing stolons, light is usually the reason.
Mistake 3: The Wrong Pot
Too big and the soil stays wet too long. Too small and roots push out of the drainage holes.
A pot that's one size up from the root ball is right. Terracotta dries faster than plastic, which matters if you tend to overwater.
A Few Extra Tips From Experience
- Rotate the pot a quarter turn each week so the vines don't lean permanently toward the window.
- Snip off plantlets you don't want. Each one pulls energy from the mother plant.
- Reposition clips every few months as the plant grows. The vines will shift.
- If a clip falls off, don't panic. Just replace it and re-thread the vine.
FAQ
Will cable clips damage my spider plant?
No, as long as the ties are loose and you're only holding the stolon, not squeezing it. Never tie directly around the crown or the main stem.
Can I use these organizers on other trailing plants?
Yes. Pothos, string of pearls, and English ivy all work with the same setup. Just adjust the tie size for thinner stems.
How often should I redo the arrangement?
Every two to three months. Spider plants grow quickly, and what looked tidy in spring will need a refresh by summer.
Spider plants are supposed to look a little wild. The point of organizing the vines isn't to tame them into submission — it's to let them hang the way they want without turning into a knot. A handful of cable clips, a pack of soft ties, and fifteen minutes is all it takes. Two weeks from now, you'll wonder why you didn't do it sooner.