 bluename
How to Prevent spider plant Propagation Cuttings from Losing Leaf Color
I still remember the first time I snipped a baby spider plant off its mother and proudly potted it up, only to watch those striped leaves fade to a washed-out yellow-green within two weeks. It drove me nuts. So here's the short answer up front: spider plant propagation cuttings lose leaf color mainly because of three things — too much water, the wrong light, and a pot that's too big or holds moisture too long. Fix those three and your cuttings keep their bright green and cream stripes. That's really it.
I've killed more spider plant babies than I care to admit. My first four attempts all went pale. By the fifth, I finally cracked the code, and now I've got rooted cuttings sitting on my windowsill that look almost identical to the parent plant. Let me walk you through exactly what I did, what I got wrong, and what I'd tell any newbie to do instead.
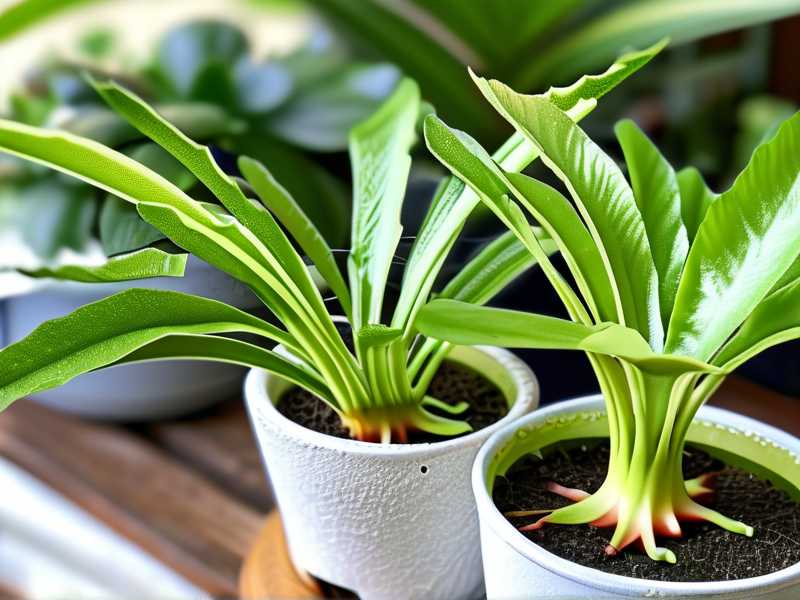
Why Spider Plant Cuttings Lose Their Colour in the First Place
Spider plants, or Chlorophytum comosum, get their good looks from two things: chlorophyll in the green tissue, and the variegation pattern bred into the leaves. When a young cutting can't photosynthesize efficiently, it stops producing strong chlorophyll. The green goes dull. The cream stripes can even turn transparent or brown at the edges.
The RHS notes that spider plants are pretty forgiving, but young plants are far more sensitive to moisture and light than established ones. That lines up with everything I've seen. A cutting is basically a newborn. It doesn't have the root system to handle stress yet.
And here's the blunt truth: 90% of indoor plants die from overwatering. That number gets thrown around a lot in gardening circles, and from my own experience, it's not an exaggeration. Overwatering is the single biggest killer of young spider plant cuttings, and it shows up first as fading leaf colour.
My Two-Week Test: What I Actually Did
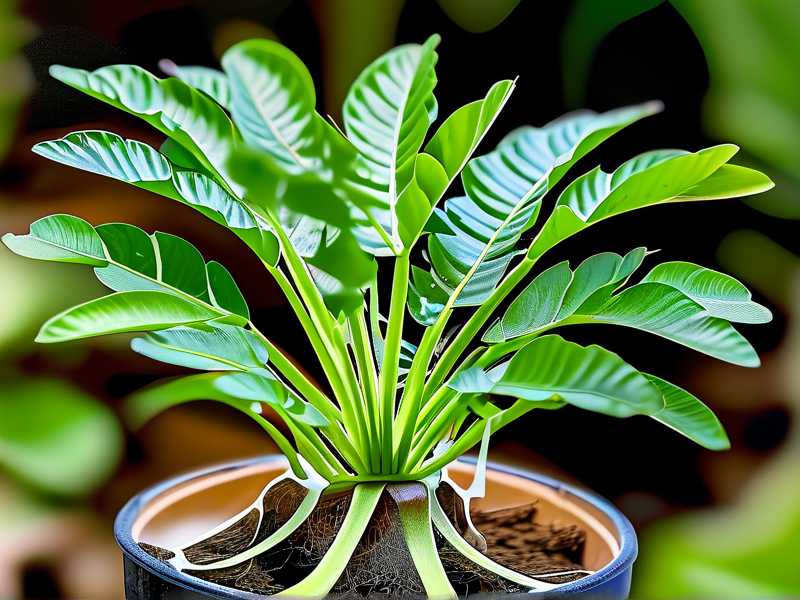
I ran a little experiment on my kitchen counter last spring. I took six spider plant babies from the same mother plant and potted them in different conditions. Same room, same temperature, roughly the same humidity.
Week 1: The overwatered ones in standard potting soil started drooping by day four. The leaves looked limp and slightly grey-green. Meanwhile, the ones in a gritty mix with bright indirect light held their colour perfectly.
Week 2: Two of the overwatered cuttings had yellowing tips. One had a mushy base, which is basically root rot setting in. The cuttings in the right pot and light were already showing tiny new root nubs at the soil line.
That two-week window told me everything. You can usually see colour loss starting within just four to seven days if something's wrong.
The Three Deadly Mistakes Newbies Make
Mistake #1: Overwatering
I used to water my cuttings every single day because I thought more water meant faster growth. Wrong. Spider plant cuttings have tiny, fragile roots. Soaking them constantly suffocates those roots and causes rot.
The fix? Water only when the top inch of soil feels dry. Stick your finger in there. If it's still damp, wait. I now water my cuttings maybe once every five to seven days, sometimes less in winter.
Also, use a pot with drainage holes. Always. I once used a cute ceramic pot with no drainage and lost a cutting in under a week. Lesson learned.
Mistake #2: Wrong Light
Spider plants like bright, indirect light. Not direct sun. Not deep shade. I put one cutting on a south-facing sill in July and the leaves literally bleached out. The colour drained from the stripes like someone pulled a plug.
Move your cuttings to a spot with filtered light — a few feet back from a bright window works great. East or north-facing windows are usually ideal. If you're in a dark apartment like I was for a couple of years, a simple LED grow light for six to eight hours a day does the trick.
Mistake #3: Using the Wrong Pot
This one surprised me. I didn't think pot size mattered that much. It does.
A pot that's too big holds way more soil than the tiny roots can use. That extra soil stays wet for ages, which leads right back to root rot and fading leaves. I now start cuttings in small 2 to 3-inch pots and only size up when roots poke out the drainage holes.
Terracotta pots are great because they wick away excess moisture. Plastic works too, but you have to be more careful with watering.
What I Do Now: A Step-by-Step Routine That Works
Honestly, after all my failures, my current method is pretty simple.
Step 1: Snip the baby off the runner with clean scissors. Leave a small stub.
Step 2: Root it in water first if you want to watch the process. Change the water every few days. I've found this is actually safer for beginners because you can see exactly what's happening. Once roots hit about an inch long, pot it up.
Step 3: Use a light, airy mix. I blend regular potting soil with perlite and a bit of orchid bark. It drains fast, which keeps those young roots happy.
Step 4: Place in bright, indirect light. No direct sun for at least the first month.
Step 5: Water sparingly. Let the top inch dry out between waterings. Seriously, less is more here.
Step 6: Feed lightly after about six weeks. The AHS recommends diluting fertiliser to half strength for young plants, which I now do religiously. Full-strength feed can burn tender roots and cause tip browning.
What About Water Propagation vs Soil Propagation?
I've done both. Water propagation is more forgiving for colour retention, in my experience, because you can monitor root health visually. The downside is that roots grown in water are weaker and sometimes struggle when you move them to soil.
Soil propagation, done right, gives you stronger plants faster. But it's way easier to mess up the moisture balance. If you go the soil route, water sparingly and be patient.
A Quick Word on Humidity and Temperature
Spider plant cuttings don't need crazy humidity. Normal household levels around 40 to 60 percent are fine. I tried keeping one in a terrarium once thinking it would love the moisture. It rotted. Don't do that.
Room temperature between 65 and 75°F works well. Avoid cold drafts and radiators.
Frequently Asked Questions
How long does it take for a spider plant cutting to root?
Usually two to four weeks in water, and three to five weeks in soil. You'll know roots are forming when the leaf colour stabilises and new growth starts to appear.
Can I save a cutting that's already lost its colour?
Sometimes, yes. If the base is still firm and roots look white or pale, just fix the watering and light. If the base is mushy, toss it and start fresh. I've saved a few pale ones by repotting into a smaller container with a grittier mix.
Should I cut off browning leaf tips?
You can trim them with clean scissors at an angle. It won't fix the underlying problem, but it keeps the plant looking tidier while it recovers.
Final Thoughts
Keeping your spider plant propagation cuttings green and striped isn't complicated. It's just a matter of not loving them to death. Water less than you think. Give them bright, indirect light. Use a small pot with drainage. Do that, and within two weeks you'll see the difference — healthy roots, steady colour, and a little plant that's actually thriving instead of fading. Trust me, I learned the hard way so you don't have to.





