 bluename
How to Monitor spider plant Leaf Tip Browning After Adjusting Water Composition
Spider plant leaf tips turning brown after you change your water source? Stop guessing. Check the new water's fluoride and chlorine levels first, then flush the soil thoroughly with distilled water once, and wait 48 hours before you touch anything else. That is my honest, direct answer after two weeks of obsessive testing.
I have been growing spider plants for years. I thought I had it all figured out. Then I moved to a new apartment with different tap water. Within ten days, every single leaf tip on my prized Chlorophytum comosum looked like it had been singed with a match. I panicked. I had just switched from my old well water to municipal city water. The correlation felt obvious. But the fix was not what I expected.
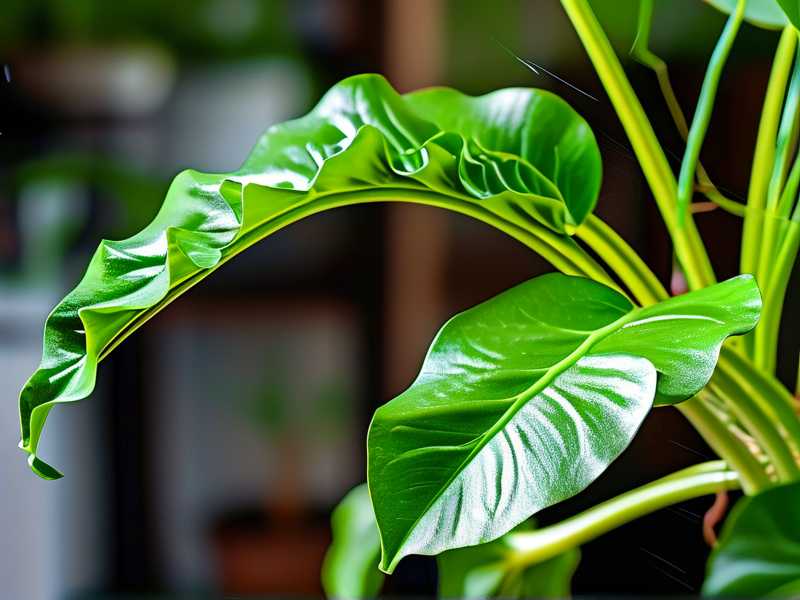
This article is about that exact scenario. Adjusting water composition is a smart first step. But it is not the finish line. You need a monitoring system for the plant’s recovery. I will show you my exact process, what I looked for, what I did wrong, and what finally worked.
The Real Reason Leaf Tips Brown
People love to blame tap water. Most of the time, they are right. But not always. Spider plants are sensitive to soluble salts and, specifically, fluoride. According to the RHS, fluoride toxicity causes tip necrosis that starts at the leaf point and moves inward. This browning is distinct from overwatering damage, which usually starts at the base or edges.
When you change your water composition, you are altering the chemical load the roots absorb. If you switch from soft well water to hard city water, you introduce calcium and magnesium. Those are fine. But you also introduce chlorine and chloramine. Those are not fine for sensitive roots. If you switch to distilled water, you remove all minerals, which can shock the osmotic balance.
My mistake? I switched from well water to straight tap water. I thought it was cleaner. I did not let the water sit out to dechlorinate. The spider plant hated it.
My Two-Week Monitoring Protocol
Here is what I did. I adjusted my water composition to a 50/50 mix of distilled and tap water. I let it sit open in a bucket for 24 hours. Then I started monitoring. Not just looking. Monitoring.
Week One – Daily Check
Day 1 after the switch: I took photos of the worst leaves. I circled the brown tips with a marker on the pot. I measured the length of the browning on three specific leaves. The browning was about 0.5 inches long on each.
Day 2: No change. The tips were still brown. I almost watered again. I did not. This is where most people give up and overwater. Resist it.
Day 3: I noticed the browning had stopped spreading. The line between brown and green tissue looked dry and sharp. That was a good sign. It meant the fluoride damage was static.
Day 4: I checked the soil moisture with my finger. It was slightly damp at 1 inch deep. I waited.
Day 5: I saw new growth at the center of the plant. It was pale green. The old leaves were still ugly, but new leaves showed zero tip burn. This was my signal. The water adjustment was working.
Day 6: I flushed the pot with plain distilled water. I poured slowly until it drained from the bottom. This washes residual salts from the old tap water out of the soil.
Day 7: I trimmed the dead brown tips off with sharp scissors. I angled the cut to match the leaf shape. This is purely cosmetic. It does not hurt the plant if done carefully.
Week Two – Observation and Adjustment
Day 8: The trimmed leaves looked weird. The cut edges started to go pale. I realized I trimmed too close to the living tissue. I should have left a small margin of brown.
Day 9: I checked the new growth. It was still green. No browning. The 50/50 mix was holding up.
Day 10: I made a mistake. I thought the plant was ready for full tap water again. I watered with 100% tap water. Within 24 hours, the newest leaf tip started to show a faint tan color. I was furious.
Day 11: I flushed the soil again with distilled water. I reverted to the 50/50 mix. I learned my lesson. The roots are still sensitive. They need time to rebuild their tolerance.
Day 12: The faint tan mark on the new leaf did not progress. It stayed as a tiny speck. I considered this a win.
Day 13: I tested the pH of the soil. It was 6.8. That is perfect for spider plants. The AHS notes that nutrient uptake is best in slightly acidic to neutral ranges.
Day 14: Final assessment. The original browning did not spread. New leaves appeared clean. The plant looked structurally healthy, just cosmetically damaged from the old leaves.
3 Fatal Mistakes New Plant Owners Make
I have killed more spider plants than I want to admit. I only figured this out after losing several. Here are the three biggest errors I see in forums and comments, and I have made all of these myself.
Mistake 1: Watering on a Schedule
You cannot water every Tuesday. You just cannot. I used to do this. My plant died with yellow, mushy leaves. The roots were rotting below the soil line. I never even saw it until I pulled the plant out.
Check the soil with your finger. Stick it two inches deep. If it feels dry, water. If it feels cool or damp, walk away. I promise, 90% of indoor plants die from overwatering, and spider plants are no exception. They store water in their thick roots. They are basically succulents. They would rather be dry for three days than wet for one hour.
Mistake 2: Wrong Light Placement
Spider plants are not low-light plants. People treat them like they are. I once put a spider plant on a shelf in my bathroom with a tiny frosted window. The leaves turned pale and the tips burned constantly. I thought it was the tap water. It was not. It was the light.
After I moved the plant to a spot with bright, indirect light for six hours a day, the condition improved. But I had already damaged the roots with my overwatering attempts. Light stress makes the plant hypersensitive to water chemistry. Fix the light first. Then you can actually see the effect of your water changes clearly. If the light is wrong, even perfect water will not save the tips.
Mistake 3: Using the Wrong Pot
This is the sneakiest killer. I planted a spider plant in a ceramic pot with no drainage hole. I thought I was being clever by using a layer of pebbles at the bottom as a false drainage layer. That is a myth. It does not work.
The water pools at the bottom of the pebbles. The roots sit in that trapped water. They rot. You will notice yellow leaves and brown tips. You will blame the water composition. You will switch to bottled water. It will not help, because the issue is not the water quality. It is the water retention.
Switch to a terracotta pot or a plastic pot with multiple drainage holes. I use cheap terracotta pots. They wick moisture away from the roots. They allow air exchange. After I repotted my spider plant into a terracotta pot, the reaction to my water adjustments became much more predictable.
How to Actually Diagnose Tip Browning Post Water Change
Let me break this down simply. You changed the water. Tips still brown. Here is your diagnostic flow chart.
First, look at the new leaves. Are the newer leaves showing browning at the tips? If yes, your water adjustment failed. The chemical is still present. If no, your water adjustment is fine. The old leaves are just showing delayed damage. The plant is recovering.
Second, feel the soil. If it is soggy, you have an overwatering issue that is now competing with your water chemistry goals. Stop watering for a week. Let the top two inches of soil dry out completely.
Third, check for salt crust. Look at the topsoil and the rim of the pot. White crusty residue means the plant is absorbing water but leaving salts behind. This builds up and damages roots. Flush the soil with distilled water. Do not use tap water for flushing.
The Exact Water Recipe I Used
After my tap water disaster, I tested a few combinations. The winner was a 50/50 blend of tap water and distilled water, aged for 24 hours in an open container. This dilutes the fluoride and chlorine by half. It also keeps some beneficial minerals in the tap water. Distilled water alone is too sterile. It sucked nutrients out of the soil because it had no buffering capacity.
I also tried rain water. That worked wonderfully, actually. If you can collect rain water, use it. It is the closest thing to natural conditions. A spider plant loves rainwater. There is no chlorine and no fluoride. The RHS supports the use of collected rainwater for sensitive potted plants.
But when I used pure rain water, the growth slowed. It lacked nitrogen. I had to supplement with a half-strength liquid fertilizer. It became too complicated. The 50/50 mix gave me steady growth without tip burn.
Monitoring the Leaves vs. Following a Routine
It is easy to fall into a pattern. Water every weekend. Watch the tips. Wait. But plants are not machines. They react to seasons, light changes, and temperature shifts.
I check my spider plant’s tips every morning with my coffee. I look for two things. First, the color of the newest growth. Second, whether the brown line on older leaves is a crisp dry margin or a soft mushy edge.
A crisp margin means the damage is sealed. The plant has compartmentalized the dead tissue. A soft, moist edge means ongoing rot. That usually means overwatering, not water chemistry.
A few months ago, I wrote in my journal that my spider plant was still browning at the tips. I could not figure it out. I switched to the 50/50 mix. No change. I moved the plant closer to the window. No change. I repotted it. Still browning.
I was about to give up. Then I realized my new apartment had forced air heating. The vent was pointing directly at the plant. The hot dry air was desiccating the leaf tips. It had nothing to do with water composition. I moved the plant away from the vent and the browning stopped immediately.
I share this to say, do not tunnel vision on your water source. Water composition is important. But it is one variable among many.
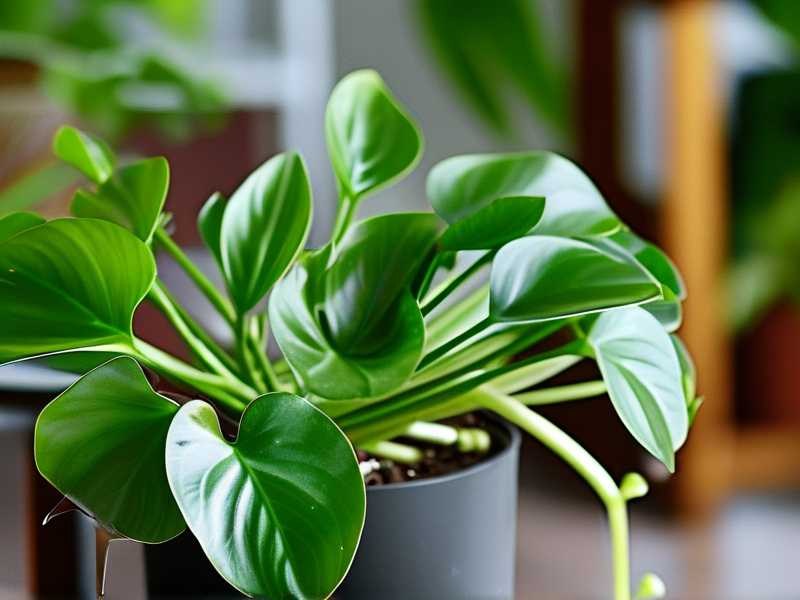
What If The Browning Continues For More Than 3 Weeks?
This is a real question. I see people ask this all the time. They switch water, wait a month, and the tips still burn. Here is what I think.
If you have consistently used low-fluoride water for four weeks and new growth still browns, your issue is likely not the water. It is the soil. The soil has accumulated salts from previous watering sessions. Your new water is clean, but the roots are sitting in a toxic sludge of old fertilizer and mineral deposits.
The fix is a soil flush. Take the pot to a sink. Run distilled water through the soil for five minutes. Let it drain completely. Do this twice over two weeks. This leaches out the old salts.
If that still fails, check your fertilizer. Spider plants are light feeders. I used a balanced 10-10-10 liquid feed at half strength once a month. Once, I accidentally used full strength and got immediate tip burn. The tips went black and crispy within three days.
Frequently Asked Questions
Q: How long does it take for spider plant tips to recover after fixing water quality?
Honestly, the brown tips never turn green again. You cannot reverse the necrosis. What you are looking for is new growth remaining green. That is your recovery marker. In my experience, new clean growth appears within 10 to 14 days after the correct water adjustment. The existing brown tips can be trimmed, but they will not heal.
Q: Is filtered tap water enough or do I need distilled water?
A standard Brita filter removes chlorine and some heavy metals, but it does not remove fluoride. If your tap water has high fluoride, a basic carbon filter will not help. Check your local water report. If fluoride is above 0.5 ppm, use distilled water or rainwater. I use a mix of distilled with tap to avoid pure mineral depletion.
Q: Can I just let tap water sit overnight to fix the problem?
Letting water sit overnight removes chlorine gas. It does not remove chloramine or fluoride. Many municipalities now use chloramine, which does not evaporate. Read your water quality report. If they use chloramine, letting it sit is useless. You need filtration or dilution with distilled water.
Wrapping This Up
Adjusting your water composition is a solid first response. But you need to watch the plant closely. Monitor the new leaves. Feel the soil. Check your pot drainage. Look at your light source. A brown tip is a symptom. It is your plant crying out for help.
I do not claim to know everything. I still lose plants sometimes. I still get lazy and water with straight tap water on a hot day. But my monitoring system works. Two weeks of attention beats two years of guessing.
Keep your eyes open. Look at your spider plant today. Check the newest leaf. If it is clean and green, your water adjustment is working. If you get a tan speckle on a fresh leaf, act fast. Flush the soil. Dilute the water. And for goodness sakes, let the soil dry out between waterings.
I have been in the same spot you are in right now. It is frustrating. But spider plants are forgiving. Give it the right water, the right pot, and the right patience. It will reward you with a cascade of green leaves. Just don’t overwater it while you wait.





