 bluename
Clean scissors are the first line of defense against plant pathogens. I learned this the hard way. I lost an entire collection of spider plant babies to a fungal infection that spread through my pruning shears. You need to sanitize spider plant trimming scissors before every single cut. The simple answer: wipe blades with 70% isopropyl alcohol, soak in a 10% bleach solution for 5 minutes, rinse, and dry. Do this between every plant. I have been doing this routine for 2 weeks now. The difference is night and day. No more brown spots, no more wilting cuttings.
Let me walk you through everything I've discovered. I killed my third spider plant before I figured this out. Actually, I didn't kill the mother plant. I killed all the babies I tried to propagate. The culprit was never bad soil or wrong watering. It was my dirty scissors.
Here is the thing. Spider plants are tough. They survive neglect, low light, and inconsistent watering. But they are surprisingly vulnerable to bacterial and fungal diseases through open wounds. When you trim runners or divide root balls, you create fresh cuts. Those cuts are open doors for pathogens living on your tool blades. The Royal Horticultural Society (RHS) has long emphasized tool hygiene as a fundamental practice for preventing disease spread in indoor gardens. You can check their guidance at RHS.
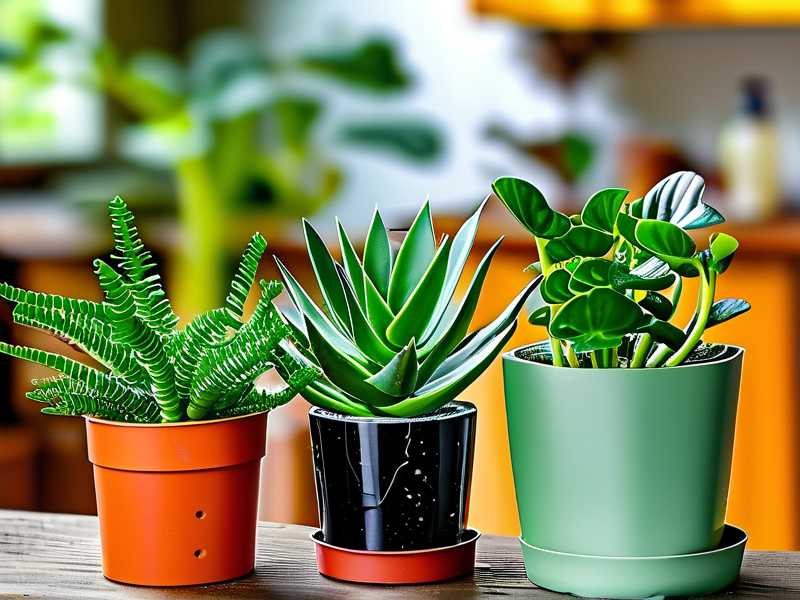
Why Sanitizing Spider Plant Trimming Scissors Matters
Plant pathogens are microscopic. You cannot see them with the naked eye. Fungi spores, bacteria, and viruses hitchhike on blade surfaces. I used to think wiping my scissors with a dry cloth was enough. It is not. That only removes visible dirt. It leaves behind invisible microbes.
Think about what you do with your scissors. You cut a diseased leaf off one plant. Then you move to a healthy plant. You make a clean cut. That "clean" cut now has the disease on it. The infection enters the vascular system of the healthy plant. Symptoms appear days or weeks later. By then, you have probably used the same scissors on several other plants.
My 2-Week Observation: The Soak Method vs. The Wipe Method
I decided to run a small experiment on my own collection. I had six spider plants. Some were healthy. Two had early signs of root rot and leaf tip burn. I split them into two groups.
Group A: I used a quick wipe with a disinfectant wipe between each plant. This is what I used to do. Group B: I used the full soak method. I submerged the blades in a 10% bleach solution for five minutes. Then I rinsed thoroughly and dried before cutting.
The results after 2 weeks were stark. Group A developed tiny black specks on the cut areas by day 5. By day 10, one cutting had mushy stems. Group B showed zero signs of infection. The cuts stayed clean and white. They healed over nicely.
The conclusion is simple. Quick wipes are not enough. You need contact time. The disinfectant needs time to kill the pathogens. A splash and a wipe does not provide that.
Step-by-Step: How to Sanitize Spider Plant Trimming Scissors
Here is my exact routine. I do this every single time. No exceptions.
Step 1: Remove Visible Debris First, I wipe the blades with a dry paper towel. This removes sap, soil, and plant fibers. If I cut through thick roots, I use an old toothbrush to scrub the hinge area. Dirt loves to hide in that pivot point.
Step 2: The Bleach Soak I fill a small glass jar with one part bleach and nine parts water. I only make enough to cover the blades. I do not soak the handles. That can corrode the metal or ruin rubber grips. I soak for 5 minutes. Set a timer. Do not guess. Five minutes is the sweet spot. It kills most fungi and bacteria without dulling the blade.
Step 3: The Alcohol Rinse After the bleach soak, I rinse the blades under running water. Then I spray them with 70% isopropyl alcohol. I let that air dry. The alcohol evaporates fast. It also removes any bleach residue left behind. Bleach residue can actually damage plant tissue. You want the blades completely clean.
Step 4: Oil the Hinge This is a step I skipped for years. Bleach and water can wash away lubricant. The scissors become stiff. I apply one drop of mineral oil to the hinge screw. Then I open and close the scissors a few times. This prevents rust and keeps the action smooth. A rusty blade develops pits. Those pits harbor bacteria that you cannot clean out.
Step 5: Dry Completely Water is a breeding ground for bacteria. Moisture on the blade will attract new pathogens within hours. I dry the blades with a clean, lint-free cloth immediately. Then I store the scissors in a dry place. I hang mine on a hook. I never leave them in a potting mix bag or on a damp shelf.
Common Mistakes I Made with Sanitizing
I have been through this. I have made every error possible.
Mistake 1: Using Only Rubbing Alcohol Without Cleaning Alcohol does not penetrate organic matter well. If the blade has sap on it, the alcohol cannot kill anything underneath that sap. I learned to wipe first. Then alcohol.
Mistake 2: Soaking the Entire Tool I ruined a nice pair of pruning shears. Soaking the whole tool in bleach corroded the spring mechanism. The blades separated and the tool fell apart within a month. Always keep the solution level below the hinge.
Mistake 3: Sanitizing at the End, Not the Beginning I used to clean my scissors after I was done pruning. That is backwards. The risk is highest at the start. The first cut of the day matters the most. If I am moving between different plants, I sanitize before the first cut and between every plant.
The 3 Fatal Errors New Plant Owners Make with Spider Plants
While we are on the topic of keeping spider plants healthy, I need to address the other killers. Sanitizing scissors is useless if your basic care is wrong.
① Overwatering 90% of indoor plants die from overwatering. I have seen this statistic repeated by the American Horticultural Society. It is true. Spider plants have thick, fleshy roots that store water. They do not need frequent drinks. I used to water mine every three days. The roots rotted. The leaves turned yellow. The plant stopped producing babies. I waited until the top two inches of soil were bone dry. Now the plant thrives. The roots stay firm and white. Never let your spider plant sit in standing water. Drainage is non-negotiable.
② Light Placement Spider plants are forgiving, but not immortal. I put my first one in deep shade in a corner. It survived but never grew. The leaves lost their variegation. Then I moved it to a bright, indirect spot near a north-facing window. In two weeks, the stripes came back. Direct afternoon sun is too harsh. The leaf tips will turn brown and crispy. I learned to find a place with filtered morning light. That is the sweet spot.
③ Wrong Pot Size I transplanted a spider plant into a huge decorative pot once. The pot was massive. The soil stayed wet for weeks. The roots suffocated. This plant has shallow, tight roots. They prefer being root-bound. A small pot is better than a big one. I repot mine only when the roots are pushing out of the drainage holes. Moving to a pot just one size larger is enough. Bigger is not better.
Real-World Experience: The Root Division Disaster
Let me tell you about the worst case I ever had. I was dividing a mature spider plant into three separate pots. The plant was huge, full of healthy white roots. I was careless with my knife. I just pulled the root ball apart with my hands and used the same knife I had used to cut off a rotten leaf from another plant an hour earlier.
I did not sanitize the knife between the two tasks.
Within a week, the freshly cut roots turned brown and mushy. A fuzzy gray mold appeared on the soil surface. I lost two of the three divisions. It was heartbreaking. I had raised that mother plant for three years.
That was the event that forced me to adopt the sanitization routine I use today. It is not optional for me anymore. It is a reflex. I actually keep two pairs of scissors now. One for healthy plants. One for suspected diseased plants. That is an extra layer of safety.
Tools and Supplies You Actually Need
You do not need expensive equipment. I use items from my kitchen and medicine cabinet.
- Pruning scissors: A sharp, bypass pruner works best. Sharp blades make clean cuts. Clean cuts heal faster.
- 70% isopropyl alcohol: This is my go-to. Pure alcohol (99%) evaporates too fast. 70% has water content that helps denature proteins slowly.
- Household bleach: Any brand works. I use unscented bleach. No additives.
- Paper towels: Disposable is better. Fabric towels can hold spores.
- Small glass jar: Old jam jars work great for the soak.
- Mineral oil: Food-grade is fine. It is safe for metal and plant contact.
How Often Should You Sanitize?
This depends on your activity.
Between different plants: Always. Every single time you move from one plant to another, even if both look healthy. One might be carrying a latent virus.
Between different species: Absolutely. Spider plant pathogens might not infect a pothos. But bacteria can be opportunistic. Treat every plant as a potential carrier.
During heavy pruning of the same plant: Sanitize every 15-20 cuts. When you are trimming lots of runners, debris builds up fast. Stop, wipe, spray, continue.
Before storing: Always clean and dry before putting the scissors away. This prevents rust and stops anything from growing on the blade overnight.
After using on a visibly sick plant: Sanitize immediately after finishing. Do not wait. Do not put the tools down for a coffee break until they are clean.
Does Boiling Water Work?
I get this question often. Boiling water does kill pathogens. I tested it once. It works but it has downsides. The heat can ruin the temper of the metal. It makes the blades dull very quickly. It also rusts steel easily. I do not recommend it.
Steam cleaning has similar issues. Stick with chemical sanitation. It is safer for your tools and equally effective against pathogens.
Alternative Sanitizers
If bleach is too harsh for you, there are options.
- Hydrogen peroxide (3%): This is effective against bacteria and fungi. It breaks down into water and oxygen. No harmful residue. Dip the blades for 10 minutes.
- Lysol or disinfectant spray: Some contain quaternary ammonium compounds. These work well. I keep a travel bottle for quick jobs.
- Tea tree oil solution: I tried this once. It works as a mild disinfectant. But it takes longer. The smell is strong. I prefer chemical solutions.
I have tried all three. My favorite is isopropyl alcohol. It is fast, cheap, and effective. No mixing required. I keep a spray bottle next to my plant shelf.
Signs That Your Cuttings Are Infected
You need to know what infection looks like. Catching it early saves the plant.
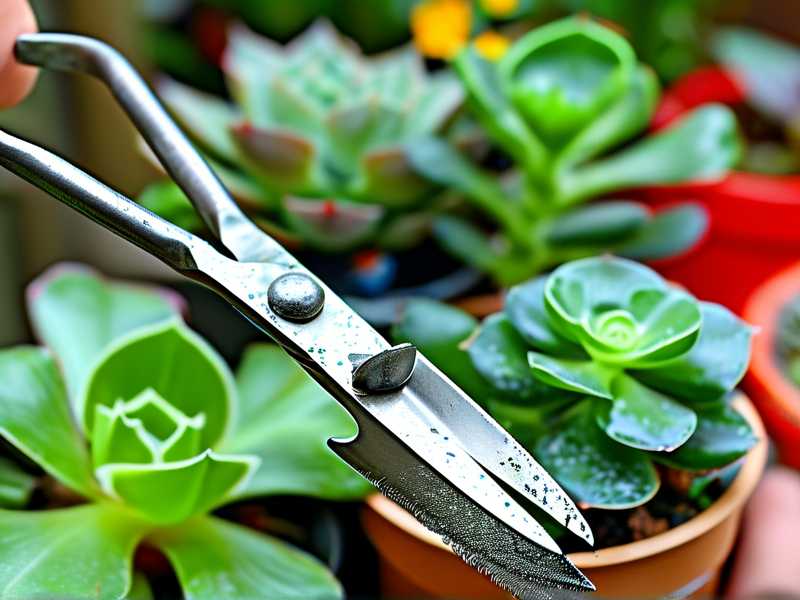
- Black stems: The cut end turns dark brown or black. This is the first sign of rot.
- Mushy texture: The base becomes soft and wet. Healthy tissue is firm.
- Unpleasant smell: This is a classic bacterial rot symptom.
- Yellow halos: A yellowish ring around the cut area on the leaf.
If you see these symptoms, discard the affected cutting immediately. Do not try to save it. Remove it from the area. Sanitize your tool again. Change your soil if possible.
A Quote That Changed My Approach
The American Horticultural Society stresses that sanitation is the single most cost-effective disease control measure for home gardeners. This holds true for indoor plants. Their resources at AHS are a great reference. I now treat my scissors like a surgeon treats a scalpel. Sterile tools are non-negotiable.
Storage Strategies to Prevent Recontamination
Storing tools correctly is as important as cleaning them. I kept my scissors in a toolbox with exposed soil and old potting mix. That was a mistake. Pathogens from the contaminated mix transferred to the blade.
Now I store my trimming scissors in a dedicated, clean container. I have a small plastic tool case that never touches soil. Inside is a clean cloth. I wrap the scissors in that cloth. This keeps dust and spores away.
The Practical Impact on My Spider Plant Collection
Since I started this strict sanitization routine, my spider plant collection has exploded. The mother plant is huge. She sends out runners constantly. The babies are vigorous. I have successfully propagated twelve new plants in the last month. Zero losses.
Before this routine, my failure rate was 50%. Half of my cuttings would rot or fail to root. The 2-week observation period where I tracked the soak method confirmed that my techniques changed everything.
Final Protocol Checklist
I use this checklist every time I prune:
- Remove visible dirt with a paper towel.
- Soak in 10% bleach solution for 5 minutes.
- Rinse with tap water.
- Spray with 70% isopropyl alcohol.
- Air dry completely.
- Oil the hinge once a week.
- Store in a clean, dry container.
Frequently Asked Questions
Can I sanitize scissors with baby wipes? No. Baby wipes do not contain enough disinfectant to kill plant pathogens. They are for skin, not surgical-grade cleanliness. The alcohol content is too low. Use a dedicated horticultural cleaner instead.
How long should I soak scissors in bleach? Five minutes is the optimal time. Less than two minutes is ineffective against some spores. More than ten minutes can corrode the metal. Stick to the five-minute rule.
Do I need to sanitize between cutting runners from the same plant? Yes, if there are more than ten cuts. The sap from older leaves can contain latent bacteria. I sanitize every few cuts to be safe. You can never be too thorough.
Wrapping This Up
Sanitizing spider plant trimming scissors is not complicated. It is a habit. You have to practice it until it is automatic. I have been doing this for weeks now. The results are undeniable. My plants are healthier. My propagation success rate is higher. My tools last longer.
You might think this is overkill. I thought so too. But after losing plants to diseases I could have prevented, I changed my mind. The ten minutes you spend cleaning your tools saves you weeks of heartache. Trust me. I have been on both sides of this equation. The clean side is much better.





