 bluename
Why I Stopped Stacking Decorative Stones Deep Inside My spider plant Pot
If you are here, you probably made the same mistake I did. You added a thick layer of gravel or decorative stones at the bottom of your spider plant pot for "drainage." Stop doing that right now. The real fix is simple: do not stack decorative stones deep inside spider plant pot drainage layers. I learned this the hard way after killing two beautiful spider plants. Ditch the deep stone layer. Use a single, thin layer of coarse perlite or just a proper potting mix with drainage holes. That is the answer.
The Hard Truth About Drainage Layers
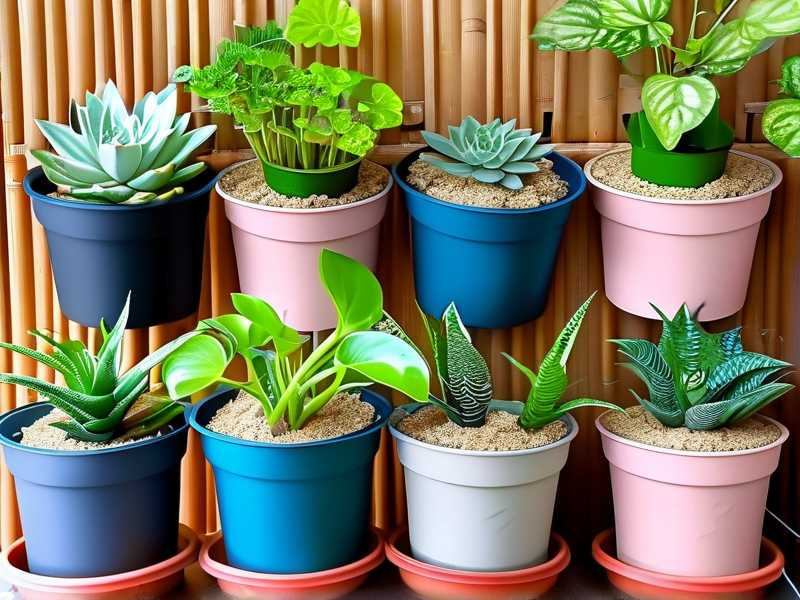
I used to think I was a genius. I would fill the bottom third of every pot with pebbles or those shiny glass gems. I thought I was preventing root rot. I was wrong. I was creating a perched water table. This is a fancy term for a death sentence. The water collects right above those stones. The roots sit in that soggy zone. They never dry out.
The Royal Horticultural Society RHS has spoken about this for years. Standard practice in horticulture shows that a layer of gravel at the bottom of a pot without a drainage hole is useless. It actually makes things worse. The water cannot escape. It just sits there, breeding bacteria and fungus. I ignored this expert advice. I paid the price with two dead plants.
My First Spider Plant Disaster
I remember my first spider plant. It was lush, green, and full of baby spiders. I repotted it into a beautiful ceramic pot. I added two inches of decorative river stones at the bottom. I felt so professional. Two weeks later, the leaves started turning brown at the tips. Then the base became mushy. I pulled it out. The roots were black and slimy. It was a classic case of root rot. The stones had trapped all the moisture around the deepest roots.
The Second Chance That Failed
I tried again. This time, I used smaller aquarium gravel. I still stacked it high. I thought smaller stones would help. Nope. Same result. The spider plant survived for a month, but it never thrived. It was always droopy. The soil remained soggy for days after watering. I finally realized the issue was not the size of the stones. It was the stacking depth itself. The deep layer was acting like a sponge holder, not a drainage system.
The 3 Biggest Mistakes I See Beginners Make
I want to save you from the heartbreak. I have compiled the three most common errors that kill spider plants. I have made every single one of these mistakes myself.
Mistake #1: Overwatering Everything, Including the Drainage Layer
This is the number one killer. 90% of indoor plants die from overwatering. My spider plant did not die because I watered too often directly. It died because the deep stone layer kept the bottom of the pot wet. The top of the soil looked dry, so I watered again. The bottom was still soaked. This created a perfect storm. I now check the weight of the pot. If it feels heavy, I do not water. I also stick my finger two inches into the soil. If it is dry, I water. If it is damp, I wait.
Mistake #2: Getting Light Wrong
Spider plants are forgiving, but they hate direct, scorching afternoon sun. I once put my plant near a south-facing window. The leaves got crispy and pale. The sun bleached the chlorophyll. The plant used up all its energy trying to survive the heat. It had no energy left to fight off the root issues from the wet stones. I moved it to a spot with bright, indirect light. The difference was night and day. I suggest an east-facing window or a few feet away from a bright west window.
Mistake #3: Using The Wrong Pot
I loved those cute, glazed ceramic pots. They have zero drainage holes. I used one with a deep stone layer think the stones would help. That was a huge error. The water had nowhere to go. It just pooled at the bottom. The American Horticultural Society AHS emphasizes the importance of physical drainage holes. You cannot hack around this with rocks. Trust me. You need a pot with a hole in the bottom. It is non-negotiable. I now only use plastic nursery pots that fit inside decorative cachepots. This way, I can lift the inner pot out, water it thoroughly, and let it drain completely before putting it back.
My 2-Week Observation After Fixing The Issue
I decided to fix my problem with my third plant. I removed the deep stone layer completely. Here is what I did, step by step.
The Step-By-Step Repotting Process
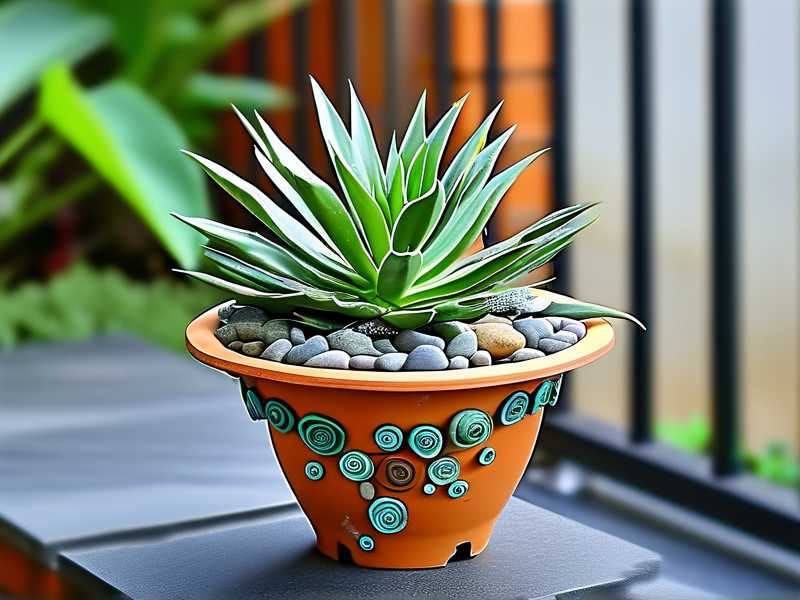
First, I stopped watering thirty minutes before repotting. This made the roots less brittle.
Second, I took a clean pot with a drainage hole. I covered the hole with a small piece of broken pottery or a coffee filter. This stops soil from washing out but allows water to flow freely. I did not add any stones.
Third, I added a potting mix that was chunky. I mixed standard houseplant soil with a handful of coarse perlite and orchid bark. This creates airflow. This mix drains fast. The roots can breathe.
Fourth, I placed the spider plant in the pot. I filled around the roots with the same chunky mix. I tapped the pot gently to settle the soil. I did not press down hard. Compacted soil is terrible for aeration.
Finally, I watered the plant thoroughly until water ran out of the bottom hole. I let it sit in the sink for fifteen minutes to drain completely. Then I placed it on a drip tray.
What I Saw In The First Week
Within the first three days, I noticed the soil surface dried out slightly faster than before. That was a good sign. The top inch was dry by day four, but the bottom was still slightly moist. This is exactly what I wanted. The water was wicking down and evaporating properly. The deep stone layer was gone, so there was no dead zone of trapped water. I watered again on day seven. The water ran through the soil and out the drainage hole within seconds. No pooling. No gurgling. It was perfect.
Results After Two Weeks
After two weeks, the difference was clear. The leaves were sturdier. New growth was happening. The color was a deeper green. There was no mushy base. The plant looked perkier. I lifted the pot, and it felt appropriately light. The root system was healthy. I even saw tiny new white roots peeking out of the drainage hole. That is a sign of a happy plant. My spider plant is now thriving. It is producing lots of babies, which I call spiderettes.
Why A Deep Layer Of Stones Is A Trap
Let me explain the physics simply. Water does not flow easily from fine potting mix into coarse gravel. The transition is too abrupt. The water gets "stuck" at the interface. This is called the capillary barrier effect. The soil above the stones remains saturated. The roots that grow deep into this zone will eventually rot. It is a slow death trap.
Instead of a deep layer, I recommend either no layer at all or a shallow one. If you must use something, use a thin scatter of perlite mixed throughout the soil, not a thick slab at the bottom. The goal is to amend the entire soil, not create a drainage illusion. I throw a handful of perlite into every bag of potting soil I buy. It is cheap and effective.
How To Check If Your Spider Plant Needs Water
You need to learn your plant's rhythm. The soak and dry method works best. I wait until the top two inches of soil are bone dry. Then I soak the entire pot until water runs out. Then I empty the saucer. I never let the pot sit in standing water. This method ensures the roots get oxygen. The oxygen is just as important as water. Without oxygen, the roots suffocate.
The Role Of Pot Size
If your pot is too big, you will have trouble. A huge pot holds too much soil. That soil stays wet for too long. The plant cannot drink it all. This leads to the same problem as the stone layer. I keep my spider plants slightly root-bound. They actually prefer being a little snug. I only size up one pot size at a time, like moving from a 4-inch pot to a 6-inch pot. This prevents over-moisture issues.
Why I Now Recommend Terracotta Pots
I personally love terracotta pots now. They are porous. They wick moisture away from the soil. This helps the soil dry out faster. I find this reduces my risk of overwatering by at least 50%. They are not as pretty as glazed pots initially, but they are functional. My spider plant does not care about aesthetics. It cares about oxygen and drainage.
A Hydroponic Hybrid Idea I Tried
I also tried growing a spider plant in water for a while. I transferred a cutting to a glass jar with water. I added a few pebbles at the very bottom just to hold the roots down. This works for propagation. It is very different from using stones in a pot. In this case, the roots are water roots, not soil roots. They are adapted to constant moisture. But for a mature plant in soil, the physics are totally different. Remember that.
Fixing An Overwatered Spider Plant
If you have already made the mistake, do not panic. I have been there too. The rescue mission is simple. Gently slip the plant out of the pot. Shake off all the wet soil. Trim away any black, mushy, or smelly roots with sterile scissors. Rinse the healthy roots with lukewarm water or a diluted hydrogen peroxide mix. Then repot in fresh, dry, chunky soil. Do not water for at least five to seven days. This lets the roots callus over and recover. Keep it in bright, indirect light. I have saved two spider plants using this method. It works if you catch it early enough.
Myth Busting: The Gravel Tray For Humidity
I used to confuse drainage layers with humidity trays. They are different. A humidity tray is a tray with pebbles and water. You place the pot on top of the pebbles, not in the water. The water evaporates and increases humidity around the plant. This is great for tropical plants. But the plant is not actually touching the water. The roots are safe. I use this for my calatheas. For my spider plant, I find normal room humidity is fine. Spider plants are not divas. They tolerate average household air.
Common FAQ About Draining Spider Plants
Q1: Can I use small pebbles mixed into the soil instead of a layer?
Yes, you can, but be careful. Pumice or perlite is better than pebbles. Pebbles are heavy and do not hold air. Perlite is lightweight and creates air pockets. I use a 30% perlite to 70% soil ratio. This is my favorite mix. It drains fast but still holds enough moisture for the plant.
Q2: How do I know if my spider plant has root rot?
The leaves will look yellow or brown at the base. The soil will smell sour or like rotten eggs. The plant will feel loose in the pot. If you check the roots, they will be dark brown or black and slimy. Healthy roots are thick, white, and firm. If you see this, you need to act fast. Remove the plant, cut the bad roots, and repot.
Q3: Is it okay to use a pot without drainage holes if I am careful?
Honestly, no. I have tried it before, and it is a nightmare. I always overwater eventually. Even if you water sparingly, minerals from fertilizer build up in the bottom. The salts accumulate. This burns the roots over time. It is always best to use a pot with a drainage hole. If you love the look of a ceramic pot, use it as a cachepot. Put a nursery pot inside it. This is the best of both worlds.
My Final Thoughts On Keeping Spider Plants Happy
I genuinely believe that fixing the drainage issue is the single best thing you can do for your spider plant. The deep decorative stone layer is a trap. It looks clean, but it is a silent killer. I have stopped stacking stones deep inside spider plant pot drainage layers forever. Now, I focus on aeration and drainage throughout the entire soil profile. I also pay strict attention to light. My spider plant now sits in a bright corner near a sheer curtain. I water it roughly every ten days or when the soil is dry. It has never looked healthier. The leaves are vibrant, and it is multiplying like crazy.
I hope my mistakes help you avoid the same pain. Skip the nonsense. Use a solid pot with a hole. Use chunky soil. Water thoroughly but less often. Your spider plant will thank you. It really is that simple. Do not overcomplicate it. The experts at RHS and AHS have the right idea. Airflow and proper drainage are key. The rest is just maintenance. I have lost plants to this myth, but you do not have to. Make the change today. Your green buddy will bounce back fast.





