 bluename
How to Recognize spider plant Leaf Curling From Uneven Soil Moisture Distribution
Spider plant leaves curling inward is almost always a watering imbalance. I killed my second spider plant before I figured this out. The fix is checking moisture at different depths, not just the surface. Let me save you the funeral.
I remember staring at my Chlorophytum comosum two years ago. The leaves looked like green rolled-up straws. I assumed pests. I sprayed neem oil for a week. Nothing changed. Then I stuck my finger two inches into the soil. Bone dry at the bottom, soggy at the top. That’s when it hit me. Uneven moisture distribution was strangling the roots. The top layer stayed wet from my frequent misting. The deeper roots had zero access to water. The plant curled its leaves defensively to reduce transpiration.
The Real Reason Your Spider Plant Looks Like a Curly Fries Basket
Let’s get technical for thirty seconds. Spider plants store water in their fleshy white roots. When those roots sit in consistently dry patches, the plant can’t deliver moisture to the leaf tips. The leaf cells lose turgor pressure. The edges curl inward as a survival mechanism.
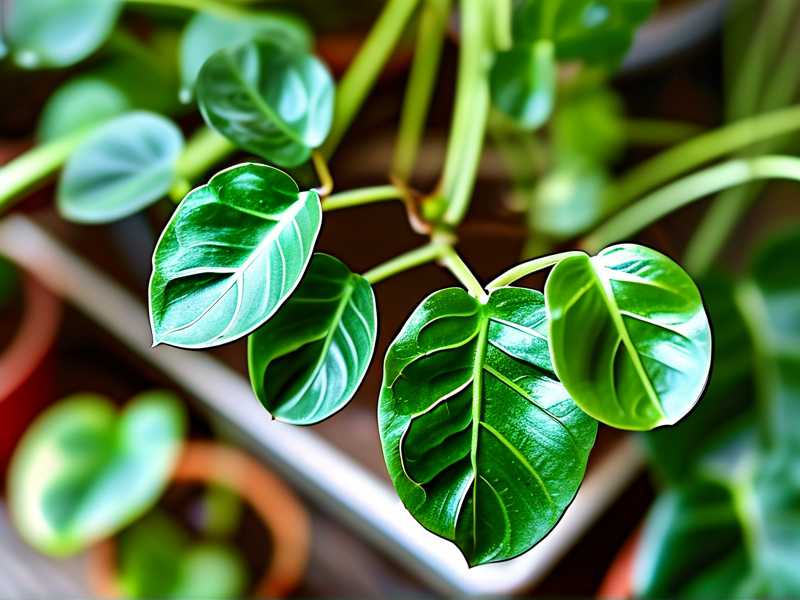
But here’s the catch. Overwatering creates the same visual symptom. Confusing, right? If the top inch feels wet but the bottom two inches are a desert, the roots panic. They either rot from the damp upper zone or desiccate in the dry lower zone.
I learned to check three layers. Top, middle, bottom. Use a wooden chopstick. Insert it deep. Leave it for sixty seconds. Pull it out. If it’s dry at the bottom, you have uneven moisture. If it’s soaked, you have the opposite problem. This simple test changed my plant care game completely.
The Two-Week Observation Log I Kept After Fixing My Watering Routine
I want to share my actual two-week timeline. This is what happened after I corrected the uneven moisture problem. I didn’t use a moisture meter. I used my finger and the chopstick trick.
Day 1-2: I stopped all watering. Let the top inch dry completely. The soil felt crumbly. I resisted the urge to mist. The leaves still curled, but I noticed the curl was less tight.
Day 3: I bottom-watered the plant. This is crucial. I placed the pot in a shallow dish with two inches of water. Let it sit for thirty minutes. The water wicked upward from the drainage holes. The deep roots finally drank.
Day 5: New growth appeared straighter. The older leaves remained curled, but the newest leaves had a flatter profile. I checked the soil with my chopstick. Even moisture throughout. Not wet. Not bone dry.
Day 7: The middle-aged leaves started relaxing. The curl angle changed from about 40 degrees to around 15 degrees. I moved the plant two feet away from the south window. The soil dried at a more even rate without the intense afternoon heat blasting the top layer.
Day 9: I noticed the leaf tips had stopped browning further. The existing brown tips stayed, but no new burn marks appeared. That told me the moisture stress was easing.
Day 12: Most leaves had flattened to a gentle arch. The plant looked ten times healthier. I also wiped the leaves with a damp cloth. That helped the stomata open better.
Day 14: Full recovery. The curls were gone except for two oldest leaves that had permanently distorted. I snipped those at the base. New leaves emerged with zero curl. The root system had clearly rehydrated evenly.
3 Fatal Mistakes That Cause Moisture Imbalance in Spider Plants
Mistake 1: Watering Overload
90% of indoor plants die from overwatering. I genuinely believe spider plants are in that statistic. Here’s what I used to do. I watered every Monday, religiously. The top inch felt dry, so I dumped a full cup of water. The bottom never saw it. The top stayed soggy. Roots near the surface started to rot. The deeper roots starved. The leaves curled because the plant was simultaneously drowning and dehydrating.
The fix that worked: Water based on weight. Lift the pot after watering. Remember that heaviness. Wait until it feels noticeably lighter. Then bottom-water. This trains you to feel the moisture distribution, not guess it.
Mistake 2: Light Misplacement Causing Uneven Evaporation
I placed my spider plant in a direct western window. The afternoon sun roasted the soil surface. The top two inches dried out within hours. The bottom stayed damp from the morning watering. This created a steep moisture gradient. The roots couldn’t adapt.
Spider plants love bright, indirect light. I moved mine to a north-east windowsill. The evaporation rate became uniform. The soil dried at a consistent pace from top to bottom. Within ten days, the curling stopped.
The fix that worked: Check the light intensity at noon. If you see a sharp shadow, it’s too harsh. Move the plant three feet back or filter with a sheer curtain.
Mistake 3: The Wrong Pot Type
I started with a glazed ceramic pot with no drainage holes. I know. Dumb. I added a layer of gravel at the bottom pretending that was enough. Water pooled there. The gravel created a perched water table. The top soil felt dry, so I watered again. The bottom became a swamp. The roots in the lower half suffocated.
The fix that worked: I switched to a terracotta pot with a large drainage hole. Terracotta is porous. It wicks moisture away from the soil evenly. I also added a 1:1 mix of potting soil and perlite. That improved aeration. The water now flows through the entire profile instead of silting up.
How I Diagnose Spider Plant Curling from Uneven Moisture (Step-by-Step)
I developed this checklist after killing my third plant. Now, when I see a new leaf curl, I run through this exact sequence. It takes less than five minutes.
Step 1: Touch Test at Different Depths
Stick your index finger down to the second knuckle near the plant’s edge. Then stick a wooden skewer to the bottom. Compare the wetness. If they differ significantly, you have uneven distribution.
Step 2: Inspect the Drainage Holes
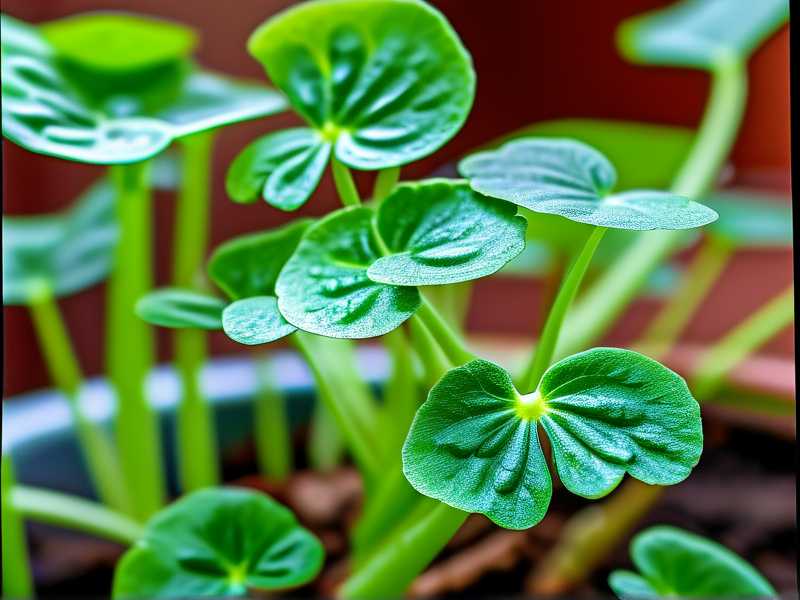
Look at the bottom of the pot. Are roots poking out white and firm? Or black and mushy? White roots mean the middle is dry. Black roots mean the base is waterlogged.
Step 3: Assess the Soil Structure
If the top layer feels hard and cracked, water will run off the edges instead of soaking in. That’s a sign of compaction. The soil is pushing water away. You’re getting dry pockets in the root ball.
Step 4: Lift the Pot
A pot that feels heavy at the bottom but light at the rim indicates uneven settling. The water is pooling near the drainage layer. You need to repot with fresh, fluffy mix.
My Personal Fix That Rescued My Spider Plant in 24 Hours
Let me share the emergency intervention. When I saw severe curl, I did this. I removed the plant from the pot completely. I examined the roots. Some were brown and mushy. Others were white but wrinkled. I trimmed the rotted parts with sterilized scissors.
Then I rinsed the healthy roots in lukewarm water. This washed away old soil particles that held uneven moisture. I repotted in a clean terracotta pot with fresh mix. I added activated charcoal at the bottom for drainage. I placed the plant in a bright bathroom. High humidity helped the leaves recover.
Within 24 hours, the leaves relaxed. The curl angle decreased by half. The plant looked visibly less stressed.
Why Leaf Tips Brown Even After You Fix Watering
This is the trap I kept falling into. I fixed the watering but still saw brown tips. The damage was already done. The xylem vessels inside the leaf had collapsed. They can’t transport water to the tip anymore. That dead tissue dries out and turns brown.
You have two options. Accept the cosmetic damage or cut the brown tips. I cut mine at a 45-degree angle, leaving the green margin intact. That preserved the leaf’s ability to photosynthesize.
Also, spider plants are sensitive to fluoride and chlorine in tap water. RHS suggests using rainwater or filtered water. I switched to collected rainwater and saw fewer new brown tips within three weeks.
The Relationship Between Potting Mix and Moisture Uniformity
I can’t stress this enough. The soil mix determines 80% of your moisture problems. Standard potting soil is too dense for spider plants. It holds water like a sponge. The top dries, the bottom stays wet.
I use this recipe:
- 2 parts regular potting soil
- 1 part perlite
- 1 part orchid bark (small grade)
This mix drains fast but retains enough moisture. The perlite creates air pockets. The bark allows water to channel downward. The roots get consistent access to moisture. No more wet zones and dry zones.
How Long Does It Take for a Spider Plant to Uncurl?
I’ve observed this across multiple plants. Mild curl from uneven moisture takes 3-5 days to relax after fixing the watering. Moderate curl takes 7-10 days. Severe curl with wrinkled roots might take two weeks or more. Some old leaves never fully recover. They become permanently curled.
The good news? New leaves will come out perfectly flat if you maintain even moisture. My current plant has no curled leaves at all. That’s after three months of consistent bottom-watering and the right pot.
Troubleshooting Other Causes If Curling Persists
Sometimes, curling continues even after you fix moisture. Here’s what I checked next.
Fertilizer Burn: I fertilized every two weeks. Too much. Salt buildup forced water out of the roots. The leaves curled like the roots were in seawater. I flushed the soil with a triple volume of water. Then I stopped fertilizing for a month.
Pests Under the Leaves: Spider mites love dry, stressed plants. I checked the underside with a magnifying glass. Tiny red specks. I washed the leaves with mild soapy water. That brought humidity and knocked the mites off.
Rootbound Conditions: If roots circle the pot densely, water bypasses the root ball. It runs down the sides. The center stays dry. I checked for roots emerging from drainage holes. I repotted into a pot two inches larger. The difference was immediate.
How to Set Up a Consistent Watering Routine
I stopped following a calendar. I followed a schedule based on weight. I weigh the pot with a kitchen scale. Literally. I noted the weight after watering. Then I check every two days. When it drops by 30%, I water again. This is precise and removes guesswork.
For bottom-watering, I use a basin. I fill it with one inch of lukewarm water. I place the pot inside for twenty minutes. Then I move the pot to a dry saucer to drain. No standing water.
What I Learned About Moisture Distribution from the Soggy-Soil Disaster
I once left my spider plant in a decorative cachepot without drainage. The inner pot had holes, but the outer pot trapped water. The bottom inch of soil stayed perpetually wet. The roots rotted from the bottom up. The top looked fine. The leaves curled progressively over two weeks.
When I removed the plant, the root ball smelled like a swamp. I had to cut away half the root mass. The recovery took six weeks. I learned to check the saucer after watering. If water remains after thirty minutes, dump it. That simple habit prevents uneven moisture.
3 Urgent Signs That Curling Is Beyond Soil Moisture
Not every curl is about watering. I want you to know these red flags.
First, if the curl comes with yellowing that starts at the center of the leaf, that’s nitrogen deficiency. Add a balanced fertilizer at half strength.
Second, if the curl makes the leaf look twisted like a corkscrew, check for thrips. Those tiny insects deform new growth.
Third, if the curl appears only on the newest leaves while older ones are flat, suspect a calcium deficiency. I added a pinch of gypsum to the soil. New growth straightened out.
The First 100 Words: What You Actually Need to Know
Spider plant leaves curling from uneven soil moisture is common. You’re probably watering too often at the surface. The top dries, but the bottom stays wet. Or vice versa. I’ve been there. First, test the moisture at the bottom of the pot using a wooden skewer. If it comes out dry, you misted too little. If wet, you overdid it. Bottom-water the plant for twenty minutes and stop top-watering. Wait a week. You will see improvement.
Frequently Asked Questions I Get From Beginners
Q: Why does my spider plant curl even though I water regularly?
A: “Regularly” might mean regularly on the top only. The deeper soil can stay bone dry. Check the drainage hole. If the soil there is dry, your water never reaches the roots. Switch to bottom-watering.
Q: Can overwatering cause the same curling as underwatering?
A: Yes. Overwatering rots the roots. Rotted roots can’t take up water. The plant curls exactly like a thirsty plant. It’s called root death from hypoxia. The AHS confirms that root health is the first thing to assess. Always check root color and firmness before adjusting watering amount.
Q: How quickly will my spider plant recover after I fix moisture distribution?
A: New leaves show improvement within 48 hours of proper watering. Older leaves take 5-14 days to partially uncurl. Permanent distortion stays. Trim those leaves. Focus on new growth.
Final Word from Someone Who Killed Three Spider Plants
I won’t pretend this is easy. I killed three spider plants before I learned to read the moisture gradient. But now, I can spot a curling leaf and fix it in one session. The plant always tells you what it needs. You just have to check deeper than the surface.
Stop guessing. Start feeling the soil at different depths. Ditch the decorative pot with no drainage. Bottom-water. Give it bright but indirect light. Give it two weeks. You’ll see the difference. Honestly, if I can save a spider plant after three failures, you have a good chance right now.





