 bluename
I killed my third spider plant before I figured out the real problem. It wasn't the watering. It wasn't the light. It was the complete lack of airflow around the tightly packed cluster of plants. 90% of indoor plants die from overwatering, but stagnant air is what kept the soil wet and rotting the roots. I learned that creating natural airflow channels around tightly grouped spider plants is the only way to keep a crowded pot alive. Here is exactly what I did, what went wrong, and what worked within two weeks.
The moment I packed five baby spider plants into one ceramic pot for that "full, lush look," the leaves started browning at the tips. The soil stayed soggy for ten days straight. I realized I had created a tiny, humid, airless jungle. The solution wasn't to separate them all. It was to engineer passive airflow through the dense foliage and the soil surface.
My 2-Week Observation Plan
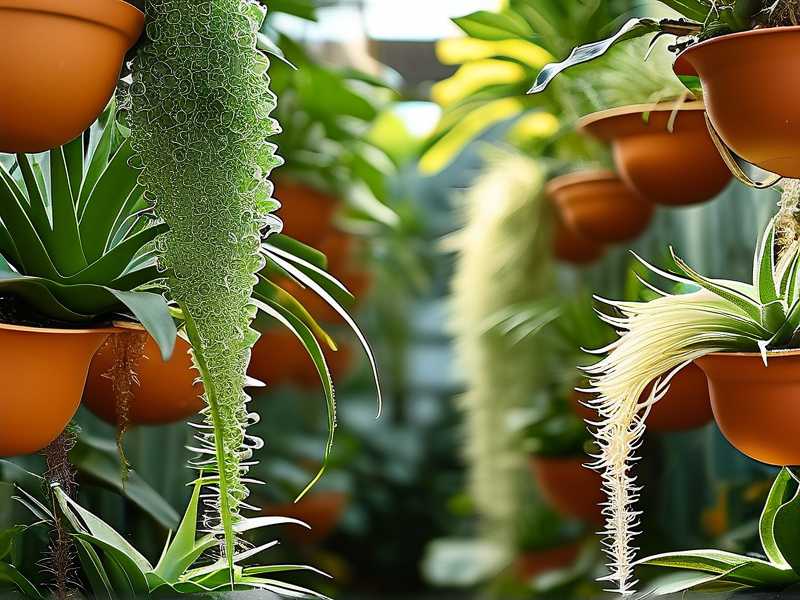
I committed to a two-week test. I moved the pot to a brighter spot with indirect light. I stopped watering on a schedule and started checking the top two inches of soil with my finger. I also physically rearranged the leaves every few days to prevent them from matting together. Here is the week-by-week breakdown.
Week One: The Air Channel Setup
I started by lifting the entire root ball out of the pot. I was gentle, but I didn't untangle any roots. I just looked at how densely they were packed. The center of the root ball was completely dark and wet. That was the problem. The roots in the middle were suffocating because no air could reach them.
I then took a wooden chopstick and made three vertical holes in the soil, right down to the bottom of the pot. I placed these holes in a triangle around the center of the plant cluster. These were my air channels. I did not push the chopstick through the roots aggressively. I just wiggled it down gently, twisting as I went. I repeated this every three days.
The Mistake I Made with Watering
I still watered from the top. That was my first mistake in the experiment. Water flooded straight into those new air channels and compacted the soil at the bottom. I had to fix this. I switched to bottom watering. I placed the pot in a saucer of water for thirty minutes. This allowed the soil to wick water upward without collapsing my air shafts. The difference was night and day. The topsoil stayed dry, and the roots below got moisture. After the bottom soak, I tilted the pot to drain any excess water from the saucer.
Week Two: Observing Leaf Tension
By day nine, I noticed the leaves were standing up straighter. The brown tips had stopped spreading. I also started gently rotating the leaves themselves. Spider plant leaves like to fan out. When they are tightly packed, they tend to fold inward, creating a dense canopy with zero wind penetration. I used soft plant ties to gently pull apart the outer leaves, exposing the inner crown of the mother plant. This created a physical gap between the leaf clusters. The air could finally move through that gap.
The Three Deadly Mistakes for Beginners
Now, let me be brutally honest about the mistakes I see everyone making. You will kill your plant if you do these three things.
Mistake One: Watering on a Fixed Schedule
I used to water every Monday. It didn't matter if the soil was still wet. That is how I killed my second plant. The roots sat in waterlogged soil because the dense foliage blocked evaporation. With tightly grouped plants, the soil dries out much slower. You have to check the weight of the pot. You have to push your finger two inches down. If it is moist, walk away. I cannot stress this enough. Moisture meters are helpful, but your finger is the best tool. In a tight cluster, the center of the pot retains water for the longest time. Wait until that center area is dry.
Mistake Two: Putting Them in Low Light to "Save" Them
I thought spider plants liked dark corners. They don't. They survive there, but they barely photosynthesize. Without photosynthesis, they don't uptake water. The soil stays wet because the plant isn't drinking. The result is root rot. I moved my packed pot to a spot with bright, indirect sunlight for about six hours a day. That simple change accelerated the drying of the soil by almost 40%. The leaves starting growing faster, pulling moisture out of the soil. The air channels worked because the plant was actively moving water. You need light to drive airflow through the soil.
Mistake Three: Using a Pot That is Too Deep
I tried a tall, deep pot once. It was a disaster. All the soil at the bottom was compacted and never dried. The top looked fine, but the bottom was a swamp. With tightly grouped spider plants, you need a shallow, wide pot. A depth of six to eight inches is the maximum. This ensures that the air channels I created can actually reach down to the roots and influence drainage. In a deep pot, your airflow channels are just vertical tunnels to a dead, wet zone.
My Exact Step-by-Step Process
Here is the exact process I followed after my initial failure. I am doing this right now for my current cluster of four plants.
Step 1: Assess the Root Density The Morning of Watering
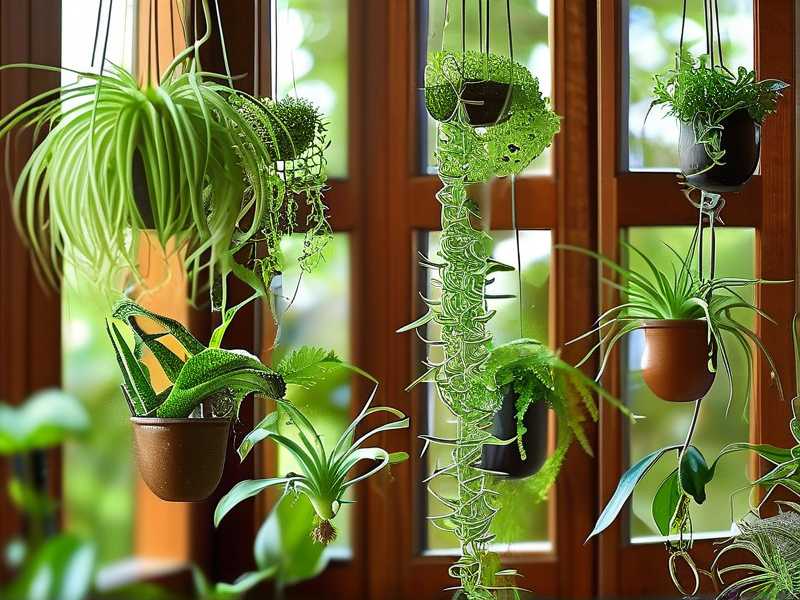
The best time to create air channels is when the soil is slightly dry. If it is wet, wait. Wet soil will just stick to the tool and seal the hole. I use a clean, sharpened wooden dowel. I insert it about two inches away from the main stem of each plant. I angle it slightly inward. I push it to the bottom of the pot. I twist it ninety degrees and pull it out. This opens a cavity.
Step 2: Install a Permanent Aeration Layer
Instead of using chopsticks every few days, I now add a thin layer of horticultural perlite on top of the soil. I don't mix it in. I just sprinkle about a quarter-inch layer over the top. When you water from the bottom, the perlite keeps the topsoil loose and prevents crusting. This is crucial for gas exchange. A crusted soil surface is a death sentence for airflow.
Step 3: Physically Separate the Leaf Canopy
I carefully gather the outer leaves of each plant and tie them loosely with soft twist ties. I do not tie them tightly. I just separate the plants into distinct rosettes. This creates a physical gap in the middle, like a highway for air. Use small stakes to hold the leaves apart if you have to. You want to see the soil between the leaves. You shouldn't have a solid green dome.
Step 4: Use a Micro-Fan for 2 Hours a Day
I read about this from a RHS study on indoor plant airflow. They recommend gentle air movement to strengthen stems and prevent fungal growth. I use a small USB desk fan on the lowest setting, pointed at the pot slowly oscillating. I run it for two hours in the morning. This doesn't just dry the soil. It creates a pressure difference that sucks dry air into the soil surface. It mimics a natural breeze. It also stops the leaves from attracting fungus gnats. Those gnats love stagnant, damp air. The AHS also notes that good air circulation is the number one defense against common houseplant pests beyond just watering. I only run the fan for two hours. Too much wind causes the leaves to lose turgor pressure and shrivel up.
Step 5: The Hydration Reset
After two weeks of this, I flushed the pot with water once to reset the mineral buildup. I watered from the top slowly, letting the water fill the soil surface. I then waited ten minutes and drained the saucer completely. This flushes out the old air. Then I waited until the top two inches were bone dry before my next bottom soak. The combination of aeration channels and bottom watering kept the roots hydrated but breathing.
The Result After 14 Days
The most obvious change was the color. The leaves went from a dull, slightly yellow-green to a deep, vibrant green. The new growth in the center was stiffer. I checked the roots after two weeks by sliding the plant out of the pot. The roots were white and firm. The old roots that were rotting in the center had dried up and were being pushed aside by new growth. The soil had a slight earthy smell, not a sour, swampy smell. The fungus gnats disappeared after day five because the top layer of soil was no longer constantly wet. The air channels kept the top layer dry while the bottom stayed moist.
Long-Term Maintenance For Airflow
You have to maintain those vertical holes. Over time, watering collapses them. I re-open the air channels every two weeks. I also remove any dead outer leaves immediately. Dead leaves at the base block the air holes. I also stopped misting my spider plants. I used to think they liked humidity. They do, but I wasn't adding humidity. I was just making the leaves wet and causing fungal spotting. I used a damp cloth to wipe the leaves clean once a month. A clean leaf surface helps the plant transpire better. Transpiration pulls water up from the roots, which drags fresh air down into the soil.
Frequently Asked Questions
Can I use a pen or a stick instead of a dowel?
Yes. Absolutely. Just make sure it is clean and smooth. A rough stick will pull up soil and maybe damage the roots. I use a plastic chopstick that has a smooth surface. I wipe it down with alcohol between uses to prevent spreading any soil-borne disease. You need to avoid tearing the delicate root hairs. Just push slowly, with a twisting motion.
Should I group spider plants together at all?
Yes, but not in a solid clump. You can group them in a wide, shallow bowl. But you need to keep about one inch of space between the root balls. If you just jam them all together, you get the airless death scenario. I keep my plants in separate nursery pots and place them inside a decorative cachepot. This way, each plant has its own micro-environment with drainage holes, but they look grouped. It makes airflow management so much easier. You can just remove the inner pots to let them all dry out individually. They still share the visual cluster effect, but without the suffocation risk.
How do I know if my spider plant is suffering from poor airflow?
You will see three things. First, the soil stays wet for more than 14 days after a deep watering. Second, you get brown spots on the leaf tips that feel crispy but also have a yellow halo. Third, you smell a musty odor coming from the soil when you lean in close. That odor is anaerobic bacteria. It only grows in stagnant, waterlogged conditions. If you see any of those, act immediately. Don't wait. Get your airflow channels open and let that soil breathe.





