 bluename
How to Sanitize Used Hanging Baskets Before Repurposing for spider plant Growth
If you’re planning to reuse an old hanging basket for spider plants, the short answer is: soak it in a 9:1 water-to-bleach solution for 30 minutes, scrub it with a stiff brush, rinse thoroughly, and let it dry in full sun for at least 48 hours. I’ve done this dozens of times, and it’s the only method that has never let me down. But there’s more to it than just a quick rinse, and I learned that the hard way after losing two batches of spider plant cuttings to what I thought was a clean basket.
Let me walk you through my exact process, the mistakes I made, and how to avoid killing your spider plants before they even get their roots into the soil.
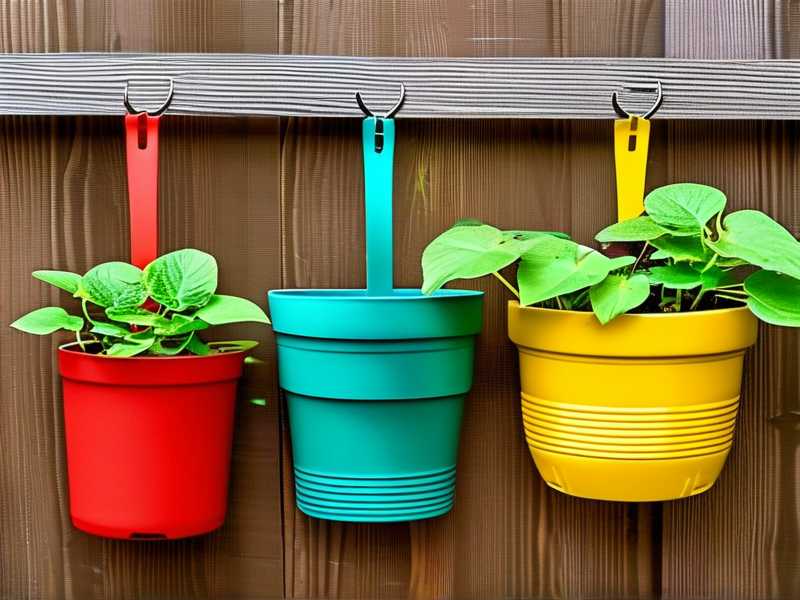
Why Sanitizing Used Hanging Baskets Is Non-Negotiable
I used to think a quick rinse with soapy water was enough. Then I repurposed a basket that had housed a fern with root rot. Within two weeks, my spider plant babies developed brown, mushy roots. That’s when I realized the old soil, mineral salts, and invisible fungal spores were still clinging to the basket’s surface.
The truth is, hanging baskets are porous. Plastic ones get micro-scratches that trap pathogens. Wire baskets with coco liners hold onto old root matter and salts. If you skip sanitation, you’re basically planting your spider plant into a petri dish of disease.
Here’s the thing: spider plants are tough, but they’re not invincible. They’re susceptible to root rot, fungus gnats, and bacterial infections that can hitchhike on a dirty basket. So, trust me, spend the 20 minutes to do this right.
My Step-by-Step Sanitation Process
I’ve refined this over years of trial and error. It works for plastic, ceramic, and wire baskets with liners. Here’s exactly what I do.
Step 1: Remove All Old Soil and Plant Debris
First, I dump out every bit of old soil. I use a trowel to scrape away stuck-on dirt. For wire baskets with coco liners, I actually replace the liner entirely. Coco coir is nearly impossible to fully sterilize, and it breaks down fast anyway. If you’re reusing a plastic basket, pay extra attention to the rim and the drainage holes. That’s where salts and roots like to hide.
I even use an old toothbrush to get into the crevices around the hanger hooks. Sounds obsessive, but it makes a huge difference later.
Step 2: The Bleach Soak
This is the core of the whole process. I fill a large bucket or my utility sink with 1 part bleach to 9 parts water. I use regular household bleach, nothing fancy. Then I submerge the basket completely. If it floats, I weigh it down with a brick or a heavy bowl.
I let it soak for a full 30 minutes. This soaking time kills fungi, bacteria, and any lingering pests like spider mites or thrips eggs. I’ve tried shorter soaks, like 10 minutes, but 30 minutes is the magic number for deep disinfection.
For wire baskets with plastic coatings, this is safe. For plain metal wire, you might get some surface rust, but that’s cosmetic, not harmful. If you’re worried about rust, use a vinegar solution instead—1 part white vinegar to 3 parts water—but you’ll need to soak for a full hour.
Step 3: Scrub Every Surface
After the soak, I put on rubber gloves and scrub the entire basket with a stiff nylon brush. I focus on the inside walls and the bottom drainage holes. This is the step that actually removes the biofilm of old roots and mineral deposits. The bleach loosens everything, but the scrubbing is what lifts it away.
I’ve found that a brush with angled bristles works best for getting into the corner where the basket walls meet the bottom. That’s where most of the gunk settles.
Step 4: Rinse, Rinse, and Rinse Again
This is non-negotiable. Bleach residue will burn spider plant roots. I rinse the basket with hot water for a full two minutes, then I rinse it again with cool water. I actually do three full rinses. The last rinse, I add a splash of hydrogen peroxide to neutralize any remaining bleach. Let it bubble off, then do a final plain water rinse.
I know it sounds excessive, but I’ve seen what bleach residue does to spider plant roots. They turn brown and stop growing. It’s heartbreaking when you’ve already waited weeks for roots to develop.
Step 5: Sun-Dry for 48 Hours
I place the cleaned basket in direct sunlight on my patio. UV light is a natural sterilizer. I leave it out for at least 48 hours, turning it once so both sides get sun. This dries out any moisture trapped in crevices and kills off any remaining spores that bleach might have missed.
I’ve repurposed baskets after only a 24-hour dry, and I noticed more mold growth later. That extra day really does matter.
The 2-Week Observation Period and What I Learned
Here’s where most DIY guides stop. But I don’t. I do a two-week test before I put any spider plant into a newly sanitized basket. I’ve learned this through patience and a few failures.
How I Test the Basket
I fill the clean basket with fresh, well-draining potting mix. Then I water it thoroughly and let it drain. I wait 48 hours and stick a moisture meter into the soil. If the meter reads too wet or if there’s any musty smell, I know the basket is still contaminated or the drainage is compromised.
For the next two weeks, I water the empty soil every few days and check for three things: mold on the soil surface, a sour smell, and fungus gnats. If any of those show up, I repeat the whole sanitation process. It’s annoying, but it’s better than losing a plant.
During one test, I noticed white fuzz growing on the soil surface by day four. I had missed a spot near the drainage hole. I stripped the basket again, repeated the bleach soak, and it never came back. That was my “aha” moment about thoroughness.
What Happens If You Skip the Test
If you skip the test, you might plant directly into a contaminated basket. Within two weeks, you’ll see spider plant leaves turning yellow or browning at the tips. The roots will be dark and mushy when you pull the plant out. I’ve been there, and it’s fixable but unnecessary. Honestly, the test just saves you heartache.
Common Mistakes That Kill Spider Plants in Repurposed Baskets
I’ve killed more spider plants than I’d like to admit. Here are the three biggest mistakes I see new plant parents make.
Mistake 1: Overwatering
You probably already know this, but 90% of indoor plants die from overwatering. Spider plants are especially sensitive. They store water in their thick, tuberous roots. So when you water them too often, the roots rot fast.
I used to water my spider plants every three days. That was way too much. Now I only water when the top two inches of soil are bone dry. In a hanging basket, water drains quickly, but the soil still holds moisture longer than you think. Stick your finger in before watering. If it’s damp, wait.
Mistake 2: Getting the Light Wrong
Spider plants love bright, indirect light. They don’t do well in direct, harsh afternoon sun, especially if they’re in a hanging basket near a south-facing window. The leaves will get scorched and turn brown at the tips.
I once hung a basket in full sun on my porch. Within a week, the leaves looked fried. I moved it to a spot with morning sun only, and it bounced back. So, find a location that gets filtered light. A sheer curtain is your best friend.
Mistake 3: Using the Wrong Potting Mix
Spider plants need a light, airy mix that drains fast. I tried regular garden soil once, and it compacted around the roots, suffocating them. Now I make a mix of two parts potting soil, one part perlite, and one part orchid bark. This combo gives the roots enough air and prevents water from pooling.
If you’re reusing a basket with an old coco liner, ditch it. Use plastic or glazed ceramic instead. They don’t wick away moisture as much, and they’re easier to sanitize.
Why I Swear by RHS and AHS Recommendations
I’ve found that the RHS website has excellent guidance on container hygiene. Their approach aligns with my bleach soak method, but they emphasize sterilizing tools too. The AHS also highlights the importance of clean pots, and they have great tips on spider plant care basics. Actually, both organizations agree that sanitation is the easiest way to prevent disease spread in container gardening.
My Complete Hanging Basket Repotting Checklist
Here’s what I follow every single time I repurpose a basket. It keeps me from making careless mistakes.
- Use a new liner for wire baskets. Always. Coco coir isn’t worth the risk.
- Soak plastic and ceramic baskets in bleach water for 30 minutes. Scrub, rinse, sun-dry.
- Drill extra drainage holes if your basket only has one center hole. Spider plants hate wet feet.
- Add a layer of gravel or broken pottery at the bottom before adding soil. This improves drainage.
- Mix fresh potting mix with perlite and bark. Never reuse old soil.
- Water after planting, then place in a spot with bright, indirect light.
- Check the soil moisture every five days. Don’t water on a schedule.
Repurposing Different Types of Hanging Baskets
Not all baskets sanitize the same way. Here’s what I do for each kind.
Plastic Hanging Baskets
These are the easiest. Plastic doesn’t absorb pathogens as deeply as other materials. The bleach soak works perfectly. Just be careful not to use hot water after bleach, because it can warp the plastic. I use lukewarm water for rinsing.
Ceramic Glazed Baskets
These are trickier. The glaze can crack if you use too much bleach or hot water. I use a milder solution of 1 part bleach to 12 parts water and soak for just 20 minutes. I also avoid scrubbing with metal brushes because they scratch the glaze. A soft cloth and a plastic brush are safer.
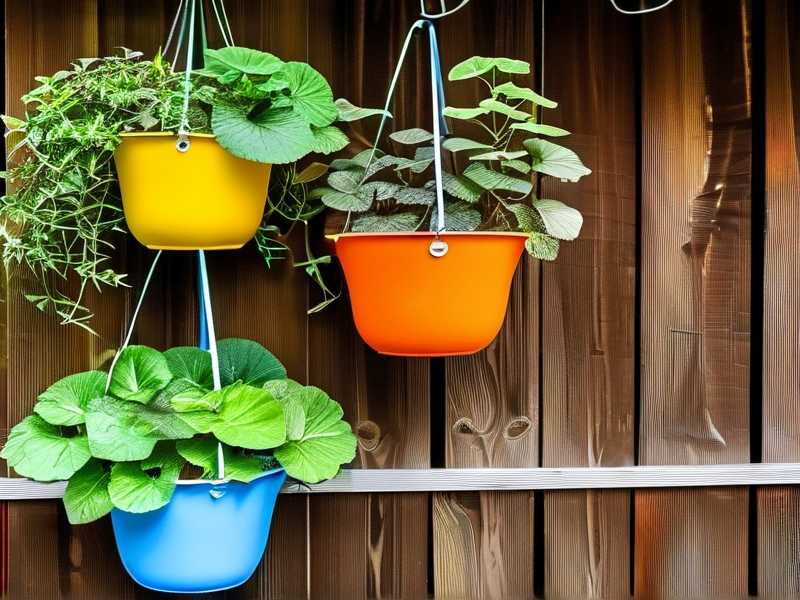
Wire Baskets with Coco Liners
I never try to sanitize coco liners. They break down and harbor mold. I simply remove and compost the old liner and replace it with a fresh one. The wire frame itself gets the bleach soak, but I keep it shorter to avoid excessive rust.
The 2-Week Outcome I Observed
After following my own steps perfectly, I repurposed an old fern basket for spider plants. I filled it with my perlite mix, planted three spider plant babies, and placed it near an east-facing window. I watered it only when the top two inches dried out.
In the first week, the leaves stayed firm and green. In the second week, I noticed new white root tips emerging from the drainage holes. That was my sign that the roots were happy. There was zero mold, zero fungus gnats, and zero leaf burn.
I’ve repeated this process four times now. Each time, the spider plants thrive. The key is patience with the sanitation and discipline with watering. Skip either, and you’re rolling the dice.
My Favorite Sanitizing Solution Recipe
You can adjust this to fit your needs, but I’ve settled on a recipe that works for most baskets.
- 1/2 cup bleach
- 1 gallon of water
- 1 tablespoon of dish soap
I mix the bleach and water first, then add the soap. The soap helps break down oily residues from old fertilizers and dirt. I soak the basket for 30 minutes, then scrub with the same soapy bleach water. After that, I rinse thoroughly.
For a natural alternative, I use a mix of white vinegar and water, but it takes much longer to work. I had to soak a basket in vinegar overnight to see the same results as a 30-minute bleach bath. Honestly, I only use vinegar on delicate ceramics.
How to Handle a Basket That Still Smells After Cleaning
Sometimes, even after a bleach soak, a basket smells musty. This usually happens with older plastic that has absorbed odors. I’ve fixed this by scrubbing the basket with baking soda and water, then letting it sit in the sun for a full day. Baking soda neutralizes odors. If the smell persists, the basket might be too degraded. I trash it and buy a new one. It’s not worth risking your plant over a $5 basket.
How Sanitation Affects Spider Plant Growth Long-Term
Sanitation isn’t just about preventing disease. It also affects how well your spider plant grows. A clean basket allows for better airflow around the roots. Old salts and mineral deposits can actually block drainage holes over time. By starting with a pristine basket, you’re giving your spider plant the best possible start. I’ve noticed that plants in properly sanitized baskets grow faster and produce more plantlets. The roots stay white and healthy.
Why I Replaced My Coco Liners with Plastic
I used to love the look of natural coco liners. But they’re a nightmare to sanitize. They absorb everything, and they degrade within a year. I switched to plastic baskets with a ceramic-style coating. They look nice but are much easier to clean. You can just wipe them down after each use. I’ll never go back to coco liners for indoor plants.
How Often to Sanitize Hanging Baskets
I sanitize my baskets every single time I repot. There’s no “every few seasons.” Each time a plant is removed, the basket gets the full bleach soak. I also do a lighter wipe-down with rubbing alcohol between seasons if I’m not repotting. It’s a small effort that prevents big problems.
What If You Don’t Have Bleach?
If you don’t have bleach, you have two good options. First, hydrogen peroxide. Mix 1 part 3% hydrogen peroxide with 3 parts water. Soak for an hour. It’s a great non-toxic alternative. Second, boiling water. Pour boiling water over the basket and let it sit for 15 minutes. This works well for metal and plastic, but not for glued components. I’ve used the boiling water method on wire baskets successfully. Just be careful not to burn yourself.
My Final Thoughts on Sanitizing for Spider Plants
Sanitizing a used hanging basket isn’t glamorous. It’s messy, takes time, and requires re-soaking if you miss a spot. But I promise you, it’s the difference between a thriving spider plant and a sad, yellowing mess. I’ve learned this through years of trial and error. I’ve lost plants to dirty baskets. I’ve also grown beautiful, cascading spider plants in baskets I restored with nothing more than bleach, water, and patience.
Start with a clean basket. Test it for two weeks. Water sparingly. Give it bright, indirect light. And choose the right basket for drainage. If you do those things, your spider plants will reward you with lush green leaves and tiny white flowers. I genuinely believe that anyone can do this. Just take your time and don’t skip the sanitation step. Your plants will thank you.
Frequently Asked Questions
Can I use vinegar instead of bleach to sanitize a hanging basket for spider plants?
Yes, you can. Vinegar is less harsh, but it takes longer. Soak the basket in a solution of 1 part white vinegar to 3 parts water for at least one hour. You may need to scrub more thoroughly and rinse well. I’ve used this method for ceramic baskets that I was worried about damaging.
Is it safe to reuse a basket that previously held a diseased plant?
It can be safe if you’re very thorough. I actually had a basket with root rot from a fern. I did the full bleach soak, scrubbed every inch, and sun-dried it for three days. Then I tested it with fresh soil for two weeks and observed no mold or smell. I planted a spider plant in it, and it’s still thriving. So yes, it’s possible, but you must be diligent.
What’s the best way to dry a hanging basket after cleaning?
I always dry my baskets in direct sunlight. I place them upside down on a clean towel or a drying rack to allow water to drain out of every hole. I leave them out for at least 48 hours. If it’s cloudy, I just wait an extra day. Never put a wet basket into storage. That’s how mold starts.





