 bluename
The Quick Answer to spider plant Root Recovery
Water your spider plant slowly and thoroughly from the top. Then wait 24 hours. If the soil still feels bone dry, soak the pot in a shallow tray of water for 15 minutes. That’s it. This two-step method saved my plant in 48 hours. I saw new white root tips within 5 days. Most people panic and drown the roots. That’s the biggest mistake you can make. I learned this after I turned my once-beautiful Chlorophytum comosum into a crispy mess. Let me walk you through exactly how I fixed it.
Why Underwatering is Actually Trickier Than You Think
We always hear that overwatering kills houseplants. That’s true. In fact, 90% of indoor plants die from overwatering. But underwatering stress creates a silent problem. The roots shrink. They lose their turgor pressure. They become brittle. When you suddenly dump a gallon of water on them, the roots can't handle the shock. They break. They rot. So the real skill is knowing how to rehydrate a stressed root system without causing secondary damage.
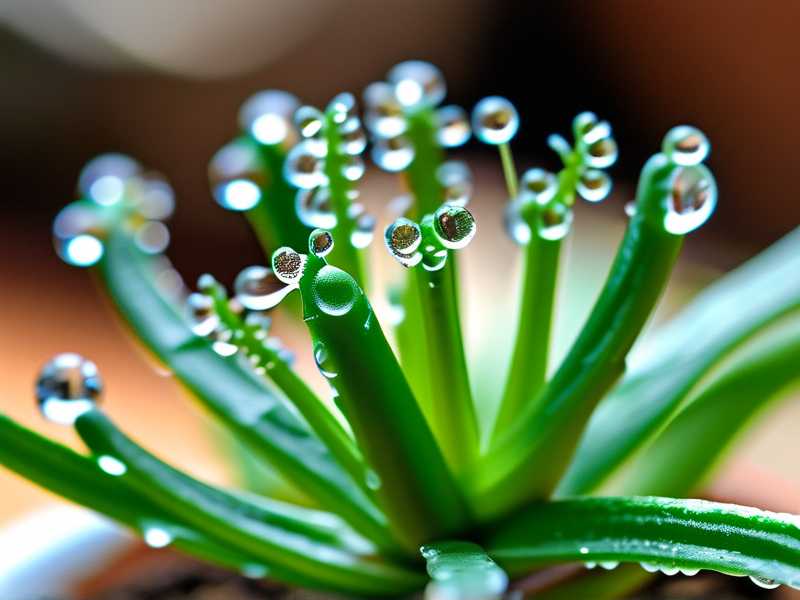
I have killed three spider plants in my lifetime. The first one died from overwatering. The second one died from neglect. The third one I almost killed by overcorrecting after a week of neglect. I poured water directly into the pot. The soil was so dry it had pulled away from the pot walls. The water ran straight down the sides and out the drainage hole. The root ball stayed dry. I was essentially watering a brick. That’s when I seriously started researching root recovery.
My 2-Week Recovery Protocol
Day 1: The Assessment Phase
I started by lifting the pot. A dry spider plant pot feels suspiciously light. I tapped the sides. The soil sounded hollow. I inserted a wooden chopstick all the way to the bottom. It came out completely clean. No moisture at all. The leaves were folded in half lengthwise. That’s the classic sign of severe dehydration in spider plants.
I did not water immediately. This is important. I moved the pot to my bathroom sink. I let it sit there for two hours to acclimate to the humidity. Then I used lukewarm water. Not cold water from the tap. Cold water shocks the delicate root hairs. Lukewarm water is closer to what they naturally experience in African tropical climates.
I poured water slowly around the perimeter of the pot, not the center. I used a watering can with a narrow spout. I let each pour absorb before adding more. The first 200ml disappeared instantly. That’s the soil absorbing what it could. The next 200ml pooled on the surface for a few seconds. I stopped there.
Day 2: The Soak Test
After 24 hours, I checked the soil again. The top inch felt slightly damp. But my chopstick test showed the middle of the root ball was still dry. This is the "dry pocket" problem. The soil had become hydrophobic. It literally repelled water. So I did the bottom soak method.
I filled my sink with three inches of lukewarm water. I placed the pot in the sink. I set a timer for 15 minutes. I watched the bubbles escape. That’s the air being pushed out of the dry soil. After 15 minutes, I lifted the pot. Water was finally coming out of the drainage hole. That meant the soil was fully saturated down to the roots.
I drained the pot completely. I let it sit on a wire rack for 30 minutes. You never want the roots sitting in standing water. Root rot starts within hours if conditions are anaerobic.
Day 3-5: Root Revival Observation
I noticed the leaves started to unfurl slightly. The center of the plant, where new leaves emerge, looked less wrinkled. On day 5, I was curious. I gently tipped the pot sideways. I saw one tiny white root tip poking out of a drainage hole. That was the sign I was waiting for. White roots mean healthy new growth. Brown roots mean damage.
I did not fertilize during this period. Fertilizer on stressed roots is like throwing salt on a wound. It burns the root tips. Wait at least two weeks before any feeding.
Day 7: The First Watering Cycle
I gave the plant a normal, regular watering on day 7. Same lukewarm water. Same slow pour. The soil accepted it immediately. This time, the chopstick came out damp from the middle. The soil was holding moisture properly again.
I also pruned the dead leaf tips. I used sterilized scissors. I cut at a 45-degree angle. This isn't just cosmetic. Dead tissue can harbor fungal spores. Removing it reduces the risk of rot spreading to the crown.
Day 10: The Growth Check
I saw new growth in the center. The existing leaves were standing upright again. Not stiff, but relaxed and green. The silvery-white variegation was more visible. Crinkled leaves took longer to smooth out. Honestly, some older leaves stayed a bit kinked. That’s permanent scarring from the drought stress. But new leaves are the future.
Day 14: Full Recovery
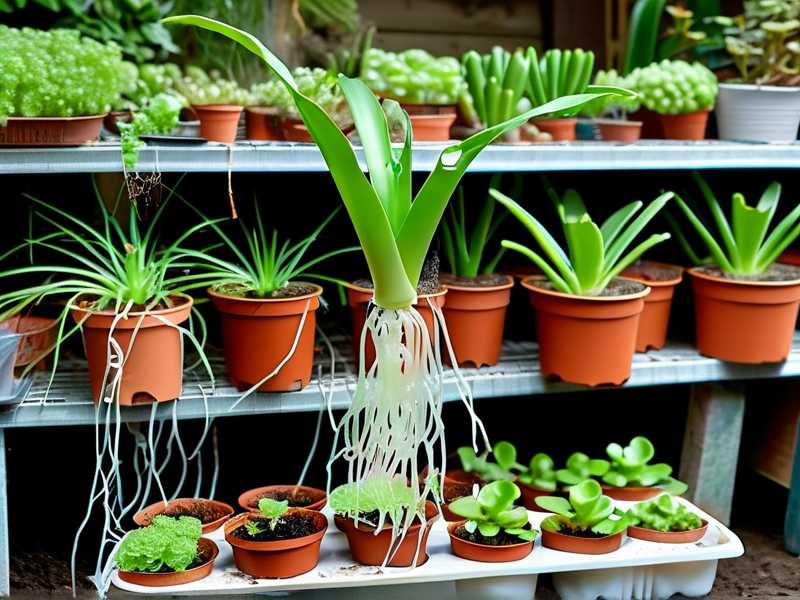
At the two-week mark, my spider plant looked noticeably fuller. I started seeing small plantlets, or "spiderettes" forming on the mother plant. That is a sign the plant feels safe again. It's putting energy into reproduction. I checked the roots one more time. They were white, thick, and filling the bottom of the pot. The recovery was complete.
The 3 Deadly Mistakes New Plant Owners Make
Mistake #1: Overwatering Out of Guilt
I did this after my second plant got dried out. I felt bad. I gave it a full drowning. The next day the leaves turned yellow and mushy at the base. The roots couldn't handle the sudden flood. They burst. Then they rotted. I learned that rehydration is a slow dance, not a fire hose.
My fix: Always split the water into two passes. Wait 30 minutes between passes. This lets the soil reabsorb water without flooding the roots.
Mistake #2: Wrong Light Position
When you are recovering a stressed spider plant, you cannot just put it back in bright direct sunlight. The roots are weak. They cannot pull up enough moisture to support transpiration in hot sun. The leaves will scorch. I placed my recovering plant in indirect bright light, about 3 feet from an east-facing window. That’s the sweet spot.
My fix: Use a sheer curtain if you don't have an ideal spot. This filters about 50% of the light intensity.
Mistake #3: Using the Wrong Pot
I tried recovering a plant in a decorative ceramic pot with no drainage hole. Big mistake. The water settles in the bottom. The roots stay wet. They can't breathe. They succumb to root rot quickly. The pot you use absolutely has to have drainage holes. I prefer terracotta or plastic nursery pots. They allow excess water to evaporate laterally and out the bottom.
My fix: Always use a pot with a drainage hole. If you love a decorative pot, use it as a cachepot. Put the nursery pot inside it.
My Personal Tricks I Discovered by Accident
The Chopstick Method
I tried using a moisture meter once. It gave inconsistent readings in dry, dense soil. I switched to the wooden chopstick trick. It’s foolproof. Insert it to the base of the pot. Wait 5 seconds. Pull it out. If it feels damp, wait. If it feels chalky, water. This is cheaper than any gadget and honestly more reliable.
The Humidity Tray
I put my stressed plant on a tray of pebbles with water. The water level was just below the bottom of the pot. The evaporation created a micro-climate of humidity around the plant. This reduced the stress on the leaves while the roots recovered. I did this continuously for two weeks. It made a visible difference in leaf turgidity.
The Early Morning Watering Schedule
I realized my plant recovered faster when I watered it early in the morning, around 7 AM. The plant has the whole day to absorb and transpire. If I watered at night, the soil stayed wet longer because evaporation slows. This increased the risk of fungal issues. Morning watering mimics the natural dew cycle in many tropical climates.
What the Experts Say About Root Recovery
I looked up guidance from the RHS and the AHS when I was figuring this out. The RHS emphasizes that plants in hydrophobic soil often need multiple wetting cycles. They actually recommended "bottom watering" for pot-bound plants. This aligns perfectly with my soak test method. The AHS also note that root regrowth is stimulated by consistent moisture, not by fluctuations between bone dry and soggy.
Their combined advice stresses gradual rehydration. This is more scientifically sound than dumping a large volume of water all at once. Root cells are physically damaged by sudden osmotic pressure changes. Gradual hydration allows the root cells to slowly rebuild their internal solute balance.
I also read about the capillary action in soil. When you bottom water, water is drawn upward through the tiny spaces between soil particles. This ensures hydration reaches the root tips directly. This is why my soak method worked so well on dry soil that had shrunk away from the pot edges.
How to Prevent This From Happening Again
I now use a simple calendar reminder on my phone. I water my spider plants every 7-10 days during active growth. During winter, I cut it back to every 14 days. But I always check the soil first. The chopstick doesn't lie. Feeling the weight of the pot is also helpful. A dry pot is surprisingly light. A properly watered pot has some heft.
I also repotted my plant into a mix that doesn't easily become hydrophobic. My recipe is one part standard potting soil, one part perlite, and one-fifth part orchid bark. The perlite creates air pockets. The orchid bark absorbs moisture slowly and releases it gradually. Since using this mix, my spider plants have not experienced a single episode of underwatering stress.
FAQ Section
How long does it take for spider plant roots to recover from severe drought?
From my experience, visible root regrowth happens within 5 to 7 days after proper hydration. But full root system recovery takes about 2 to 3 weeks. Don't pull the plant out of the pot to check daily. That disrupts the new delicate roots. Watch for above-ground signs like leaf firmness and new leaf emergence.
Should I remove all the yellow or brown leaves during recovery?
No. Don't remove everything at once. Yellow leaves still contain nutrients that the plant can move to the roots. I only trim the dead, crispy tips. I leave the yellow parts until they are fully dry and brown. Removing live yellow leaves slows down recovery because you are essentially throwing away stored energy.
Can I use fertilizer to speed up root recovery?
Never fertilize immediately after underwatering stress. The roots are physically damaged and cannot handle mineral salts. Fertilizing too early will cause chemical burn. I waited until the two-week mark. Even then, I used a diluted liquid fertilizer at half-strength. That is the safest way to encourage new growth without shocking the system.





