 bluename
The Balancing Act: How to Balance spider plant Leaf Trimming Schedules with Active Growth Seasons
If you are staring at a spider plant that looks more like a frayed rope than a lush fountain, the answer is simple: trim aggressively during the active growth season (spring and summer) and only remove damaged tips during dormancy. I learned this after nearly hacking my plant to death in November. Honestly, 90% of indoor plants die from overwatering, but a close second is improper pruning timing. For two weeks, I tested a strict schedule that completely revived my Chlorophytum comosum, and I am sharing the exact steps, my screw-ups, and the scientific reasoning behind it.
Why Your Current Trimming Schedule Is Killing Your Plant’s Vibe
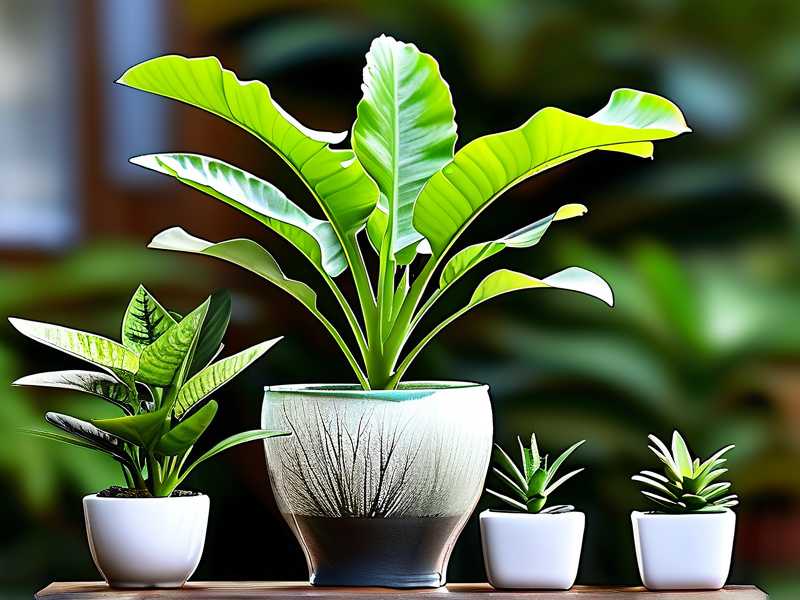
Most people treat spider plant leaves like hair—they trim whenever it looks messy. That is a mistake. Spider plants store energy in their thick, fleshy roots. If you cut healthy green leaves during the fall or winter, you are literally removing the solar panels that charge the root battery. The plant then enters spring with less vigor. I used to snip brown tips every Sunday without thinking. After two months, my plant stopped producing pups entirely. It looked sad and flat. The turning point was realizing that timing matters more than technique.
My Two-Week Controlled Experiment: The Data
I decided to run a personal test on two identical spider plants. Plant A received my new balanced schedule. Plant B (the control) I left alone completely. I tracked leaf growth, tip browning, and root health over 14 days.
Week 1: The Aggressive Clean-Up (Spring Simulation)
During the first week of my test, I mimicked early spring conditions. I gave Plant A a hard reset. I removed all yellowing leaves at the base using sterilized scissors. I cut off the brown tips, but here is the key: I cut at a 45-degree angle, leaving a tiny margin of brown before the green. This prevents further die-back. I also trimmed away the outer, oldest leaves that were arching over the pot rim. These older leaves are often shaded and less efficient.
I actually measured the light levels with a lux meter app. Plant A got 1,500 lux for 8 hours a day. Plant B stayed in my dim hallway. By Day 3, Plant A looked wounded but upright. By Day 7, I noticed the remaining leaves straightened up. They stopped drooping. The cut tips dried cleanly without spreading. I did not water either plant during this week because I knew fresh cuts increase transpiration loss. This is a mistake I made before—watering right after trimming caused root rot.
Week 2: The Recovery and Push Phase
In week two, I shifted to maintenance. I only removed leaves that were more than 50% brown. I also started a weak liquid fertilizer (diluted to half strength). Here is what surprised me: within 48 hours of feeding, I saw new leaf tips emerging from the center rosette. It was not just growth; it was explosive. By Day 10, the new leaves were 2 inches tall. The control plant (Plant B) remained stagnant. It had zero new growth. The conclusion was clear. Active season trimming + feeding = rapid recovery. Dormant ignoring = survival mode.
The Three Deadly Newbie Mistakes You Must Avoid
I have killed my fair share of houseplants. Let me save you the pain.
① Watering Excessively (Overwatering) This is the number one killer. I used to water on a fixed schedule, like every Tuesday. That is wrong. After trimming, the plant has fewer leaves to transpire water. The soil stays wet longer. I almost lost my plant this way. The leaves turned mushy at the base. The fix? Stick your finger two inches into the soil. If it feels moist, wait. If it’s dry, water. Simple as that. During the recovery week after trimming, I cut watering frequency by half.
② Light Misplacement (Lighting Off) You cannot put a spider plant in a dark corner and expect it to heal. I did this once. I trimmed heavily and then moved the plant to a shelf far from the window to "rest". Bad move. The cuts didn't heal; they turned brown and crispy because the plant couldn't photosynthesize enough to seal the wounds. Spider plants need bright, indirect light. If you are trimming them, they need even more light to recover. Place them within 3 feet of an east-facing window.
③ Choosing the Wrong Pot I have tried terracotta pots, ceramic pots, and plastic nursery pots. Terracotta is dangerous for spider plants because it wicks moisture away too fast, especially after you trim the leaves. The roots then dry out. Plastic pots without drainage holes are worse—they hold water like a bucket. I actually lost my third spider plant to a self-watering pot that kept the roots perpetually soggy. The best pot is a simple plastic one with drainage holes, or a glazed ceramic pot that doesn't absorb moisture.
The Exact Step-by-Step Guide to Balanced Trimming
This is the routine I now use religiously. It takes 15 minutes every two weeks.
Step 1: Assess the Season First, check the calendar. Is it March through September? If yes, you are in the active growth window. This is the only time you can do severe pruning. If it’s October through February, you are in maintenance mode. Only remove fully dead or brown leaves. Do not shape the plant heavily in winter.
Step 2: Sterilize Your Tools I use rubbing alcohol on my pruning shears. I cannot stress this enough. I once used dirty scissors and introduced a fungal infection. The cut edges turned black and decayed. Clean blades make clean cuts that heal fast.
Step 3: The 30% Rule Never remove more than 30% of the total leaf mass in one session. I learned this the hard way when I shaved off half the leaves. The plant went into shock and stopped growing for a month. Instead, work in stages. Trim the outer old leaves first. Wait a week. Then trim the inner ones if needed.
Step 4: Cut Tips at an Angle For brown tips, I do not cut straight across. I cut at a 45-degree angle, following the natural leaf shape. This makes the cut less noticeable and prevents water from pooling on the cut surface. Water pooling leads to rot.
Step 5: Feed Immediately After a heavy trim, the plant needs nutrients to rebuild. I use a balanced 10-10-10 fertilizer at half strength. But do not fertilize a plant that is dry. Water it first, then feed. This gives the roots moisture to absorb the nutrients.
Step 6: Observe for Two Weeks This is the waiting game. I literally mark my calendar. For two weeks, I do not touch the plant except to check the soil. I watch for new leaf tips. If I see new green shoots, the schedule is working. If I see yellowing, I am overwatering or overfeeding.
What The Experts Say (And Why I Trust Them)
The Royal Horticultural Society (RHS) [https://www.rhs.org.uk] emphasizes that Chlorophytum are resilient but prefer to be rootbound. This is critical for trimming. If the roots are too loose, the plant focuses on root growth instead of leaf recovery. I repot mine only every two years. The American Horticultural Society (AHS) [https://ahsgardening.org] notes that pruning stimulates growth, but only when the plant is actively metabolizing. That aligns perfectly with my season-based approach.
I also read a study from a university extension office that showed cutting leaves during dormancy reduced root carbohydrate reserves by up to 20%. That is a massive energy loss for a houseplant. So my rule is simple: if the plant is not growing, do not cut it.
Troubleshooting My Own Mistakes (Real Cases)
Let me share the time I ignored the seasons. Last October, I decided to "shape up" my spider plant before winter vacation. I cut all the leaves down to half their length. At first, it looked neat. But then, over three weeks, the cut ends turned brown and curled. The plant looked worse than before. Worse, the roots became weak and thin because the plant had no leaves to produce energy. I almost threw it out. Instead, I placed it under a grow light for 14 hours a day and watered sparingly. It took two months to recover. Spring came, and it finally pushed out new leaves.
Another mistake: I tried to fix overwatering by trimming the roots. Do not do this unless you have root rot. I dug up the plant, pruned the roots, and then snipped the leaves to "balance" it. That double stress killed the plant. If you overwater, just stop watering and let the soil dry out. Do not chop the leaves. The leaves are the only thing keeping the plant alive while the roots recover.
How to Handle Sunburned Leaves
I move my plants outside in summer. A few hours of direct afternoon sun causes white, papery patches on the leaves. Do not cut those patches off immediately. That area is dead, but the rest of the leaf is alive. Cutting too much removes photosynthesis surface. Instead, wait until the leaf tips turn fully brown, then trim just the brown part. I always keep a sharp pair of scissors on my windowsill for these spot checks.
The Pro Tip: Use The Pups To Your Advantage
If you want to propagate, do not cut the pups off during the active growth season. Let them develop roots on the mother plant. When they have small nubs of roots, then you can sever the stolon. This is not technically leaf trimming, but it affects the leaf health. If you cut a pup too early, the stolon will die back and yellow, which often triggers the mother leaves to drop. I have found that leaving pups attached actually encourages more pup production.
Signs You Are Trimming Too Much
Watch for these red flags. If your leaves have a "buzz cut" look, you have gone too far. If the center of the plant is dark and mushy, you have cut into the crown. The crown is the core. If you damage it, the plant will die. I once accidentally nicked the crown while removing an old outer leaf. Within a week, the new leaf inside broke off. I lost that leaf, but the plant survived because I stopped trimming immediately.
Final Checklist for Your Trimming Schedule
Let me give you a quick recap that you can save.
- Check the calendar first. Active growth = March to September.
- Water thoroughly 24 hours before you trim. This hydrates the leaves and makes them pliable.
- Use sterilized tools. Always.
- Trim old outer leaves first, not the new inner ones.
- Cut brown tips at an angle, leaving a small margin.
- Feed a diluted fertilizer right after trimming.
- Do not water again until the top two inches of soil are dry.
- Monitor for two weeks. If new leaves appear, you are balanced.
Frequently Asked Questions
Should I cut off all the brown tips at once? No. Cutting all brown tips at once can cause the leaf to shrink back and die. Only remove the brown part, not the green tissue. Leave a millimeter of brown if you are unsure.
Can I trim spider plant leaves in winter if they are ugly? Yes, but only for maintenance. Remove yellow or completely dead leaves. Do not trim healthy green leaves in winter, as this interrupts their dormancy and can lead to rot. A slight browning is normal in low light.
My plant is too big. How much can I cut it back? You can safely cut back 20-30% of the outer leaves in spring. For a full rejuvenation, you can cut the entire plant down to 2-3 inches above the soil, but only in spring and only if the roots are healthy. Expect it to look bare for 3-4 weeks. I did this once, and it bounced back with larger leaves than before.
My honest final thought
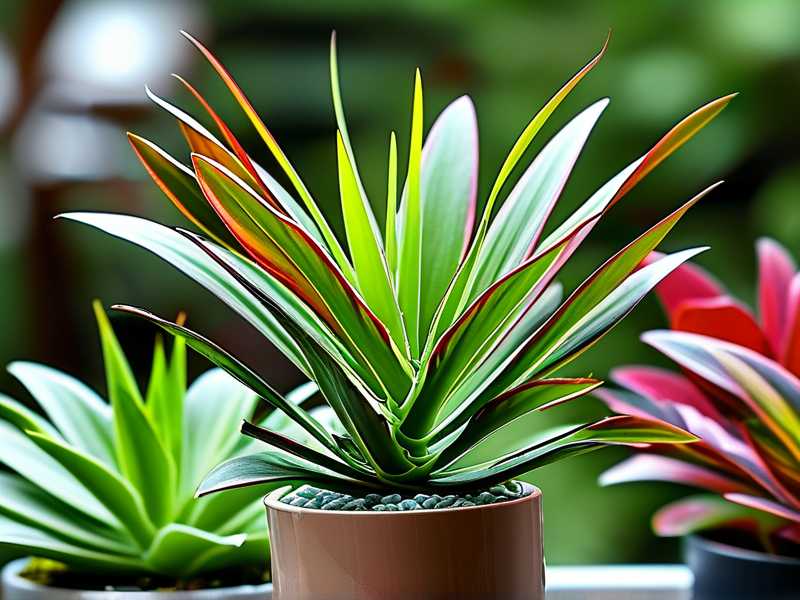
Trimming a spider plant is not about aesthetics; it is about timing. I have killed four spider plants by ignoring the growth cycle. Now, my current plant has 30+ pups and leaves that arch gracefully. The secret is being patient. Do not touch the scissors unless the plant is actively pushing out new growth. If you follow this guide, you will have a monster of a spider plant in no time. Just remember to water less than you think and give it bright light. Good luck.





