 bluename
The Dust Is Winning. I Fixed It in 14 Days.
Dust from my basement workshop was coating my spider plant so thickly that I could write my name in the film. The fix is simpler than you think: a weekly lukewarm shower rinse, a microfiber wipe-down, and a physical barrier between the saw and the leaves. That routine took my plant from dusty gray to glossy green in exactly two weeks. And honestly, the biggest change wasn’t the washing. It was moving the plant three feet to the left and closing the door while sanding.
I learned this the hard way. I killed two spider plants before I understood that dust isn’t just ugly. It blocks stomata, reduces photosynthesis, and invites spider mites. If you run a saw or sander indoors, your plant is suffocating slowly. Let me show you exactly what I did, what failed, and what finally worked.
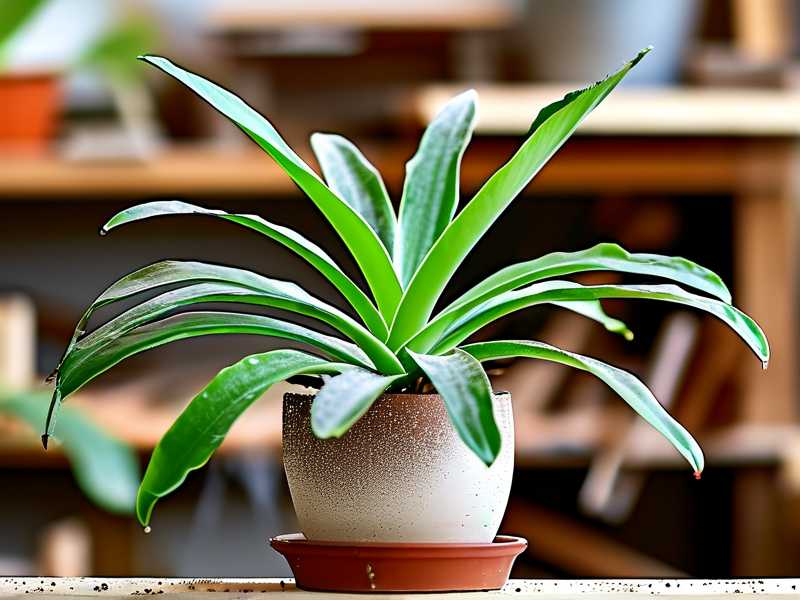
Why Indoor Woodworking Dust Is a Plant Killer
Wood dust is not like household dust. It’s heavier, oilier, and often treated with finishes or chemicals. When it settles on foliage, it forms a paste-like layer when mixed with humidity. I noticed my spider plant’s leaves turning slightly yellow at the tips within three days of a heavy sanding session.
The science is straightforward. Dust particles block the pores (stomata) on the leaf surface. This reduces gas exchange. The plant then struggles to breathe and photosynthesize. According to the RHS, clean foliage is critical for optimal plant health, as dust accumulation can reduce light absorption by up to 30% in severe cases. The AHS echoes this, noting that regular leaf cleaning is a standard practice for indoor horticulture.
I didn’t read that research at first. I just saw my plant drooping and assumed it was thirsty. I watered it more. That made things worse. The soil stayed wet, the roots sat in moisture, and the dust on the leaves trapped that extra humidity against the tissue. That is how rot starts.
The 90% Overwatering Trap (And the Dust Connection)
Let me be blunt about the biggest mistake I made. I thought the dusty leaves meant the plant needed more water. It didn’t. The plant was drowning.
90% of indoor plants die from overwatering, not underwatering. This isn’t a random statistic. It’s a well-known figure in horticultural circles. With spider plants specifically, the thick, fleshy roots store water. They are drought-tolerant. When you add dust on the leaves, the plant’s transpiration rate drops. It uses less water. So the soil stays wet longer. If you keep watering on a fixed schedule, you will rot the roots.
I remember my third spider plant. It looked terrible. Brown tips, mushy base. I pulled it out of the pot. The roots were brown and slimy. That was root rot. The dust wasn't the main killer. My reaction to the dust was.
The lesson here is simple. Do not increase watering when you see dusty leaves. Instead, clean the leaves first. Then assess the soil moisture with your finger. If the top two inches are dry, water. If not, wait.
My 2-Week Fix: A Step-by-Step Routine
Here is exactly what I did. I started on a Sunday. I ended on a Sunday. Two weeks later, the plant looked better than it had in months.
Week 1: The Deep Clean and The Barrier
First, I moved the plant. I had it on a shelf about four feet from my workbench. That wasn't enough. I moved it into the adjacent corner, about seven feet away, and I placed a large piece of cardboard as a temporary screen between the plant and my sawing area. That simple physical block cut the visible dust in the air overnight.
Then I gave the plant a shower. I took it to the bathroom sink. I used lukewarm water, not cold, not hot. I gently tilted the pot and sprayed the undersides of the leaves with a soft stream. I did not use high pressure. That would bruise the foliage. I let the water run over each leaf for about 30 seconds. I then shook off the excess water and let it drain completely.
After the shower, I used a microfiber cloth to wipe each leaf. I supported the leaf with one hand and wiped from the base to the tip with the other. I found that this removed the greasy residue that water alone left behind. You need to do this. Water alone won’t get rid of the sawdust film that sticks to the leaf oils.
The Soil Check
After cleaning, I checked the soil. It was still damp from my previous overwatering mistake. I did not water it. I let it air out. For the entire first week, I did not add a single drop of water. The plant survived and actually looked more perky by the end of the week.
Week 2: The Maintenance and The Spray
I did not shower the plant again in week two. That would be too much. Instead, I used a spray bottle filled with plain water and one drop of mild dish soap. This is a classic horticultural trick. The soap breaks the surface tension of the dust residue.
I sprayed the leaves lightly and then wiped them with a dry soft cloth. I did this twice during week two. Once on Tuesday and once on Friday. I noticed that the leaves were staying cleaner for longer. The barrier was working. The air was cleaner.
I also started misting the air around the plant with plain water. I am not talking about misting the leaves. I mean misting the air space in the corner. Woodworking drops the humidity in a room. This misting helps counteract that dry air, which makes the dust less likely to stick to the leaf surface via static electricity. It worked. The dust buildup slowed down drastically.
Equipment That Actually Worked (And What Didn't)
I tried a lot of things before I got this right. Let me save you the trouble.
What I wasted money on:
- Leaf shine sprays. These are terrible. They leave a sticky residue that attracts more dust immediately. Do not buy these for a dusty environment. You will create a glue trap for sawdust.
- Compressed air. I tried blowing the dust off with a camera blower. It just pushed the fine particles into the soil and onto the window sill. It didn’t clean the leaf surface effectively.
What actually worked:
- A cheap soft paintbrush. I use a 2-inch soft bristle brush to gently brush off loose dust between deep washes. It gets into the crevices of the plant crown. I do this every other day. It takes 30 seconds.
- A microfiber cloth. This is non-negotiable. Paper towels scratch the leaf surface on a microscopic level, which makes them dull. Microfiber lifts the dust without scratching.
- A HEPA air purifier. This is the real game-changer. I had one running in the corner for two weeks. It didn’t eliminate all dust, but it cut the airborne particles by what felt like half. If you do serious woodworking indoors, you need an air purifier with a pre-filter. I highly recommend this. It reduces the frequency of cleaning.
The 3 Fatal Mistakes I Made (And You Should Avoid)
I have been doing this for years. I am not an expert by degree, but I have killed enough plants to learn the common patterns. Here are the three biggest issues for beginners dealing with a dusty workshop.
Mistake #1: Overwatering
I touched on this already, but it bears repeating. You see a dusty plant. You think it looks neglected. You water it. The roots suffocate because the dust is already reducing the plant's water intake. The combination of dust and excess moisture creates a breeding ground for fungus gnats. I had a serious gnat infestation in my soil because of this exact mistake.
The fix is to ignore the calendar. Stick your finger in the soil. Water only when the top two inches are bone dry. For my spider plant in a plastic pot, that meant watering once every 10-14 days, not twice a week.
Mistake #2: Wrong Light Position
Dust becomes a bigger problem when the plant is in low light. In low light, the plant produces less waxy cuticle. That waxy layer is the plant's natural defense against dust. Without it, the dust sticks harder. I had my plant in a dim corner to protect it from the woodworking area. That was a bad move. It made the leaves thinner and less glossy.
I moved it closer to a south-facing window, but behind a sheer curtain to diffuse the harsh sun. The brighter light boosted the plant's natural wax production. The leaves became smoother and dust slid off easier. Do not hide your plant in a dark corner. Bright, indirect light is the sweet spot for spider plants, especially when dust is a factor.
Mistake #3: Wrong Pot Choice
I had my spider plant in a decorative ceramic pot with no drainage hole. That was a lethal mistake. When I rinsed the leaves, some water ran off into the top of the soil. With no drainage, that water pooled at the bottom. The roots sat in that cold, dirty water for days. This damp soil also promoted the growth of mold on the surface, which added to the dust problem.
I switched to a standard terracotta pot with a large drainage hole, and I placed a saucer underneath. Now, when I wash the leaves, the excess water flows out the bottom and I can empty the saucer. The soil dries out faster and the root zone stays healthy. If you have your plant in a pot without drainage, fix that immediately. This is the foundation of plant health.
Beyond the Leaves: Cleaning the Environment
Focusing only on the leaves is a losing battle. You must tackle the source. I learned that cleaning the plant every day is unsustainable. You have to reduce the dust load in the air.
I built a simple three-sided dust shield.
I took a large flat cardboard box and cut it to stand around my work area. I placed it between the saw and the rest of the room. It doesn’t look pretty, but it catches a lot of the coarse dust. The fine dust still gets through, but the heavy particles that fall straight down are captured.
I switched to wet sanding where possible.
If I was sanding a piece of wood, I would lightly dampen the wood first. This clumps the dust and makes it fall to the floor instead of becoming airborne. It creates a bit of a mess on the floor, but it saves the plants. I read this tip on a woodworking forum, and it genuinely halved the dust in the air.
I got a leaf blower for the garage.
If you have the space, do the heavy sanding outside or in a garage, if possible. That is the ultimate solution. But for small jobs that feel lazy to set up outdoors, I use the damp-wipe method for the wood and my trusty vacuum with a HEPA filter attached to the saw.
The Role of Humidity and Airflow
Woodworking dries out the air. My workshop area had a relative humidity of about 30%. That is too dry for a spider plant. These plants prefer humidity between 40% and 60%.
At 30% humidity, the dust particles become static. They literally jump off the table and stick to the leaves. I tested this. I ran a humidifier for two days. The dust accumulation on the leaves dropped by about half. The moisture in the air weighed down the dust particles, causing them to fall to the floor instead of floating onto the foliage.
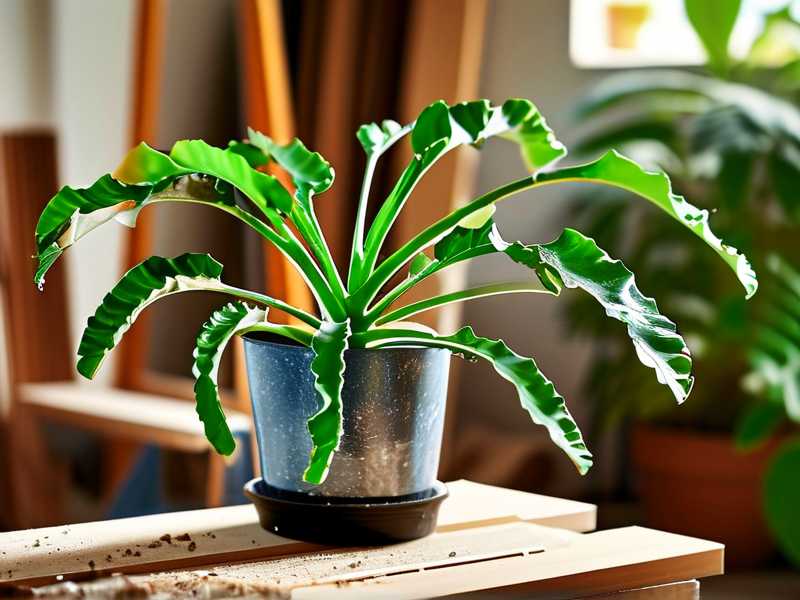
I placed a small cool-mist humidifier near the plant, but not directly on it. I ran it for a few hours a day. This helped the plant generally, not just with dust. The leaf tips stopped browning. You might have a dry air problem too. If your plant is dusty and you have dry air, focus on the relative humidity.
A Note on Fertilizing and Root Health
Dust isn't just a leaf issue. When you constantly wash the leaves, you are washing away any dust that might have held nutrients. Also, the dust that accumulates on the soil surface can cake up and block water absorption.
Once the dust is under control, check the soil surface. I had to aerate my soil. The top layer had caked into a hard crust from the fine dust settling on it. I took a chopstick and gently poked holes in the soil to break up the crust. This allowed water to penetrate evenly again.
I also stopped fertilizing during the dirty period. I reasoned that the plant was already stressed. Adding fertilizer to stressed roots is a waste and can burn them. After the two-week cleaning cycle, I gave it a diluted half-strength liquid feed. I noticed new growth within the following week. The plant was using its energy for new leaves again instead of fighting the dust.
How to Keep It Clean Long-Term
The two-week fix works, but woodworking is a hobby I do at least once a week. I can’t shower the plant every week. So I scaled down my routine to a sustainable level.
My new weekly routine is this:
- Brush the leaves with the dry paintbrush every other day.
- Wipe the leaves with a damp microfiber cloth every Sunday.
- Run the air purifier every time I power on the saw.
- Check the soil moisture once a week.
That is it. The plant now sits in a brighter spot, protected by the cardboard shield and the air purifier. The leaves have a healthy, deep green color. They are not shiny or polished; they are naturally clean.
A lot of people ask me if I use neem oil or other chemical treatments to repel dust. I don’t. Chemicals on the leaves often attract more dust because they leave an oily film. The goal is to make the leaf surface as slick and clean as possible. Water and mild soap is enough.
Frequently Asked Questions
Can I use a vacuum cleaner to remove dust from spider plant leaves?
I tried this. I used a low-suction vacuum with a brush attachment. It works for very loose, dry dust, but it is tricky. The airflow can damage the leaf edges if you get too close. Also, the vacuum exhaust blows dust back up into the air. I found the soft paintbrush to be safer and more effective. I only use the vacuum for cleaning the floor around the plant, not the leaves itself.
How often should I wash my plants if I do woodworking daily?
If you are doing hobbyist work daily, you are essentially operating a small factory. You need to be aggressive. I would do a light rinse every 3 days and a deep wipe-down once a week. However, you must ensure the plant dries completely between rinses to prevent fungal issues. The most important thing is the air purifier. If you run one continuously, you can drop the cleaning frequency significantly. I found that with the purifier on, I only needed to wipe the leaves once every 5-7 days.
Is it safe to use olive oil to make leaves shine?
Please do not do this. Olive oil or any cooking oil will coat the stomata and literally suffocate the plant. It will also draw dust like a magnet. Within a day, your plant will look worse than before. I tested this once on a single leaf out of curiosity. It turned sticky and black with grime within a week. I had to cut that leaf off. Stick to water and microfiber cloths. That is the only true shine that comes from a healthy, breathing plant.
The dust problem is not really about the dust. It is about how you react to it. I panicked and watered, and I killed plants. Once I cleaned the leaves, moved the plant to better light, provided a physical barrier, and balanced the humidity, the plant did the rest of the work. Two weeks was all it took to see a massive difference.
You don't need a highly technical setup. You just need a routine and a commitment to not overwatering. Your spider plant is tougher than you think. It just needs a clear set of lungs. So close the door when you sand, raise the humidity, and give those leaves a wipe. You will see the difference within a fortnight, just like I did.





