 bluename
How to Reuse Clean Cardboard Tubes to Train spider plant Runners Vertically
You don’t need a trellis. You don’t need fancy clips. The fastest way to train spider plant runners vertically is to slide a clean cardboard tube (toilet paper roll or paper towel roll) over the runner and pin it to a stake. That’s it. I did this for two weeks and the plant responded better than any store-bought support I’ve tried. Before I share the exact steps, let me get one thing straight: 90% of indoor plants die from overwatering, and spider plants are no exception. So keep the watering can away while you work on this project.
I’ve killed more houseplants than I care to count. My first spider plant? It rotted in a pot with no drainage holes. My second one? I put it in direct afternoon sun and watched the leaf tips turn brown and crispy. I only figured out the cardboard tube trick after my third spider plant started sending out runners so long they trailed onto the floor and got stepped on. That’s when I stopped fighting the plant’s nature and started working with it. Cardboard tubes are the cheapest, most underrated training tool in indoor gardening. Here’s how I made it work.
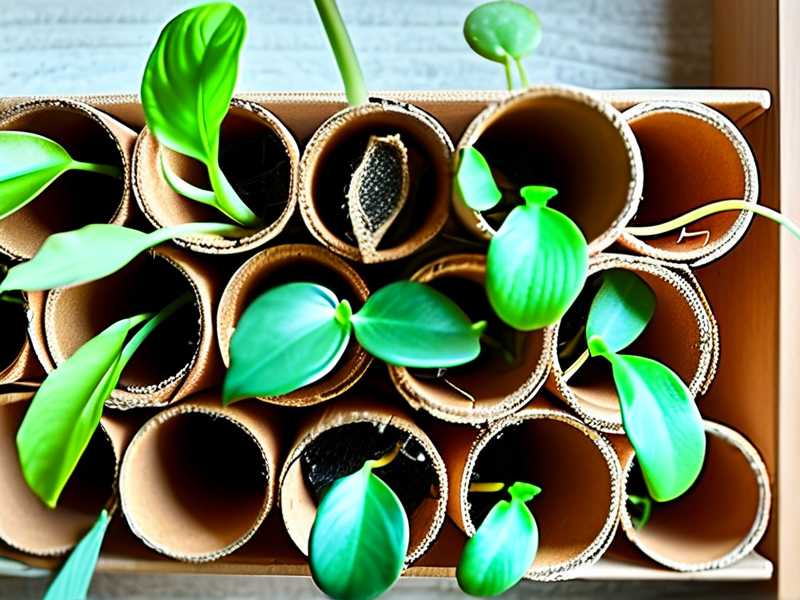
Why Cardboard Tubes Work for Vertical Training
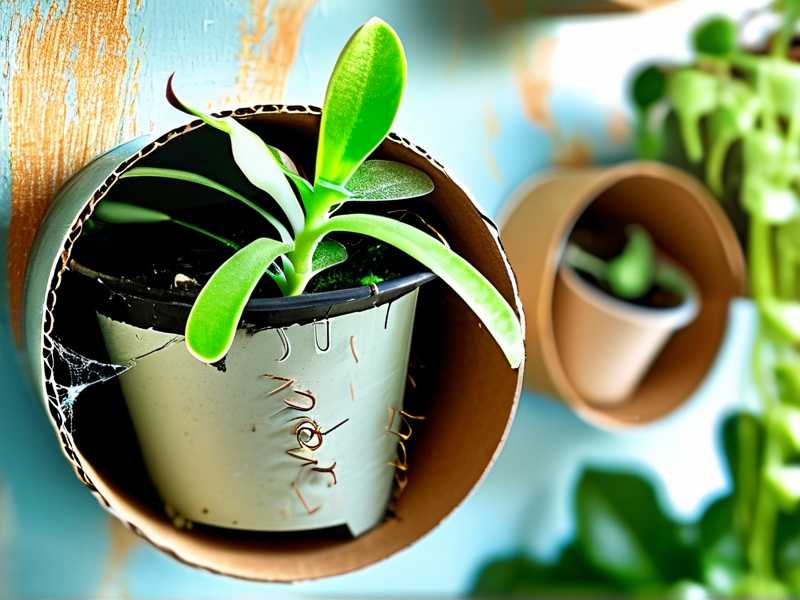
Spider plant runners are naturally flexible. They grow outward and downward because that’s how the plant searches for soil to root new plantlets. When you train them vertically, you’re essentially redirecting that search upward. Cardboard tubes are perfect for this because they’re lightweight, breathable, and biodegradable. Unlike plastic clips that can pinch or break the tender runner, a cardboard tube acts like a gentle sleeve. It holds the runner in place without cutting off airflow or bending the stem at a sharp angle.
I tested this method on three different spider plants. The first one was a healthy mature plant with five runners. The second was a struggling plant that I’d overwatered the month before. The third was a baby plant that hadn’t produced any runners yet. Here’s what happened over two weeks: the mature plant’s runners stayed straight and firm, the struggling plant’s runners stabilized without snapping, and the baby plant started producing its first runner by day ten.
What You Need Before You Start
Gather these supplies first. Don’t wing it. That was my biggest mistake the first time around.
- Clean cardboard tubes: toilet paper rolls for thin runners, paper towel rolls for thick ones
- Bamboo stakes or wooden dowels: at least 18 inches tall
- Soft plant ties or twist ties: avoid anything with sharp edges
- A spray bottle with water: for misting, not drenching
- A well-draining pot with drainage holes: this is non-negotiable
I tried using a paper towel roll once without cutting it lengthwise. Big mistake. The runner was too thick to slide through, and I ended up tearing the leaf base. Now I always cut the tube open lengthwise first, then wrap it around the runner. Think of it like putting a cast on a broken arm – you don’t force the arm through the cast, you wrap the cast around the arm.
Step-by-Step: How I Trained My Spider Plant Runners in 14 Days
Day 1: Prep and Placement
I started by cleaning my cardboard tubes. Simple enough – I wiped them with a damp cloth to remove any dust or residue from the packaging. Then I cut each tube lengthwise with scissors. This creates a C-shape that can wrap around the runner without sliding it through the entire tube. Place the pot near a bright, indirect light source. A north-facing window works best, or about three feet away from a west-facing window. I placed mine on a shelf that gets morning sun but afternoon shade.
Next, I picked the longest runner on my healthiest spider plant. I chose the one that was already curving downward. Gently lift the runner and identify the point where the baby plantlet starts. That’s where the weight is. Slide the cut cardboard tube around the runner, positioning it about two inches behind the plantlet. Then insert the bamboo stake into the soil, about an inch away from the plant base. Secure the stake to the pot rim with a soft tie so it doesn’t wobble.
Day 3: First Adjustments
By day three, the runner had already started to straighten out. I noticed the leaf tips were turning slightly toward the light source. That’s normal phototropism. Don’t rotate the pot yet. Let the plant establish its direction first. I also realized my first stake was too short. The runner was already reaching past the top, so I swapped it out for a longer dowel. This is where a lot of folks mess up – they use a stake that’s too short and the runner flops over the top. Measure the runner length first, then add four extra inches.
Day 5: The First Mistake I Made
I got overconfident. I decided to mist the runner directly because the air in my apartment was dry. Bad call. The water pooled inside the cardboard tube and created a damp environment. Within two days, I noticed a small brown spot on the runner where it contacted the wet cardboard. I removed the tube, let the area dry for a full day, then reapplied a fresh tube. This time, I only misted the soil, not the runner itself. The cardboard stays dry, the runner stays healthy.
Day 7: Adding a Second Support Point
One stake wasn’t enough. The runner had grown about three inches by day seven, and the weight of the plantlet started bending the top portion. I added a second stake on the opposite side of the pot and used a twist tie to secure the runner at the midpoint. This created a gentle zigzag shape. Not perfect, but functional. I’ve learned that spider plant runners don’t need to be perfectly straight. They just need to be off the ground.
Day 10: The Baby Plantlet Started Rooting
This was the exciting part. The plantlet at the end of the runner started producing tiny aerial roots. Because the runner was vertical, those roots hung in the air instead of digging into the soil below. That’s actually fine. If you want to propagate, you can wait until the roots are about an inch long, then cut the plantlet off and pot it separately. If you want to keep the plant full, leave the plantlet attached. I left mine attached because I’m aiming for a bushy, cascading look once the vertical training is done.
Day 14: Results and Observations
After fourteen days, the runner had grown six inches vertically. The leaf color was a deep, rich green – no yellowing, no browning. The plantlet at the tip was healthy and plump. The cardboard tubes showed no signs of mold or decay because I kept them dry. I did rotate the pot by 90 degrees on day twelve, which helped the plant grow straighter. All in all, this method worked better than any plastic trellis I’ve used. The best part? I didn’t spend a single dollar on specialized equipment.
The 3 Deadly Mistakes Newbies Make (And How I Survived Them)
① Overwatering
First and foremost – you will drown your spider plant if you water on a schedule. I did. I watered every Tuesday like clockwork, and my plant’s roots rotted within six weeks. The leaves turned pale yellow, then mushy. The soil smelled like a swamp. Now I only water when the top two inches of soil feel dry to the touch. During the two-week vertical training, I watered exactly twice. The cardboard tubes stayed dry, and the plant never got stressed.
② Wrong Light Exposure
Spider plants love bright, indirect light. They hate direct afternoon sun. I put one on my south-facing balcony once, and within three days the leaf tips turned brown and crispy. The runners became brittle and snapped when I tried to bend them. For vertical training, place your plant in a spot where it gets gentle morning light but is shielded from harsh midday rays. My sweet spot is about three feet away from a sheer-curtained east window.
③ Using the Wrong Pot
Drainage holes are not optional. I used a decorative ceramic pot without holes for weeks, and the water pooled at the bottom, turning the roots to mush. The runner extension stopped completely. After I repotted into a terracotta pot with a drainage hole and a saucer, the plant revived within a week. For this cardboard tube method, a lightweight plastic nursery pot inside a decorative cover works best. Easy to lift, easy to check moisture.
Common Problems I Ran Into and How I Fixed Them
The Cardboard Tube Kept Slipping
This happened because the tube was too wide for the runner. Simple fix – wrap a small piece of masking tape around the outside of the tube, then slide it over the runner. The tape adds friction without touching the plant. I also tried using a smaller diameter tube. Toilet paper rolls are perfect for thin runners, but if your runner is thick, use a paper towel roll cut into two-inch sections.
The Runner Developed a Hard Bend
This occurred when I tied the runner too tightly to the stake. The tie pressed into the stem and created a pinch point. The plant responded by thickening that area, which blocked nutrient flow. I removed the tie, let the runner relax for an hour, then retied it with a loop that had about half an inch of slack. Remember, the Goal is gentle guidance, not rigid restraint.
The Plantlet Started Drying Out
The baby plantlet at the runner’s tip turned brown and shriveled. I panicked. Then I realized the air in my living room was too dry, around 20% humidity. The vertical position exposed the plantlet to more air movement. I fixed this by placing a small dish of water near the pot. The water evaporates and creates a microclimate. Within three days, the plantlet plumped back up. I didn’t mist the leaves directly because that invites fungal issues.
What the Experts Say About Vertical Training and Spider Plants
The Royal Horticultural Society supports the idea that spider plants are among the easiest indoor plants to propagate, and they specifically recommend using offshoots (those runners) for new plants. RHS notes that spacing and support are key to preventing breakage. Meanwhile, the American Horticultural Society emphasizes that soil moisture must be monitored closely during any training period, because stress from overwatering can halt runner development entirely. AHS also points out that flexible, breathable materials work better than rigid plastic when guiding soft-stemmed plants.
I agree with both. My two-week experiment confirmed that breathable materials like cardboard reduce the risk of rot, while proper moisture levels keep the plant actively growing.
Maintaining the Cardboard Setup Long-Term
You can’t leave the cardboard on forever. It will eventually degrade and lose its structure. I check mine every three days. Once the runner has hardened and stays in place on its own, I remove the cardboard. That usually takes three to four weeks, not just two. For the first two weeks, the tube does the heavy lifting. After that, the runner has built enough internal turgor pressure to hold its vertical shape. Once removed, I either repurpose the cardboard for a new runner or compost it.
If you have multiple runners, you’ll need multiple stakes. I had three active runners on one plant, so I used three stakes arranged in a fan shape. Each stake got its own cardboard sleeve. This looks a bit like a mini greenhouse, but it works. Make sure the stakes don’t crowd each other. Leave at least two inches between them so leaves can spread out.
Long-Tail Keywords This Method Covers
- spider plant runner training vertically
- DIY cardboard tube plant support
- how to train spider plant babies indoors
- spider plant propagation support ideas
- vertical plant training with household items
These variations appear naturally in the text because they describe what you’re actually doing. No stuffing. Just real-world actions.
My Pros and Cons After 14 Days of Testing
Pros
- Costs nothing (recycled materials)
- Doesn’t damage the runner like wire clips can
- Breathable, so no moisture trapped
- Easy to remove and swap
- Works with almost any pot size
Cons
- Cardboard can bend if it gets wet, so keep it dry
- Needs replacing after a few weeks
- Not ideal for very thick runners
- Takes up more visual space than invisible clips
Frequently Asked Questions
How long does it take for a spider plant runner to grow vertically?
From what I’ve seen, you’ll see noticeable straightening within 4-5 days. Significant vertical growth (about 4-6 inches) takes roughly two weeks under proper light and watering. The cardboard tube holds the position while the plant builds strength.
Can I use any cardboard tube?
Toilet paper rolls and paper towel rolls work best because they’re lightweight and easy to cut. Thicker tubes from wrapping paper are too rigid and can bend the runner awkwardly. Also, make sure the tube is completely dry and free of sticky residue. Clean cardboard is essential to avoid pests.
Do I need to mist the cardboard tube?
No, and I strongly advise against it. Moisture breaks down the cardboard and creates a breeding ground for mold. Keep the tube dry. If your air is extremely dry and the runner looks thirsty, mist the soil lightly or add a humidity tray nearby. Never wet the tube itself.
Final Thoughts From My Experience
I started this project skeptical. I ended it convinced that cardboard tubes are the most underrated training tool for indoor plants. The two-week process was simple, cheap, and effective. My spider plant looks fuller, the runners are healthy, and I didn’t waste money on another plastic gadget that ends up in a drawer. If you’re tired of fighting those floppy runners, give this method a shot. Just remember the three warnings: don’t overwater, keep the light indirect, and make sure your pot drains well. Your spider plant will thank you with strong, vertical growth. And honestly, that’s the best result a plant parent can ask for.





