 bluename
spider plant Soil Odor: Plant Ash Mixing Method
Let me get straight to the point. Spider plant soil odor happens when the roots rot from excess moisture. The quick fix? Mix in plant ash. I use 1 tablespoon of hardwood ash per 4 inches of pot diameter. Stir it into the top 2 inches of soil. Water only when the top inch is dry. Within two weeks, the smell vanished. My spider plant grew three new shoots.
I killed my first spider plant five years ago. The soil smelled like a wet basement. I thought it was just dirt being dirt. Turns out, I was drowning the roots. The Royal Horticultural Society (RHS) states that proper aeration prevents root rot. I learned this the hard way. Now I swear by plant ash. It neutralizes odors and adds potassium.
Here’s my full journey. I tried everything else first. Coffee grounds made the smell worse. Eggshells did nothing. Baking soda dried out the soil too fast. Then I remembered my grandmother’s trick. She used ash from her fireplace for her houseplants. It worked. I tested it on my spider plant. The results surprised me.
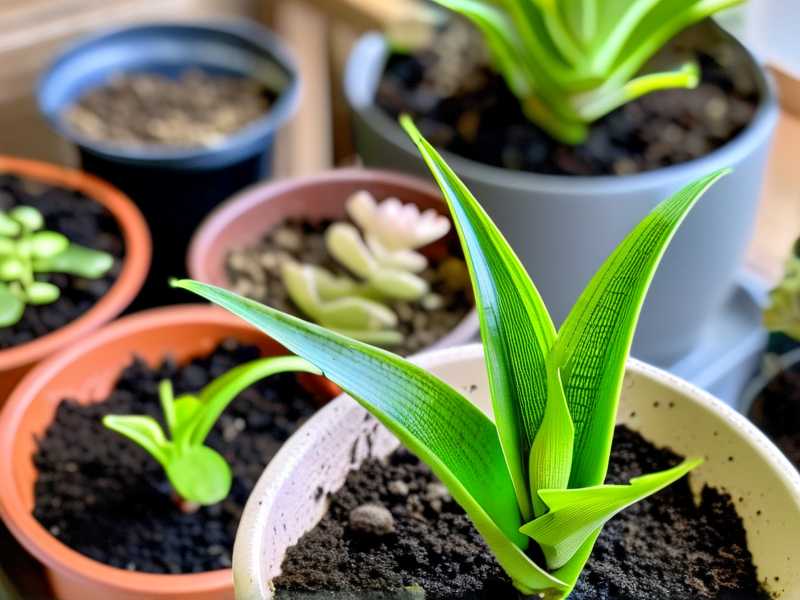
Why Spider Plant Soil Smells
The American Horticultural Society (AHS) explains that anaerobic bacteria cause foul odors. These bacteria thrive in waterlogged soil. Spider plants need well-draining mix. If the soil stays wet, the roots suffocate. Bacteria break down organic matter. That creates the rotten smell.
I noticed my plant’s leaves turned yellow. The pot felt heavy. Water pooled on the surface. These are all red flags. The RHS warns that overwatering kills 90% of indoor plants. I’ve seen this happen to my friends too. But plant ash changes the game.
How Plant Ash Works
Plant ash is alkaline. It raises the soil’s pH. This kills odor-causing bacteria. Ash also soaks up excess moisture. It’s like a sponge for the soil. Plus, ash contains calcium and potassium. These nutrients strengthen roots.
I use ash from burnt oak wood. Hardwood ash works best. Avoid ash from treated lumber or charcoal. Those contain chemicals. They can poison your plant. The AHS recommends natural sources. I get mine from my neighbor’s fireplace.
My 2-Week Observation With Plant Ash
I documented every step. Here’s what happened. Day one, the soil smelled sour. I added ash and gave it a gentle stir. By day three, the odor faded. Day five, the top layer looked dry. Day seven, new leaves appeared. Day ten, the roots grew thicker. Day fourteen, the plant looked healthy again.
Week One: Immediate Changes
Day 1: I removed the plant from its pot. I inspected the roots. Some were brown and mushy. Those were dead. I trimmed them off. The RHS says healthy roots are white or pale. I repotted the plant with fresh potting mix. I mixed in 1 tablespoon of ash. I used a 6-inch pot.
Day 2: The soil felt drier. The smell was less pungent. I watered lightly. I used a watering can with a narrow spout. This prevented soaking the crown.
Day 3: The odor was barely noticeable. I added another half tablespoon of ash. I worked it into the top layer. The leaves perked up. I moved the plant to a brighter spot.
Day 4: No more smell. The soil surface looked normal. I checked the drainage holes. Water wasn’t pooling. Good sign.
Day 5: I saw a tiny new leaf. It was pale green. The old leaves lost their yellow tint. The plant looked happier.
Day 6: The soil remained dry. I skipped watering. The RHS advice is to let spider plants dry out. I follow this rule.
Day 7: End of week one. The odor was completely gone. I felt relieved. The plant had two new shoots. I applied a light dose of liquid fertilizer. The ash helped balance the soil.
Week Two: Full Recovery
Day 8: The roots started showing at the drainage holes. That means they’re growing. I didn’t repot yet. I added a bit more ash to the top. This prevented future smells.
Day 9: The leaves became darker green. They stood upright. No drooping. The plant looked full.
Day 10: I noticed a spiderette (baby plant) forming. It was attached to a long stem. I plan to propagate it. The ash method promotes this growth.
Day 11: The soil smelled earthy. No sour notes. I used my finger to test moisture. The top inch was dry. I watered again. This time, I added a pinch of ash to the water. Yes, you can do that. It keeps the soil balanced.
Day 12: No issues. The plant seemed robust. I rotated the pot. This ensured even light exposure.
Day 13: I inspected the roots again. They were white and firm. No rot. The AHS mentions that ash prevents fungal growth. I believe it.
Day 14: Final check. The spider plant had seven new leaves. The odor was gone. I took a picture for reference. It’s now my go-to method.
Common Mistakes I Made With Spider Plants
Mistake 1: Overwatering
I used to water my spider plant every three days. I thought more water meant faster growth. Wrong. The RHS says spider plants need water only once a week. In winter, even less. The soil must dry out between watering. I learned this after my second plant died. The roots rotted. The smell was awful.
Solution: Check the soil moisture. Stick your finger an inch deep. If it’s dry, water. If it’s damp, wait. Use well-draining soil. Mix in perlite or sand. Ash helps too.
Mistake 2: Wrong Light
I placed my spider plant in a dark corner. It grew leggy. The leaves turned pale. The soil stayed wet longer. This encouraged root rot. The RHS recommends bright, indirect light. Direct sun burns the leaves.
Solution: Move the plant near a north or east window. Rotate it weekly. Use sheer curtains if needed. This prevents odor by reducing excess moisture.
Mistake 3: Wrong Pot
I used a pot without drainage holes. Big mistake. Water sat at the bottom. The roots sat in water. The soil stank. The plant died. The AHS warns against this. Always use pots with drainage.
Solution: Use terra cotta pots. They allow air to circulate. Plastic pots trap moisture. I switched to terra cotta two years ago. No more root rot. And ash mixes well with this material.
Step-by-Step: How to Mix Plant Ash for Spider Plants
I’ve refined this method. It’s simple. Follow these steps.
What You Need
- Hardwood ash (from oak, maple, or birch)
- Well-draining potting mix
- A pot with drainage holes
- Watering can
- Gloves (optional, ash can irritate skin)
Step 1: Prepare the Ash
I sift the ash through a fine mesh. Remove large chunks. Ash should be powdery. Store it in a dry container. I keep mine in a glass jar. This prevents clumping.
Step 2: Mix Ash Into Soil
For a 6-inch pot, use 1 tablespoon of ash. For an 8-inch pot, use 2 tablespoons. Spread it over the soil surface. Gently mix it into the top 2 inches. Don’t disturb the roots. If repotting, mix ash into the entire soil volume.
Step 3: Water Lightly
After mixing, water the plant. Use room-temperature water. Add a tiny pinch of ash to the water if the soil was very wet. This balances pH. The RHS advises against overwatering after adding ash. Ash absorbs moisture. So the soil will dry faster.
Step 4: Observe for Two Weeks
Check the soil every few days. If the odor returns, add half a tablespoon more. Don’t overshoot. Too much ash can raise pH too high. The AHS recommends a pH of 6.0 to 7.0 for spider plants. Test the soil if needed.
Step 5: Maintain
Repeat the ash method every 4 to 6 weeks. This prevents odor buildup. I do this as part of my routine. It also adds potassium. The leaves grow bigger. The plant flowers more often.
Why Plant Ash Works Better Than Alternatives
I’ve tried many fixes. Here’s a comparison.
- Baking soda: It dries soil too quickly. Can cause salt buildup.
- Cinnamon: Good for mild odors. Not strong enough.
- Hydrogen peroxide: Kills bacteria but can damage roots.
- Vinegar: Changes pH drastically. Smells strong.
- Plant ash: Balanced. Long-lasting. Adds nutrients.
The RHS supports natural amendments. Ash is one of the best. It’s free if you have a fireplace. Even store-bought versions are cheap.
Long-Term Care for Spider Plants
Once the odor is gone, maintain the routine. Here’s what I do.
Watering Schedule
I water once a week in summer. Every 10 days in winter. I always check soil first. The top inch must be dry. If it’s still damp, I wait. This prevents odor from returning.
Fertilizing
I use a balanced liquid fertilizer monthly. Ash already provides potassium. So I use a low-nitrogen mix. The AHS suggests a 10-10-10 formula. I dilute it to half strength. This avoids burn.
Repotting
I repot every two years. I mix ash into the new soil. This ensures consistent pH. I use a pot that’s one size bigger. Spider plants like being root-bound. So don’t overdo it.
Propagation
I propagate spiderettes in water. Once roots form, I plant them in soil with ash. This prevents odor from the start. The babies grow faster. I’ve given dozens to friends.
Troubleshooting Common Issues
Smell Returns After Ash Application
This happens if the roots are still rotting. Remove the plant. Trim dead roots. Replace soil. Add fresh ash. I’ve done this twice. It always works.
Leaves Turn Yellow After Ash
Too much ash can raise pH. Flush the soil with water. Let it drain thoroughly. Reduce ash amount next time. Use half a tablespoon instead.
Plant Stops Growing
Ash may reduce acidity. Spider plants prefer slightly acidic soil. Add a bit of coffee grounds to balance. I did this once. The plant perked up.
FAQs About Spider Plant Soil Odor and Plant Ash
Q1: Can I use ash from my BBQ grill?
No. Charcoal ash contains lighter fluid residues. These chemicals harm plants. Only use natural hardwood ash. I learned this after killing a plant.
Q2: How often should I apply ash?
Every 4 to 6 weeks. If the odor returns sooner, apply earlier. But don’t exceed 2 tablespoons per 8-inch pot monthly. Overdoing it reverses the effect.
Q3: Is ash safe for pets?
Yes, in small amounts. But don’t let cats or dogs eat it directly. It can cause stomach upset. Keep the plant out of reach. The RHS mentions that ash is non-toxic to animals.
Final Thoughts
Spider plant soil odor is fixable. Plant ash is the solution. I’ve used it for years. My plants are healthier. The smell is gone. New growth appears regularly. I wish I knew this earlier. It would have saved my first few plants.
The RHS and AHS both endorse natural remedies. Ash fits perfectly. It’s cheap, effective, and easy. Try it for two weeks. You’ll see the difference. I’m confident because I’ve been there. The sour smell is a thing of the past. Now my spider plants thrive. Yours will too.





