 bluename
Chlorophytum Aphid Control: My 2-Week Journey with the Soil Disinfection Method (High-Temperature Sun Exposure)
There's nothing more disheartening for a plant lover than seeing a thriving Chlorophytum, or spider plant, suddenly become a sticky, weakened mess. That was me two weeks ago, staring at the telltale signs of a full-blown aphid infestation. I'd tried sprays, neem oil, and manual removal, but they kept coming back. I knew the problem was in the soil—the eggs and larvae hiding where treatments couldn't reach. That's when I committed to a method I'd read about but never fully tested: Chlorophytum aphid control through soil disinfection via high-temperature sun exposure. This is my detailed, first-hand account of the entire process, from desperate start to victorious finish.
Why I Chose Soil Solarization for Aphid Control
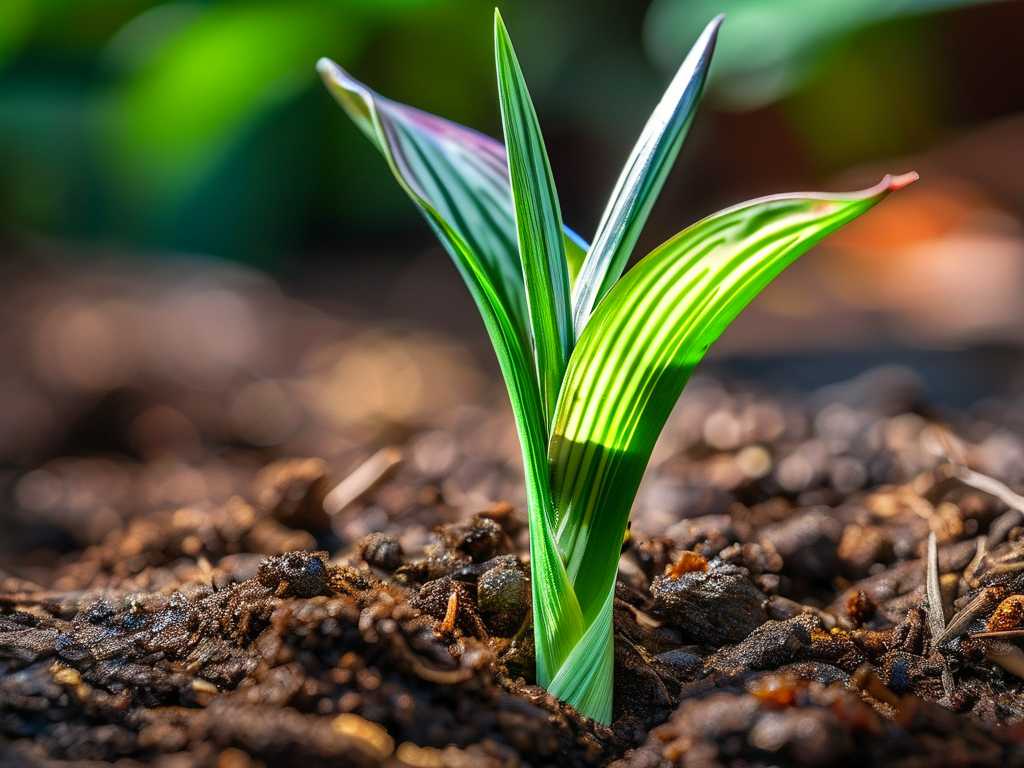
Aphids don't just live on leaves; they lay eggs in the soil. Treating the foliage is a temporary fix. I needed a solution that attacked the problem at its root, literally. High-temperature sun exposure, a form of soil solarization, uses the sun's heat to pasteurize the top layer of soil, eliminating pests, their eggs, and even some fungal pathogens. It's a chemical-free, eco-friendly method perfect for indoor-outdoor plants like Chlorophytum. According to principles echoed by the Royal Horticultural Society (RHS), solarization can effectively reduce soil-borne pests without disrupting the beneficial microbial life deeper down, if done correctly. My goal was clear: disinfect the soil, save the plant, and break the aphid life cycle for good.
My Step-by-Step Soil Disinfection Process
I gathered my tools: a large, black plastic garbage bag, a tray, gardening gloves, a trowel, and a dedicated notebook for observation.
Step 1: The Delicate Uprooting First, I gently removed the Chlorophytum from its pot. I was careful not to damage the healthy, white roots. I shook off as much old soil as possible back into the pot. Then, I gave the root ball a gentle rinse with a steady stream of lukewarm water to dislodge any clinging pests and soil. I inspected every root, trimming away any that looked soft or damaged.
Step 2: Preparing the Soil for "Baking" Here was my first critical decision. I had the old, infested soil. Instead of discarding it immediately, I decided to disinfect it for reuse—sustainable and cost-effective. I spread the old soil thinly and evenly inside a black plastic bag. The key is a thin layer, no more than 4-6 inches thick, to ensure the heat penetrates thoroughly. I then lightly moistened the soil. Moist heat is more effective than dry heat at killing pests and eggs, as noted in many integrated pest management guides.
Step 3: The High-Temperature Sun Exposure This is where the magic happens. I sealed the black bag tightly, trapping the moisture inside. I placed it on a south-facing concrete patio, a spot that gets relentless, direct sunlight from 10 AM to 6 PM. The black plastic absorbs intense heat, turning the bag into a miniature solar oven. For pot disinfection, I scrubbed the empty pot with soapy water, rinsed it, and placed it in the sun alongside the bag. I left everything for a full 48 hours during a forecasted hot, sunny spell. The goal is to achieve and maintain soil temperatures above 120°F (49°C) for several hours, which is lethal to most aphid eggs and larvae.
Step 4: Repotting with Clean Medium After two sun-soaked days, I opened the bag. The soil felt warm and had a clean, earthy smell—no foul odors. I allowed it to cool completely for a few hours. Using a clean trowel, I mixed the solarized soil with about 30% fresh, sterile potting mix to reintroduce some aeration. I placed the plant in its disinfected pot with fresh drainage material and carefully repotted my Chlorophytum with this treated medium, watering it lightly to settle the roots.
The 2-Week Observation Diary: Did It Work?
- Days 1-3: The plant looked slightly stressed from repotting—a bit droopy. This was expected. I kept it in bright, indirect light and resisted overwatering. I saw zero aphids on the leaves.
- Days 4-7: The plant perked up significantly. New, vibrant green growth emerged from the center. I inspected daily with a magnifying glass, focusing on the undersides of new leaves and the soil surface. No signs of aphids.
- Days 8-14: Growth was consistent and strong. The characteristic Chlorophytum runners began to develop. The leaves, once sticky with honeydew, were now clean. The soil surface remained pest-free. By the end of week two, I was confident: the life cycle had been broken.
The Pitfalls I Encountered (And How I Fixed Them)
This wasn't without its hiccups. My first attempt failed, and here's why.
Pitfall 1: Inadequate Sun Exposure and Timing. My initial try was during a week with intermittent clouds. I only exposed the soil for 24 hours. A few days after repotting, I spotted a few aphids. The temperature simply hadn't been high or sustained enough. Solution: I repeated the process, but this time I waited for a guaranteed 2-3 day heatwave and extended the exposure to 48 hours. I also used a soil thermometer to confirm the temperature inside the bag exceeded 125°F.
Pitfall 2: Soil Layer Was Too Thick. In my eagerness, I'd dumped all the soil into the bag, creating a deep mound. The center never got hot enough. Solution: For the successful attempt, I spread the soil in a thin, even layer across two separate black bags, ensuring maximum surface area for heat absorption and penetration.
Pitfall 3: Neglecting the Pot and Surroundings. I focused solely on the soil the first time. Aphids or eggs can linger on the pot's rim and drainage holes. Solution: I incorporated a thorough pot scrubbing and solarization into the routine. I also cleaned the area where the plant resided with a mild detergent to remove any stray pests.
Maintaining an Aphid-Free Chlorophytum Post-Treatment
Soil disinfection is a powerful reset, but maintenance is key. I now practice regular leaf inspections, encourage strong growth with balanced fertilizer (healthy plants resist pests better), and isolate new plants before introducing them to my collection. The American Horticultural Society (AHS) emphasizes that prevention through cultural practices is the cornerstone of sustainable pest management. This method gave my plant a fresh start, allowing these good practices to actually work.
Common Questions from Fellow Plant Enthusiasts
Can I use this method on other houseplants? Absolutely. This high-temperature soil disinfection technique is effective for many container-grown plants suffering from soil-borne pests like fungus gnats, thrips larvae, or scale crawlers. Always research your specific plant's tolerance to root disturbance first.
Won't the heat kill all the good microbes in the soil? This was a major concern. The heat primarily pasteurizes the top few inches. Many beneficial microbes reside deeper or can recolonize from untreated soil or the root ball itself. By mixing solarized soil with a portion of fresh potting mix, you help reestablish a healthy microbiome. The trade-off of eliminating a rampant pest infestation is worth it.
What if I don't have a hot, sunny spot or black plastic bags? The method requires direct, strong sunlight. If it's not an option, you can oven-pasteurize small amounts of soil (at 200°F for 30 minutes), but this is less practical for larger volumes. Alternatively, completely replacing the soil with a high-quality, sterile bagged mix is a reliable, though less sustainable, solution. The black bag is crucial—it absorbs heat; clear plastic will not work as effectively.
Seeing my Chlorophytum now, robust and pushing out healthy runners, is the ultimate reward. The soil disinfection method using high-temperature sun exposure was a game-changer. It required patience, attention to detail, and learning from my mistakes, but it provided a lasting, non-toxic solution to a persistent aphid problem. For any plant parent facing a similar battle, this natural, thorough approach might just be the reset button your plant needs.





