 bluename
Silver-edged Chlorophytum Care: Mastering Light Control to Maintain Those Gorgeous Stripes
I’ve always been captivated by the elegant beauty of the Silver-edged Chlorophytum, or as many know it, the Variegated Spider Plant. Those crisp, creamy-white stripes running along each leaf are what make this plant a true standout. But if you’re like me, you’ve probably faced the heart-sinking moment when those brilliant stripes start to fade, turning a dull, uniform green. It’s the most common frustration for owners of this stunning plant. After years of trial and error, I’ve discovered that the secret lies almost entirely in one crucial factor: light control. Specifically, providing around 5 hours of scattered light daily is the golden rule for maintaining those vibrant stripes. Let me walk you through my personal journey, a detailed two-week experiment, and the practical steps you can take to ensure your Silver-edged Chlorophytum stays spectacularly striped.
Why Light is Everything for Silver-edged Chlorophytum Stripes
First, let’s understand the science. Those beautiful stripes are areas without chlorophyll, the green pigment plants use to convert light into energy. According to principles often cited by horticultural authorities like the Royal Horticultural Society (RHS), variegated plants have less overall chlorophyll. This means they are inherently less efficient at photosynthesis. To compensate and thrive, they require brighter indirect light than their all-green counterparts. In low light, the plant’s survival instinct kicks in; it starts producing more chlorophyll in the striped areas to capture every possible photon, causing the unique variegation to fade and disappear. It’s not a sign of a sick plant, but a sign of a plant adapting poorly to its environment. My goal was to find the sweet spot—enough light to satisfy its needs without the scorching damage of direct sun.
My Two-Week Light Control Experiment: A Step-by-Step Log
I decided to get scientific with a struggling Silver-edged Chlorophytum of mine that was losing its luster. I committed to a strict 14-day regimen focused solely on optimizing its light exposure.
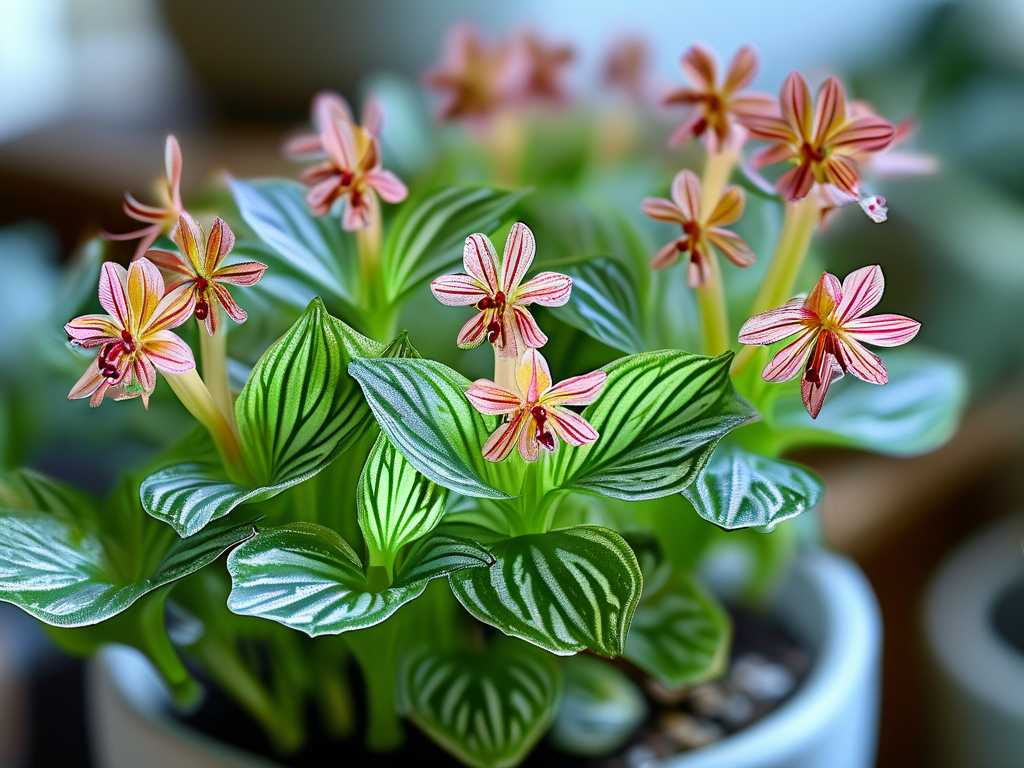
Week 1: Assessment and Adjustment
- Day 1-2: The Baseline. My plant was sitting about 8 feet from a north-facing window. The light was consistent but dim. The new leaves were noticeably greener, with only faint whispers of stripes. I measured the light duration with a simple sun-tracking app and confirmed it was receiving less than 2 hours of very weak, indirect light.
- Day 3: The Relocation. I moved the plant to a spot near an east-facing window. This location received gentle morning sun, which is less intense than afternoon sun. I placed it on a stand about 3 feet back from the window, ensuring the harsh rays never directly hit the foliage—this was my interpretation of “scattered light.” A sheer white curtain helped diffuse the light perfectly. My target: the coveted 5 hours of scattered light, from roughly 7 AM to 12 PM.
- Day 4-7: Observation and Fine-Tuning. I kept a daily journal. I watered it only when the top inch of soil was dry, as overwatering in new light conditions can cause root rot. I also gave the pot a quarter turn every other day to ensure all sides received even light, promoting symmetrical growth. By the end of the first week, I noticed no dramatic changes, but the existing stripes seemed less “stressed” and more defined. The plant hadn’t pushed out new growth yet, but it felt perkier.
Week 2: The Transformation Begins
- Day 8-10: First Signs of Success. This was the exciting part. A tiny new leaf spear emerged from the center of the plant. I watched it like a hawk. As it unfurled over the next 48 hours, the stripe was there—bright, creamy, and unmistakable! It wasn’t as wide as on older leaves, but it was clearly present. This was the first concrete proof my light adjustment was working.
- Day 11-14: Consolidating Gains. Two more new leaves followed, each with beautifully restored variegation. The older, greener leaves did not revert—once a leaf loses its variegation, it’s permanent. However, the overall plant now had a vibrant, two-toned appearance again. The contrast between the new striped growth and the older foliage was a stark reminder of the before and after. The plant just looked healthier, more robust, and full of life.
The Pitfalls I Encountered (And How to Solve Them)
My journey wasn’t without its stumbles. Here are the key lessons I learned the hard way:
- The “Direct Sun” Deception: Early on, I once thought “more light” meant a few hours of direct afternoon sun. Big mistake. Within days, the leaf tips browned and scorched, and the stripes looked bleached and washed out. The Fix: “Scattered” or “bright indirect” light is key. Use a sheer curtain, or position the plant so the sun’s rays never directly touch the leaves. Morning light is your best friend.
- The “Set It and Forget It” Trap: I initially didn’t rotate the plant. The side facing the window developed gorgeous stripes, while the other side remained greener and started leaning heavily toward the light source. The Fix: Make a habit of rotating your pot 90 degrees every time you water. This ensures even variegation and a balanced, upright form.
- Overwatering in New Light: In my enthusiasm, I almost fell into the trap of watering more frequently because the plant was in a brighter spot. This can lead to soggy soil and root rot, which will kill your plant faster than imperfect stripes. The Fix: Let the soil be your guide, not the calendar. Stick your finger into the soil up to the first knuckle. Water only when it feels dry. The American Horticultural Society (AHS) emphasizes that proper watering goes hand-in-hand with proper lighting for plant health.
- Expecting Instant Magic from Mature Leaves: I kept staring at the older, all-green leaves, willing them to stripe up. They never did. The Fix: Focus your attention on the new growth emerging from the center (the crown). This is where you’ll see the results of your light adjustments. Prune away one or two of the oldest, most faded leaves if you wish to encourage new growth and improve the plant’s overall appearance.
Maintaining the Perfect Stripes: A Sustainable Routine
Based on my experiment, here is the simple, sustainable routine I now follow:
- Light: East or west-facing window is ideal. Provide approximately 5 hours of scattered, indirect light daily. Use a light meter app to get a feel for the intensity if you’re unsure.
- Water: Water thoroughly only when the top 1-2 inches of soil are completely dry. Ensure the pot has excellent drainage.
- Rotation: Rotate the pot a quarter turn weekly for even growth.
- Feeding: During the growing season (spring and summer), feed monthly with a balanced, water-soluble fertilizer diluted to half strength. Avoid over-fertilizing, which can also harm the plant.
Frequently Asked Questions
Can a Silver-edged Chlorophytum with lost stripes ever get them back on the same leaf? No, unfortunately. Once a leaf produces more chlorophyll and turns green, that change is permanent. The success of your light correction will be visible in all new leaves that grow after you improve the light conditions. You can trim off the fully green leaves to redirect the plant’s energy to producing new, variegated growth.
What if I only have a north-facing window or a low-light room? While not ideal, you can still try. Place the plant directly on the windowsill of a north window to maximize available light. If the new growth continues to come in green, consider supplementing with a grow light. A simple LED grow bulb placed a foot above the plant for 6-8 hours a day can work wonders to preserve variegation in indoor settings.
Is too much light just as bad as too little? Absolutely. Intense, direct sunlight (especially hot afternoon sun) will scorch the leaves, causing brown, crispy tips and patches. It can also bleach the stripes, making them look pale and yellowed rather than bright white. The goal is bright, filtered light—think of the dappled light under a tree canopy. Monitoring your plant for signs of scorching is just as important as watching for fading.
Mastering the care of your Silver-edged Chlorophytum is a rewarding practice in understanding plant language. By listening to its needs—primarily by providing that consistent, gentle bath of scattered light—you’re not just keeping a plant alive; you’re honoring and maintaining the unique artistry that made you choose it in the first place. Those stunning stripes are a testament to a happy, well-cared-for plant.





