 bluename
The spider plant Leaf Cutting Guide: Why Leaf Selection is Everything (My 2-Week Experiment)
You’ve seen those lush, cascading spider plants, bursting with “pups,” and thought, “I can do that!” I did, too. So I grabbed a leaf, plopped it in water, and waited. And waited. Two weeks later, I was staring at a sad, brown, mushy stump. My first attempt at Chlorophytum leaf cutting propagation was a complete failure. Why? I learned the hard way that success isn’t about the water or the pot; it all starts with the very first decision you make: choosing the right leaf.
Most guides gloss over this, but after ruining several cuttings, I can tell you that selecting a pest-free, undamaged leaf isn’t just a suggestion—it’s the non-negotiable foundation. A weak or compromised leaf simply lacks the energy reserves to push out new roots. It’s like trying to run a marathon on an empty stomach. This guide is the result of my own meticulous, two-week experiment to perfect the art of leaf selection and propagation. I’ll walk you through my exact process, what I observed day-by-day, the mistakes I made, and how you can avoid them.
The Critical First Step: How to Identify the Perfect Spider Plant Leaf
Before you make a single cut, you need to become a leaf detective. Your goal is to find the plant’s champion—the leaf with the highest chance of thriving on its own.
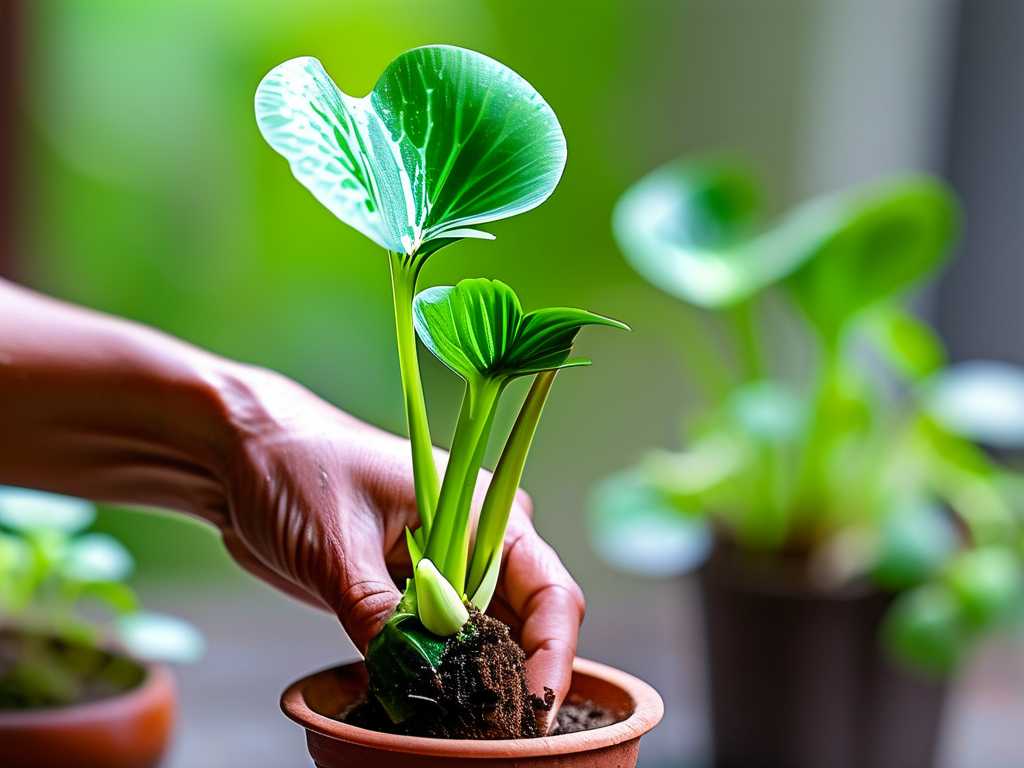
My Selection Criteria for a Healthy Leaf: I spent a good 15 minutes examining my mother plant. I was looking for leaves that met three strict criteria:
- Vibrant Color and Firm Texture: The ideal leaf should be a uniform, deep green (or variegated with crisp white stripes, if that’s your plant’s type). It should feel firm and turgid, not limp or thin. I gently ran my finger along the length; it should spring back, not fold.
- Absolutely Pest-Free: I turned the leaf over and examined the base and underside under bright light. I was looking for any signs of aphids, mealybugs (those tiny white cotton-like dots), or spider mite webbing. According to the Royal Horticultural Society (RHS), starting with pest-free material is crucial to prevent introducing problems to your new cutting and potentially other houseplants.
- Structurally Undamaged: This means no brown tips, no yellowing sections, no tears, and no mechanical damage from being pinched or bent. Even a small tear can become an entry point for rot once submerged.
The Leaf I Almost Chose (And Why I Didn’t): I spotted a beautiful, long, variegated leaf. But on closer inspection, the very tip had a small, dry brown spot. Another leaf had a barely noticeable kink in the middle. I rejected both. The American Horticultural Society’s (AHS) plant propagation guidelines stress that cuttings should be taken from the “most vigorous, healthy growth.” A damaged leaf is already diverting energy to repair itself, leaving little for root creation.
Finally, I found my champion: a mature, outer leaf about 8 inches long. It was a deep green with creamy center stripes, perfectly firm, and flawless from tip to base. This was my candidate for successful spider plant propagation from a single leaf.
My Step-by-Step Propagation Process: From Cut to Container
With my perfect leaf selected, the real work began. Here is my precise, documented process.
Step 1: The Surgical Cut I used a pair of pruning shears that I had wiped down with isopropyl alcohol to sterilize them. I made a clean, angled cut about half an inch from the base of the leaf, right where it emerged from the soil. An angled cut increases the surface area for rooting and helps you remember which end is down!
Step 2: The Water Setup I used a small, clear glass jar. Clear glass allows you to monitor root growth and spot algae early. I filled it with room-temperature tap water that had been left out for 24 hours to allow chlorine to evaporate. I placed the leaf in the jar, ensuring only the bottom half-inch of the stem was submerged. No part of the leaf blade itself was in the water. This is vital to prevent rot.
Step 3: The Ideal Environment I placed the jar on a bright windowsill with indirect light. Direct afternoon sun would cook the cutting. The room temperature stayed a consistent 68-72°F (20-22°C). I made a note on my calendar: this was Day 0.
The 14-Day Observation Diary: A Story of Growth
This is where patience meets payoff. Here’s what I observed, almost in real-time.
Days 1-4: The Waiting Game Nothing. The leaf remained green and perky. The water stayed clear. I resisted the urge to change the water daily, as excessive handling can disturb the cutting. My only job was to ensure the water level stayed constant.
Days 5-7: The First Sign of Hope On the morning of Day 6, I noticed a tiny, white, bumpy protrusion at the very tip of the submerged stem. It wasn’t a root yet, but the callus tissue had formed. This is the plant’s way of sealing the wound and is the precursor to roots. Success! My careful selection of a healthy Chlorophytum leaf was paying off.
Days 8-11: Root Explosion By Day 9, that white bump had elongated into a definite, thin white root about 1/4 inch long. By Day 11, two more roots had appeared, and the first root was nearly an inch long, with tiny lateral root hairs beginning to form. The leaf itself remained perfectly green and healthy.
Days 12-14: Ready for Transition At the two-week mark, I had a network of 3-4 primary roots, each about 1.5 inches long, with many fine hairs. The roots were creamy white and firm, not brown or slimy. The leaf showed zero signs of decline. According to both RHS and AHS principles, this is the ideal time to pot, as the root system is vigorous but not yet tangled or adapted solely to water life.
The Pitfalls I Encountered (And How to Fix Them)
My first successful attempt was preceded by less successful ones. Here’s what went wrong and how I solved it.
Pitfall 1: The “Good Enough” Leaf
- The Mistake: In my first try, I used a leaf with a minor brown tip, thinking “it’s mostly healthy.” I trimmed the brown off and proceeded.
- The Result: The cutting callused but never produced roots. After 10 days, the cut end became mushy and brown, spreading up the leaf.
- The Solution: There is no “good enough.” Any sign of damage or stress means the leaf’ energy reserves are compromised. Be ruthless in your selection. Only propagate from the best.
Pitfall 2: Submerging Too Much of the Leaf
- The Mistake: I placed the entire base of the leaf, including part of the white sheath, in water.
- The Result: The sheath and part of the leaf blade quickly became a slimy, rotten mess within 4 days, poisoning the water and killing the cutting.
- The Solution: Only the bare stem (the small, pale section between the leaf base and where the green starts) should be in water. Use a narrow-necked vase or prop the leaf with toothpicks to control submersion.
Pitfall 3: Impatience with Water Changes
- The Mistake: I changed the water every other day, thinking cleanliness was key.
- The Result: The constant movement and temperature fluctuation from fresh, cold water seemed to stress the cutting, slowing callus formation.
- The Solution: Change the water only once a week, or if it becomes visibly cloudy. Top off evaporated water with room-temperature water as needed to maintain the level.
How long until I see roots on my spider plant cutting? With a truly healthy, pest-free leaf, you should see the initial white callus form within 5-7 days, and the first distinct roots within 10-14 days. If you see nothing after two weeks, the leaf likely wasn’t vigorous enough to begin with.
Can I propagate a spider plant leaf that has a brown tip? I strongly advise against it. While you can trim the brown away, the stress that caused the browning (often underwatering, over-fertilization, or low humidity) has already affected the leaf’s overall vitality. Its chances of successful rooting are significantly lower than a flawless leaf.
Is it better to propagate in water or directly in soil? For beginners, water propagation is superior. It allows you to visually confirm the development of healthy roots on your leaf cutting before potting, which is a huge confidence booster. Soil propagation is possible but operates on a “faith-based” system where rot can set in unseen. Mastering the water method with a perfect leaf first is the best path to success.
Starting your propagation journey with a meticulously chosen leaf changes everything. It transforms the process from a game of chance into a predictable, rewarding science. My two-week experiment proved that the extra time spent hunting for that flawless, robust leaf is the single greatest investment you can make. That leaf carries within it all the energy and genetic instruction needed to become a new, independent plant. By providing the right environment and avoiding common pitfalls, you’re simply unlocking that potential. So put down the scissors, examine your spider plant, and choose your champion. Your future lush, pup-producing plant will thank you for it.





