 bluename
The Ultimate Guide to Chlorophytum Repotting in Spring: Why I Switched to Ceramic Pots
Spring is in the air, and for plant lovers like me, that means one thing: repotting season. My spider plants, or Chlorophytum comosum, had outgrown their plastic homes, looking cramped and slightly weary after the winter. I knew a Chlorophytum repotting in spring was due, but this year, I decided to make a significant change. I was moving them all into ceramic pots.
For years, I’d used standard plastic nursery pots. They were lightweight and functional, but I wanted something that offered better stability, moisture control, and, frankly, more aesthetic appeal for my indoor jungle. The choice of new pot material felt crucial. This guide details my two-week journey, the clear steps I took, the surprising results I observed, and the valuable lessons I learned along the way.
Why Spring is the Perfect Time for Repotting Spider Plants
Repotting isn't just about upsizing. It's about renewing the growing medium, giving roots fresh space to expand, and revitalizing the plant. According to the Royal Horticultural Society (RHS), early spring is ideal as plants enter a period of active growth. They can recover from the minor root disturbance quickly and utilize the fresh soil and space to push out new foliage.
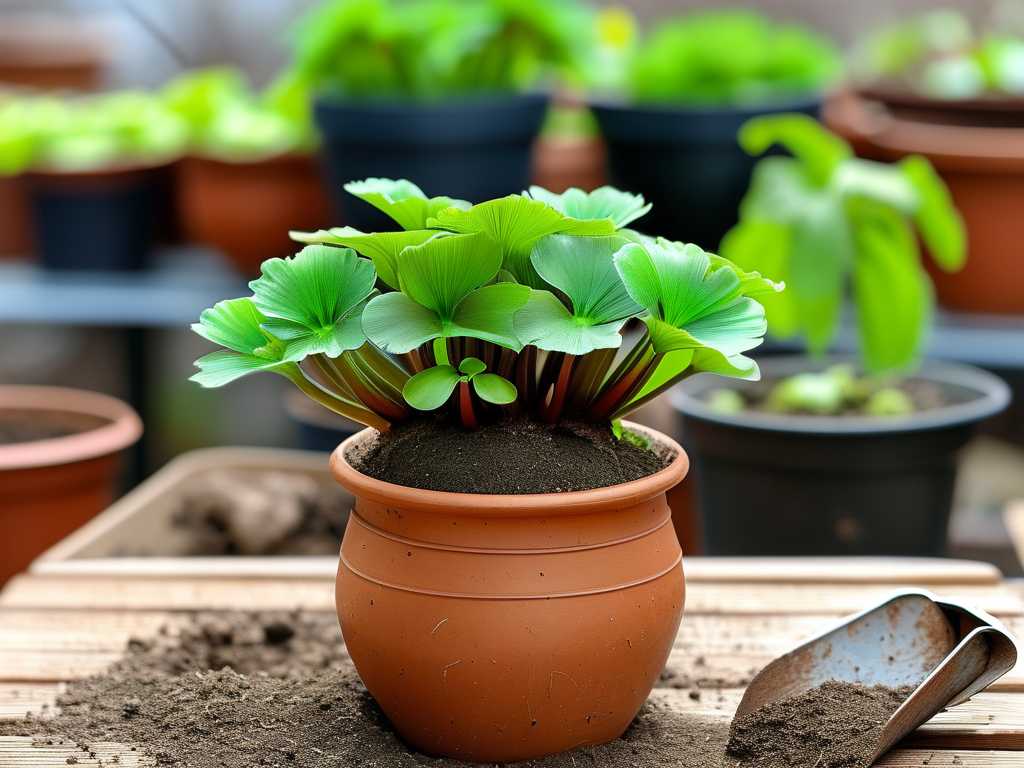
My spider plants were showing classic signs: roots peeking out of drainage holes, slowed growth, and soil that dried out suspiciously fast. They were root-bound. Spring’s increasing light and warmth provided the perfect recovery environment post-repotting.
My Step-by-Step Ceramic Pot Repotting Process
I gathered my supplies: new ceramic pots with drainage holes (non-negotiable!), a well-draining potting mix I fortified with extra perlite, a trowel, scissors, and a watering can. Here’s exactly what I did.
1. Choosing the Right Ceramic Pot I selected pots only 1-2 inches larger in diameter than the root balls. A common mistake is going too big, which can lead to waterlogged soil. The ceramic felt substantial, and the glazed finish would help reduce moisture evaporation from the pot walls compared to terracotta.
2. The Gentle Extraction I watered my spider plants lightly the day before to reduce stress. To remove them, I squeezed the old plastic pots and tipped them sideways, gently coaxing the root ball out. I was met with a tight, white web of roots—a confirmed need for repotting.
3. Root Care and Soil Refresh I didn’t aggressively tease all the roots apart. Instead, I made four vertical cuts about an inch deep into the bottom of the root mass with a clean knife. This encourages new root growth outward into the new soil. I also trimmed any clearly dead or mushy roots.
4. Potting Up in the New Ceramic Home I placed a layer of fresh potting mix in the bottom of the clean ceramic pot. I centered the spider plant, ensuring it would sit at the same soil level as before. Then, I filled in the gaps around the sides with more mix, gently firming it to eliminate large air pockets. I left about an inch of space from the soil surface to the pot rim for watering.
5. The Initial Watering I gave them a thorough, deep watering until it freely ran out of the drainage hole. This settled the soil around the roots. I placed them in a spot with bright, indirect light—avoiding direct sun to prevent additional transplant shock.
The Two-Week Observation: Thriving in Ceramic
The first few days were about careful observation. Here’s how my spider plants responded over the critical two-week period.
Days 1-3: The plants looked a little droopy, which is normal transplant shock. I resisted the urge to water again, as the ceramic pot retained moisture well. The soil surface was still cool and slightly damp.
Days 4-7: By day four, the perkiness returned. I noticed the soil moisture was incredibly even. The ceramic provided a buffer against rapid temperature changes and seemed to prevent the soil from drying out as unevenly as in thin plastic pots.
Days 8-14: This is where the magic happened. I spotted not one, but several new, bright green leaf tips emerging from the center of each plant—the clearest sign of a happy, established root system. Furthermore, one of my mature Chlorophytum began developing a flower stalk, which would soon bear plantlets. Growth was undeniably active.
The Pitfalls I Encountered and How I Solved Them
It wasn’t all smooth sailing. I hit two main snags because of my switch to ceramic.
Pitfall 1: Underestimating Weight and Drainage My first chosen pot was beautiful but heavy even before adding soil. Moving it for watering or cleaning became a chore. Furthermore, I initially used a saucer that fit too snugly, potentially blocking airflow and creating a sealed, soggy base.
Solution: I swapped a few of the largest pots for slightly smaller, more manageable ceramic ones. I also invested in pot feet or used smaller saucers to ensure a gap between the pot bottom and the saucer, guaranteeing proper drainage and air circulation, a point often emphasized by the American Horticultural Society (AHS).
Pitfall 2: Overwatering Due to Changed Evaporation Rate My old habit was to water when the top inch of soil in my plastic pots felt dry. I did this with the ceramic pot around day five, only to discover the soil beneath was still quite moist. Ceramic, especially glazed ceramic, reduces evaporation from the sides, slowing the overall drying process.
Solution: I changed my watering cue. Instead of just checking the surface, I now lift the pot to feel its weight or use a moisture meter. I wait until the pot feels significantly lighter or the meter reads dry halfway down before watering again. This prevented potential root rot.
Ceramic vs. Other Materials: A Quick Reality Check
Why did ceramic work so well for this spring repotting? Compared to plastic, it’s more stable, prevents tipping, and offers better temperature insulation. Compared to porous terracotta, glazed ceramic retains moisture more consistently, meaning less frequent watering—a benefit for busy plant parents or for moisture-loving Chlorophytum. The key is always, always a drainage hole.
How often should I water my spider plant after repotting into ceramic? Water thoroughly immediately after repotting, then wait. Let the top 50-75% of the soil dry out before watering again. Ceramic pots retain moisture longer, so always check soil moisture before reaching for the watering can.
Can I use a ceramic pot without a drainage hole? I strongly advise against it. Spider plants are susceptible to root rot. If you have a hole-less pot you love, use it as a cache pot. Plant your Chlorophytum in a plastic nursery pot with drainage, and then place that inside the decorative ceramic pot.
My repotted spider plant’s tips are turning brown. What did I do wrong? Brown tips are common after repotting and are often due to minerals in tap water or low humidity, not necessarily your potting technique. Use distilled or rainwater if possible, and mist the plant occasionally. Ensure you didn’t bury the crown (where leaves emerge) too deep in the new soil.
Switching to ceramic pots for my spring Chlorophytum repotting was a rewarding decision. The two-week transition showed reduced shock, even soil moisture, and a vibrant burst of new growth. By understanding the material’s properties—especially its weight and water retention—and adjusting care routines accordingly, any plant enthusiast can successfully make the switch. The right new pot material doesn’t just house your plant; it creates an environment where it can truly thrive.





