 bluename
Chlorophytum Iron Deficiency Yellowing: A Plant Lover's Guide to Spotting and Solving It
I’ve lost count of the number of times I’ve seen that heart-sinking look on a spider plant's leaves. You know the one: a pale, sickly yellow creeping in from the edges or between the veins, while the veins themselves stubbornly stay green. For the longest time, I blamed overwatering, insufficient light, or just general plant malaise. It wasn't until I lost a particularly beautiful variegated Chlorophytum comosum ‘Vittatum’ to what I now know was severe chlorophytum iron deficiency yellowing that I decided to become a detective in my own plant nursery. Understanding the specific identification features of this nutrient shortage has since saved countless of my spider plants. It’s a common but often misdiagnosed issue, and getting it right is the first critical step to restoring their vibrant health.
What Exactly is Iron Deficiency in Spider Plants?
Before we dive into the tell-tale signs, let's understand the "why." Iron is a crucial micronutrient plants use to produce chlorophyll, the green pigment essential for photosynthesis. When iron is scarce, the plant simply can't make enough chlorophyll, leading to chlorosis—the technical term for yellowing. According to research cited by the Royal Horticultural Society (RHS), iron deficiency is particularly prevalent in plants growing in alkaline (high pH) soils, as iron becomes chemically "locked up" and unavailable to roots, even if it's physically present in the potting mix. This was a lightbulb moment for me. I used generic, all-purpose potting soil for everything, never considering its pH profile.
The Unmistakable Identification Features of Iron Chlorosis
Not all yellowing is created equal. Here’s how to distinguish iron deficiency from other common problems. The identification features are quite specific if you know what to look for.
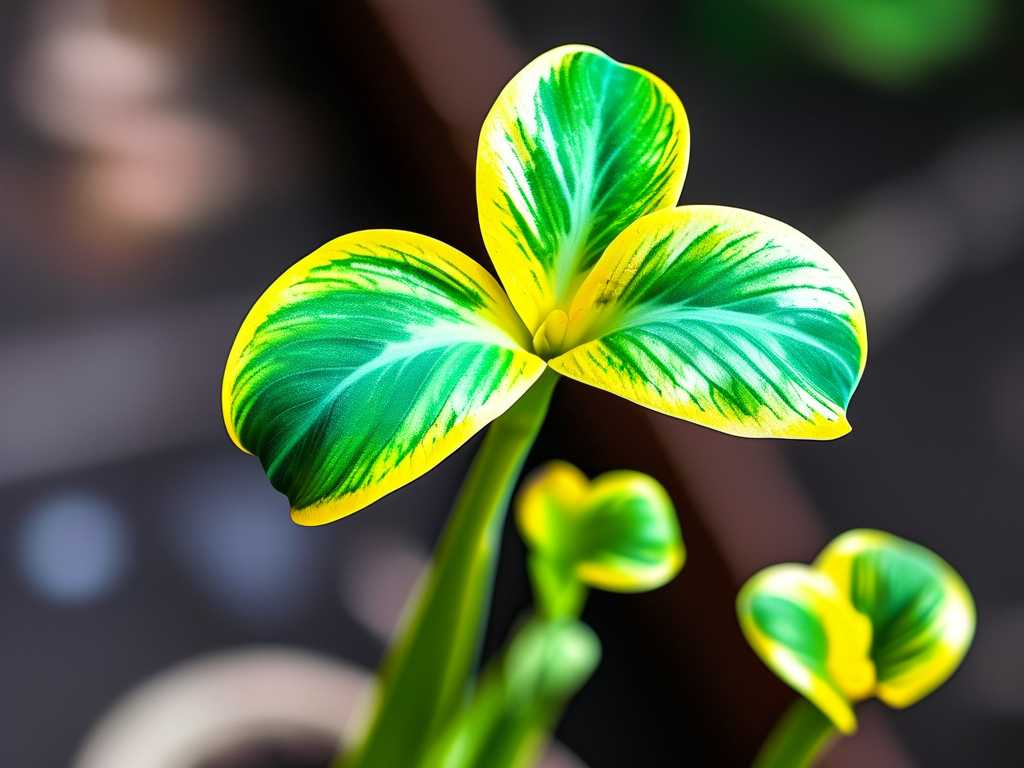
The Classic Pattern: Interveinal Chlorosis This is the hallmark sign. The leaf tissue between the veins turns yellow, starting as a light lime green and progressing to a bright, buttery yellow. Meanwhile, the veins themselves remain a sharp, contrasting dark green. This pattern is most vivid on the newest, youngest leaves at the center or ends of the plant's stolons (runners). Why the new growth first? Iron is an immobile nutrient. This means the plant cannot relocate it from older leaves to support new growth. So, the fresh leaves are the first to show distress.
Progression and Leaf Texture As the chlorosis in spider plant leaves advances, the entire new leaf may become pale yellow or even white. In severe, prolonged cases I've observed, the leaf edges can become scorched or necrotic—turning brown and crispy. The leaves might also feel thinner and less robust. It’s crucial to differentiate this from nitrogen deficiency, which typically causes yellowing on the older, lower leaves first, as nitrogen is a mobile nutrient the plant can shuffle around.
Checking Environmental Clues Your plant's environment offers vital clues. Ask yourself:
- Watering Habits: Do you use tap water? In many regions, tap water is hard and alkaline, which can gradually raise soil pH.
- Potting Mix: Is it old, compacted, or primarily peat-based? Over time, these can become alkaline.
- Pot Bound Roots: Is your plant severely root-bound? An extremely dense root ball can alter soil chemistry and nutrient uptake.
My 2-Week Rescue Mission: Diagnosis to Recovery
Two months ago, I noticed the dreaded interveinal yellowing on the new shoots of my Chlorophytum comosum ‘Bonnie’. I decided to document a focused intervention.
Week 1: Diagnosis and Initial Treatment First, I ruled out other issues. The plant was in bright, indirect light, and I was careful with watering. The yellowing was strictly on new growth. Confident it was iron deficiency, I proceeded.
- The Flush: I took the plant to the sink and thoroughly flushed the soil with distilled water (about 3-4 times the pot's volume). This helps leach out excess salts and minerals that contribute to high pH. I let it drain completely.
- The Chelated Iron Feed: Instead of a general fertilizer, I applied a liquid chelated iron supplement. Chelated iron is a form that remains available to plants across a wider pH range. Following the label for indoor plants, I diluted it and applied it directly to the soil, ensuring it was moist beforehand. I avoided foliar spraying for this first application to focus on root uptake.
- The Log: I took clear, dated photos of the most affected leaves to track progress.
The First Pitfall and Fix Here was my first mistake: Impatience. After three days, I saw no change and almost applied another dose. Thankfully, I re-read the instructions and an article by the American Horticultural Society (AHS) that emphasized iron uptake is a process, not an instant fix. Over-application can cause toxicity. I stuck to the plan.
Week 2: Observation and Adjustment By day 10, the transformation began. The very youngest, palest leaves at the heart of the plant started showing a faint, healthy green blush along their veins. It wasn't dramatic, but it was undeniable progress—the new growth was coming in greener.
- pH Testing: I used a simple home soil pH test kit. The reading was 7.5, confirming my alkaline soil theory.
- Long-Term Adjustment: To gently lower the pH and maintain iron availability, I watered once with a diluted solution of vinegar (1 tablespoon white vinegar per gallon of water—a cautious, home remedy mentioned with caveats by the RHS for acid-loving plants). For future watering, I switched to collected rainwater.
- Follow-up Feed: At the two-week mark, I applied a second, weaker dose of the chelated iron supplement.
After 14 days, the progression of yellowing had completely halted. The newest leaves, while still slightly lighter than mature foliage, were clearly green. The older yellowed leaves would never fully recover, but the plant was actively producing healthy growth again. The rescue was a success.
Preventing Future Episodes of Yellowing Leaves
Curing the deficiency is half the battle; preventing its return is the other. My approach is now proactive:
- Water Wisely: I use rainwater, distilled water, or tap water that’s been left out for 24+ hours whenever possible.
- Soil Matters: I repot my spider plants every 1-2 years with a fresh, well-draining potting mix. I sometimes mix in a handful of peat moss or composted pine bark to help maintain a slightly acidic to neutral pH.
- Fertilize Mindfully: I use a balanced, liquid fertilizer formulated for houseplants, but only during the active growing season (spring/summer). I ensure it contains micronutrients, including iron.
Can I use rusty nails in the soil to add iron? This is a common myth. The iron in rust (iron oxide) is not in a form that plant roots can absorb. It will not correct a deficiency and can potentially harm your soil microbiome. Always use a garden-grade, chelated iron product.
How is this different from a magnesium deficiency? Magnesium deficiency also causes interveinal chlorosis, but it appears on the older, lower leaves first because magnesium is mobile. Iron deficiency targets the new growth. This distinction is key for correct diagnosis.
Will the yellow leaves ever turn green again? Once a leaf has turned yellow due to iron deficiency, it will not regain its green color. The plant's energy goes into producing new, healthy foliage. You can snip off the severely yellowed leaves for aesthetics, but do so gradually to avoid stressing the plant.
Watching a spider plant struggle with yellowing leaves can be worrying, but armed with the right knowledge, it’s a highly solvable problem. The distinct pattern of interveinal chlorosis on new growth is your primary clue. By accurately identifying iron deficiency in chlorophytum, responding with targeted treatment like chelated iron, and adjusting your long-term care to address soil pH, you can guide your plant back to its lush, vibrant self. Remember, recovery takes a couple of weeks, so patience and consistent observation are your best tools. Happy planting





