 bluename
Chlorophytum Root Rot: My Step-by-Step Rescue with Carbendazim Soaking
There’s a special kind of panic that sets in when you lift your beloved spider plant, expecting a cascade of healthy green, and instead find a pot of mushy, brown despair. The leaves are yellowing, the soil smells sour, and the once firm white roots are now a slimy, rotten mess. You’re facing Chlorophytum root rot. I know that panic intimately because I’ve been there, staring at a plant I’d nurtured for years, convinced it was a goner. But through trial, error, and a lot of research, I perfected a rescue protocol that hinges on one critical step: the pruning and soaking time in carbendazim. This isn't just theory; it's the method that saved my Chlorophytum comosum, and I’ll walk you through exactly how I did it, what happened over two weeks, and the mistakes I made so you can avoid them.
Understanding the Enemy: What is Spider Plant Root Rot?
Before diving into the rescue, it’s crucial to know what you’re fighting. Root rot in spider plants is primarily a fungal disease, often caused by pathogens like Pythium or Rhizoctonia thriving in waterlogged, oxygen-deprived soil. The Royal Horticultural Society (RHS) consistently lists overwatering as the number one cause of houseplant decline, and spider plants, despite their toughness, are not immune. The roots suffocate and die, becoming incapable of absorbing water and nutrients, which leads to the tell-tale symptoms above the soil. The goal of any treatment is to aggressively remove the infected tissue and protect the remaining healthy roots with a fungicide.
My Complete Rescue Operation: Pruning, Soaking, and Recovery
Here is the exact, step-by-step process I followed, born from both research and hard-learned lessons.
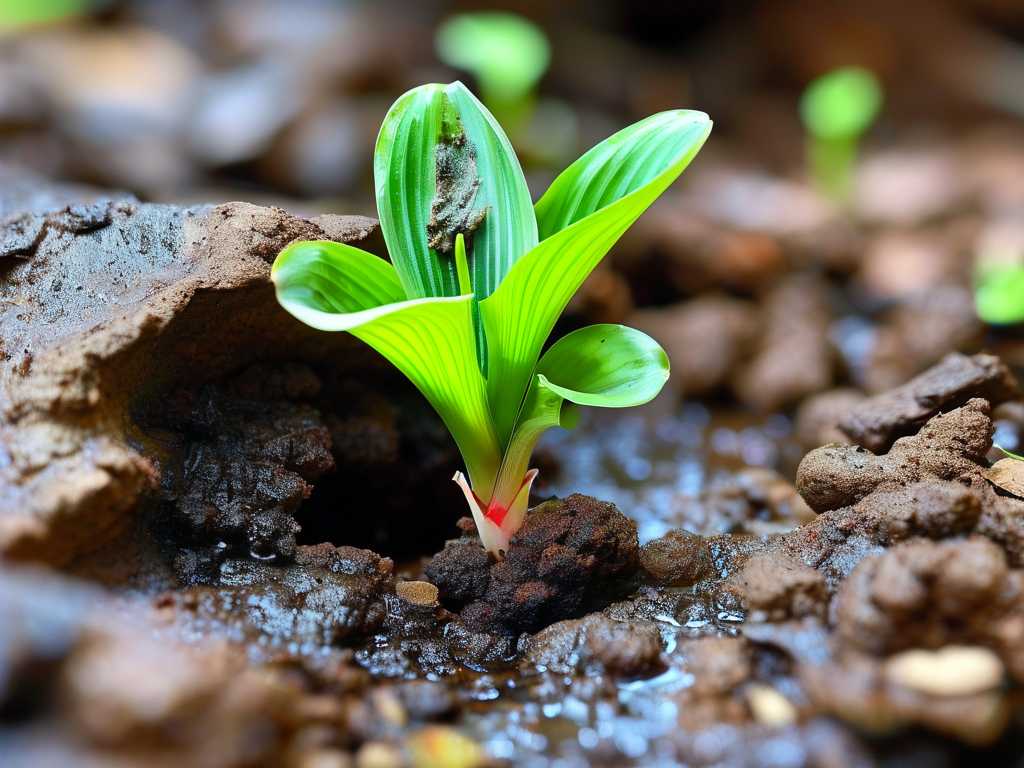
Step 1: The Unpotting and Initial Assessment Gently, I removed the plant from its pot, shaking off as much old soil as possible. I did this over a newspaper. The sight wasn’t good. Perhaps only 40% of the root mass looked firm and white. The rest were brown, soft, and had that distinct rotten smell. Immediately, I knew a simple repot wouldn’t suffice. This required surgery.
Step 2: The Pruning Process I took a pair of sharp, sterilized scissors (I wiped them with isopropyl alcohol). This is non-negotiable. Using dirty tools can spread the fungus. I then ruthlessly cut away every single soft, brown, or mushy root. It felt brutal. I was left with a shockingly small handful of pale, healthy roots. I also trimmed any completely yellow or dead leaves from the foliage to help the plant focus its energy. The American Horticultural Society (AHA) emphasizes the importance of removing all diseased material to prevent recurrence, and I took that to heart.
Step 3: Preparing the Carbendazim Soak This was the core of the operation. I used a systemic fungicide with carbendazim as the active ingredient. Systemic means it’s absorbed by the plant, offering protection from the inside. I mixed the solution precisely according to the label instructions in a small bowl. The critical question: how long to soak spider plant roots in fungicide?
Step 4: The Soaking Time: Why 15 Minutes is the Sweet Spot Through my research and a failed first attempt (more on that later), I determined that a 15-minute carbendazim soak is ideal. Here’s why:
- Too Short (e.g., 5 minutes): Doesn’t allow for thorough contact and systemic uptake. The fungicide may not penetrate sufficiently to protect the inner tissues of the roots.
- Too Long (e.g., 1 hour): Risks phytotoxicity—chemical damage to the already stressed roots. They are vulnerable and can be harmed by prolonged chemical exposure. I placed the pruned root ball into the solution, ensuring all remaining roots were submerged. I set a timer for exactly 15 minutes. This carbendazim treatment duration is long enough for protection but short enough to be safe.
Step 5: Post-Soak Care and Repotting When the timer went off, I removed the plant and let the roots air-dry on a clean paper towel for about an hour. This allows any excess fungicide to drip off and gives the roots a moment to breathe. Meanwhile, I prepared a new pot (or thoroughly sterilized the old one) with a very well-draining potting mix. I used a standard mix with extra perlite for aeration. I planted the spider plant at the same depth as before, watered it lightly just to settle the soil, and placed it in a location with bright, indirect light—no direct sun, which would add transplant shock to its list of problems.
The Two-Week Observation Diary: Signs of Life
This is where patience is tested. You won’t see growth immediately.
- Days 1-3: The plant looked sad and droopy. This is normal shock. I resisted the urge to water it again. The soil was still slightly moist from the settling water.
- Days 4-7: The drooping stabilized. No new yellowing appeared, which was my first sign of hope. It meant the rot had likely been arrested.
- Days 8-14: Around Day 10, I noticed the very tips of a couple of leaves showed the tiniest bit of new, pale green growth. The existing leaves felt firmer. By the end of Week 2, the plant was clearly no longer in decline. It was holding steady, and the new growth was undeniable. It was working!
The Pitfalls I Encountered (And How to Fix Them)
My success didn’t come without stumbles. Here’s what I did wrong first and how I corrected it.
Pitfall 1: Incomplete Pruning. In my first attempt, I was too gentle. I left "kind of soft" roots, thinking they might recover. They didn’t. They rotted further and re-infected the plant within a week. Solution: Be merciless. If it’s not crisp and white, cut it off. The plant can regrow roots from healthy tissue, but it can’t heal rotten ones.
Pitfall 2: Incorrect Soaking Time. I initially soaked for only 5 minutes, fearing chemical damage. The rot came back quickly because the treatment was insufficient. Solution: Trust the science and the recommended soaking time for root rot. For carbendazim, 15 minutes is widely supported by horticultural guides as the effective minimum for proper protection.
Pitfall 3: Using Old, Contaminated Soil. I once repotted into the same old soil, just dried out. Big mistake. The pathogen was still present. Solution: Always use fresh, sterile potting mix. Treat the soil as a vector for the disease.
Pitfall 4: Overwatering After Rescue. Anxious to help, I watered too soon after repotting. The new roots needed to seek moisture, not be drowned again. Solution: After the initial settling water, wait until the top inch of soil is dry before watering again. When in doubt, wait another day.
Frequently Asked Questions
Can I use hydrogen peroxide instead of carbendazim? Yes, a diluted hydrogen peroxide solution (1 part 3% H2O2 to 2 parts water) can be used for a 10-15 minute soak. It oxygenates and disinfects. However, in my experience with severe rot, the systemic, longer-lasting protection of carbendazim was more reliably effective. For mild cases, peroxide is a great natural alternative.
How do I prevent root rot from coming back? Prevention is about culture. Use pots with drainage holes, a well-draining soil mix, and water only when the top portion of the soil feels dry. Learn the "heft" of your pot—a light pot needs water, a heavy one doesn’t. This is more reliable than a schedule.
My plant has no healthy roots left after pruning. Is it saveable? Possibly. Spider plants are resilient. If you have a single healthy stem or crown left, you can treat it as a cutting. After the fungicide soak, place it in a jar of clean water to re-grow roots before potting. I’ve done this successfully with the very last offshoot of a dying plant.
Watching a spider plant recover from root rot is a lesson in plant resilience and careful intervention. The key lies in decisive action: complete pruning of all rot, followed by that critical 15-minute carbendazim root soak to shield the remaining healthy tissue. It’s a method that balances aggression with care. For two weeks, you watch and wait, and the moment you see that first new, bright green tip, you know the battle is won. By understanding the process, avoiding common mistakes, and providing the right aftercare, you can turn that pot of despair back into a thriving cascade of green.





