 bluename
Purple Leaf Chlorophytum Care: My Winter Survival Guide for Keeping Temperatures Above 15°C
Winter is coming, and if you’re like me, the first plant you check on when the temperature drops is your stunning purple leaf chlorophytum. That deep, almost metallic purple foliage is a showstopper, but it turns into a drama queen the moment the mercury falls. I learned this the hard way. One chilly autumn night, I left mine a bit too close to a drafty window. Within days, the vibrant purple leaves developed soft, dark patches and a sad, wilted demeanor. It was a clear SOS. This experience sent me on a mission to master purple leaf chlorophytum care, specifically the non-negotiable rule of winter temperature control above 15°C (59°F). Over two intense weeks, I turned my home into a climate-controlled haven for my plant. Here’s my real-world, step-by-step journey, complete with mistakes, fixes, and the results that saved my plant.
Why Your Purple Chlorophytum Demands Warmth
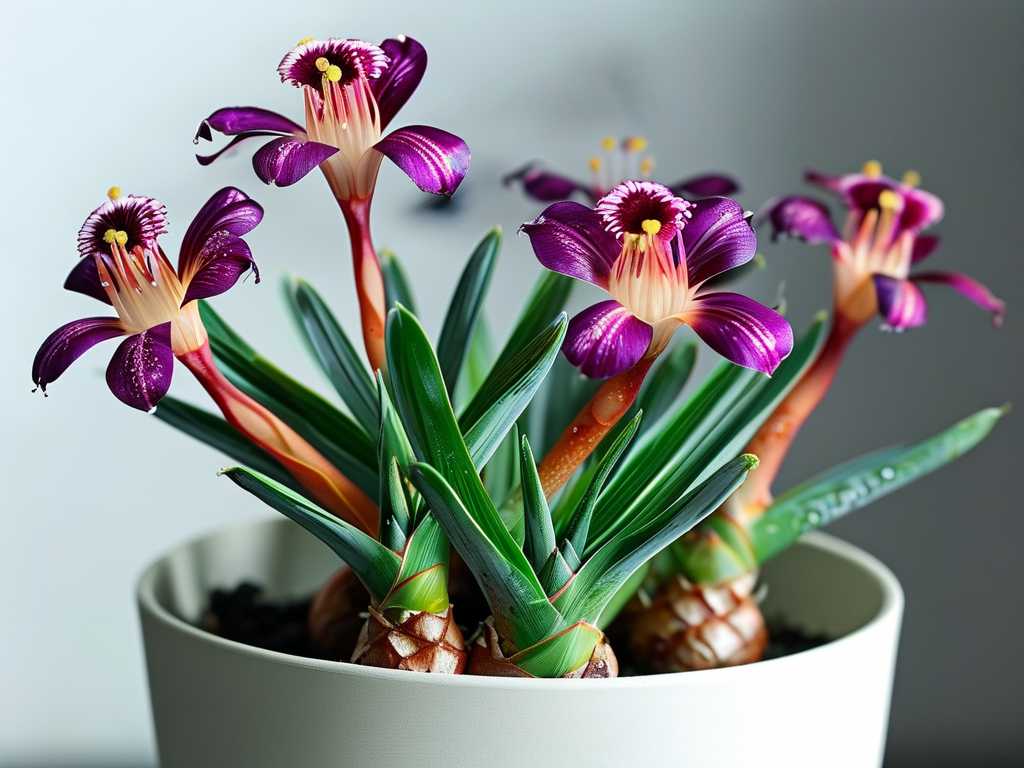
Before we dive into my process, let's understand the "why." The Royal Horticultural Society (RHS) clearly classifies chlorophytum comosum varieties, including the purple-leaved types, as tender perennials. They emphasize that these plants are sensitive to cold and should be kept in a minimum temperature of 10-15°C (50-59°F) to survive. However, for active growth and to prevent stress and damage, maintaining a temperature above 15°C is crucial. The American Horticultural Society’s heat zone map also indirectly teaches us that these plants thrive in consistently warm root and ambient zones. Cold drafts or sustained temperatures below this threshold shock the plant, leading to cell damage, root rot from reduced water uptake, and that heartbreaking mushy leaf texture I witnessed.
My 2-Week Winter Temperature Control Protocol
Armed with knowledge and a determined spirit, I implemented a four-part strategy. My goal was not just to stop the damage but to create a stable environment where my purple leaf chlorophytum could actually thrive through the winter.
Week 1: Assessment and Immediate Intervention
First, I needed hard data. Guessing the temperature wasn't going to cut it.
- Step 1: Digital Thermometer Placement. I purchased two affordable digital hygrometer/thermometers. I placed one right next to the plant’s pot on the shelf and another a few feet away near the window it used to occupy. The readings were alarming. While my room thermostat said 20°C, the spot by the window fluctuated between 12°C at night and 18°C during a sunny day. This was the culprit.
- Step 2: The Great Relocation. I moved the plant to a new, permanent winter home. I chose a bright, east-facing bathroom (for humidity) that had no external walls or windows directly beside it. The central heating vent was in the hallway outside, so the room stayed evenly warm without direct hot blasts.
- Step 3: Creating a Microclimate. Knowing the floor could be colder, I placed the pot on a wooden plant stand, insulating it from the chilly tiles. I also grouped it with a few other humidity-loving tropical plants. As the RHS suggests, grouping plants creates a beneficial microclimate of slightly higher humidity and more stable temperatures.
- The First Mistake and Fix: My initial spot was on a high shelf near the bathroom ceiling. I forgot heat rises! The thermometer showed a lovely 22°C up there, but the leaves started looking dry at the tips within two days. I realized the warm, dry air from the ceiling was desiccating it. The fix was simple: I moved it down to the stand, about waist-high, where the air was more balanced. The temperature was a perfect, steady 19°C.
Week 2: Monitoring and Fine-Tuning
Consistency was key for the second week. I checked the thermometers twice daily—once in the early morning (the coldest point) and once in the evening.
- Step 4: Watering Adjustments for Warmth. This was a critical shift. With the plant in a warmer, stable environment (a constant 18-20°C), its metabolism didn’t slow to a complete halt. However, I adjusted my watering strictly. I used the finger test, watering only when the top 2-3 inches of soil were completely dry. I used room-temperature water, never cold, to avoid shocking the roots. This prevented the cold, soggy soil conditions that are a death sentence.
- Step 5: Draft-Proofing. I became a draft detective. I used a lit incense stick around the new location; a flickering smoke trail revealed a tiny draft from under the door. A simple draft stopper solved it.
- Observation and Results: After 14 days of this regimen, the transformation was clear. The existing dark, soft patches on the leaves had dried and stopped spreading. The plant’s overall posture perked up. Most excitingly, I noticed a tiny, bright green nub at the base—a new pup was starting! This was the ultimate sign of success. The plant wasn’t just surviving the cold damage; it felt secure enough to invest energy in new growth, all because of consistent indoor winter care for purple spider plants.
Key Lessons and Pitfalls to Avoid
My journey wasn't flawless. Here are the pitfalls I encountered so you can skip them:
- Assuming "Room Temperature" is Universal: My biggest error. One spot in a room can be 8 degrees colder than another. Always measure at the plant's location.
- Overwatering with Good Intentions: In my panic to help the stressed plant, I almost overwatered it. In cooler (even slightly cool) conditions, evaporation slows dramatically. Stick to the dry-down rule.
- Neglecting Root Zone Temperature: A pot on a cold stone windowsill chills the roots from below, even if the air is warm. Always use a stand, a mat, or a trivet for insulation.
- Forgetting About Nighttime Drops: Temperatures can plummet at night. My continuous monitoring showed me that my plant's new spot only varied by 2 degrees between day and night, which is ideal.
Your Purple Leaf Chlorophytum Winter Care Questions, Answered
Can it survive a single night below 15°C? A brief, single exposure might cause some leaf edge browning, but it likely won't be fatal if the plant is otherwise healthy and returned to warmth immediately. However, repeated or prolonged exposure will cause significant damage, as I saw. Don't gamble with it.
What if I don't have a consistently warm room? Consider investing in a plant heat mat. These gentle, waterproof mats raise the soil temperature by a few degrees, providing crucial root warmth. It's a game-changer for drafty homes. Also, a small space heater with a thermostat (used safely and away from the plant) can warm a designated plant corner.
Does it need less light if it's warm in winter? No. While growth may slow, it still needs bright, indirect light to maintain its stunning purple pigment and overall health. A warm but dark location will lead to leggy, faded growth. Pair your temperature management for chlorophytum with good light, like an east or south-facing window (with sheer curtains if needed).
Mastering the winter care for a purple leaf chlorophytum truly boils down to one fundamental principle: stability. It’s not just about avoiding the cold; it’s about providing a predictable, cozy environment where the plant can relax. By measuring temperatures at the source, insulating against drafts and cold surfaces, and adjusting your care to match the stable warmth, you can enjoy that spectacular purple foliage all year round. My plant’s new pup is proof—with the right winter temperature control above 15°C, your purple beauty won’t just endure the winter, it will quietly prepare for a vibrant spring.





