 bluename
My Chlorophytum SOS: A 2-Week Rescue Mission for a Wilting Plant from Root Hypoxia
I stared at my beloved spider plant, its usually perky, arching leaves now slumped over the rim of the pot like a deflated balloon. That vibrant green had faded to a sickly yellow, and the tips were browning. My heart sank. This wasn't just a case of needing water; it felt more serious. After years of nurturing houseplants, I’ve learned that sudden, widespread wilting often points to a root-level crisis. In this case, my diagnosis was Chlorophytum wilting due to root hypoxia. The soil felt cold and heavy, a telltale sign of poor aeration and potential suffocation of the roots. If you're seeing similar despair in your spider plant, don't panic. Join me on my intensive, two-week emergency protocol focused on one core mission: root hypoxia first aid through loosening soil, improving ventilation, and strict water discipline.
Understanding the Enemy: What is Root Hypoxia?
Before taking action, I needed to confirm my suspicion. Root hypoxia simply means the roots are starved of oxygen. Spider plants (Chlorophytum comosum) have robust, tuberous roots that need to breathe. When soil becomes compacted, waterlogged, or overly dense, air pockets disappear. The roots begin to drown and rot, unable to absorb water or nutrients, which ironically causes the plant to wilt as if parched. It’s a cruel illusion. The Royal Horticultural Society (RHS) notes that overwatering is the most common cause of houseplant demise, primarily because it creates these anaerobic (oxygen-less) soil conditions. My plant was a classic victim of my own over-enthusiastic watering can.
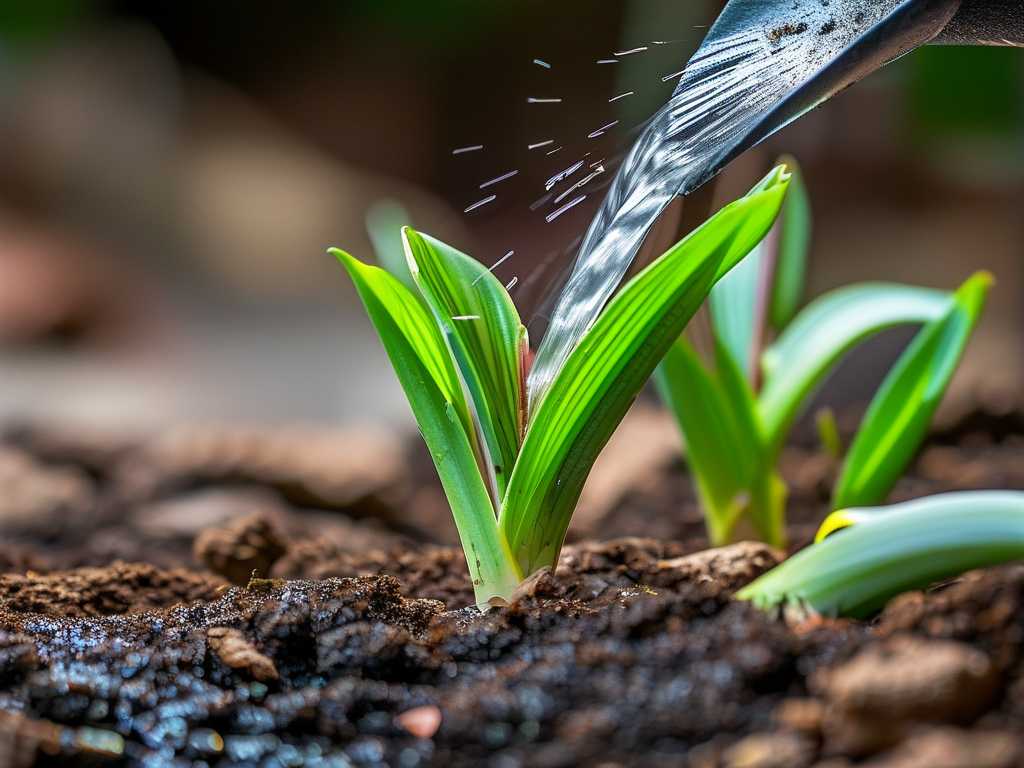
Week 1: The Emergency Intervention Phase
My plan was simple but needed to be executed with surgical care: loosen the soil, ventilate the roots, and implement a water strike.
Day 1-2: The Delicate Unpotting and Assessment
Gently, I tipped the pot and slid the root ball out. The evidence was undeniable. The soil was a soggy, compacted mass, and a faint, musty smell confirmed early-stage rot. Several roots were dark brown and mushy instead of firm and white or orange. Here was my first critical step:
- Step 1: Root Ventilation and Pruning: I didn’t aggressively wash the roots, as recommended by some guides for severe rot. For this case of hypoxia, I gently crumbled away the wet, compacted soil with my fingers to expose the root system to air—this was the immediate ventilation it desperately needed. With sterilized scissors, I snipped away only the obviously mushy roots.
- Step 2: Soil Loosening and Aeration: I discarded all the old soil. For the repotting mix, I took my standard potting soil and amended it heavily. I mixed in roughly 30% perlite and 20% orchid bark chunks. This wasn't just new soil; it was a life-support system designed for maximum soil aeration. The perlite creates permanent air pockets, while the bark improves drainage and structure, preventing future compaction.
- Step 3: The Strategic Repot: I chose a pot with excellent drainage holes—this is non-negotiable. I placed a layer of my new, chunky mix at the bottom, set the plant in, and gently filled in around the roots. I did not compact the soil. Instead, I tapped the pot to settle it, ensuring a loose, breathable environment. A critical tip: I planted it at the same depth as before to avoid burying the crown.
Day 3-7: The Waiting Game and Environmental Triage
I did not water the plant after repotting. The remaining roots and soil contained enough moisture. This was perhaps the hardest part—fighting the instinct to "help" with water. I placed the plant in a location with bright, indirect light (no direct sun, which would add stress) and ensured good ambient air circulation with a nearby fan on low. This improved air circulation around the foliage and soil surface further aided in evaporation and gas exchange.
The First Week's Observations: The wilting did not improve immediately. In fact, for the first 4-5 days, it looked just as sad. A few more leaf tips browned. This was disheartening, but I knew the plant was in recovery mode, redirecting energy to root repair rather than leaf maintenance. I resisted the urge to interfere.
Week 2: Cautious Monitoring and Signs of Life
Day 8-10: The First Glimmer of Hope
On the morning of the eighth day, I noticed something. The central leaves, which had been completely limp, now had a very slight firmness to them. They weren't standing up yet, but they weren't collapsing under their own weight as easily. This was the signal! The roots were beginning to function again. The soil loosening and ventilation efforts were allowing oxygen to reach the remaining healthy root system.
- The First Watering (Day 10): With the soil bone dry an inch below the surface, I administered the first drink. I used the bottom-watering technique: placing the pot in a shallow tray of water for about 15 minutes, allowing the soil to wick up moisture evenly. This prevents the top soil from becoming compacted again. I then let it drain thoroughly.
Day 11-14: Stabilization and New Growth
The days that followed were transformative. The slight firmness spread from the center outwards. While the older, outer leaves that had yellowed significantly did not recover (I eventually snipped these off), the plant stopped declining. Then, on day 13, I spotted it: a tiny, pale green nub at the base—a new offshoot (spiderette). This was the ultimate sign of recovery. The plant was not just surviving; it had enough energy to think about propagation again.
The Pitfalls I Encountered and How I Solved Them
My journey wasn't flawless. I hit two snags that taught me valuable lessons.
-
The Pitfall of Over-Correction (Too Much Root Disturbance): In my initial panic, I considered washing all the soil off the roots for inspection. For a plant suffering primarily from hypoxia and not advanced rot, this would have been a massive shock, destroying the delicate root hairs essential for water uptake. The Fix: I learned that gentle, manual loosening of the wet soil is often sufficient for aeration. Save the full root wash for extreme cases of rot.
-
The Pitfall of Impatience (Misreading the Wilting): The persistent wilting after repotting made me doubt my method. I almost watered it on day 5, convinced it was now "thirsty from the trauma." The Fix: I relied on the physical test. I stuck my finger deep into the new, aerated mix. It was still cool and slightly damp at the root level. Watering then would have recreated the original waterlogged conditions. Trusting the process and the tactile evidence of the soil was key.
Frequently Asked Questions from a Fellow Plant Lover
Can a spider plant recover from severe wilting like this? Absolutely, and mine is living proof. Spider plants are remarkably resilient. The key is accurate diagnosis and swift, appropriate action focused on the roots. Recovery takes patience—think in terms of weeks, not days.
How can I prevent root hypoxia from happening again? Prevention is all about mimicking the well-drained conditions these plants love. Use a loose, well-aerating potting mix from the start. Always check soil moisture before watering—the top inch should be dry. Ensure pots have drainage holes and never let the plant sit in a saucer of standing water. The American Horticultural Society (AHS) emphasizes "right plant, right place," which extends to the right soil in the right container.
Should I use fertilizer to help it recover faster? No. Do not fertilize a plant in recovery from root stress for at least 2-3 months. Fertilizer salts can burn damaged roots and increase the osmotic stress, hindering recovery. Focus on perfecting the basics: light, airy soil, and correct watering. Let the plant focus on root regeneration.
Watching my Chlorophytum journey from a wilted, yellowing mess to a plant pushing out new growth has been one of my most rewarding gardening experiences. The solution wasn't a magic potion but a return to fundamentals: giving the roots the oxygen they desperately needed through loosening the compacted soil, ensuring proper ventilation in the root zone, and exercising disciplined water reduction. This two-week rescue mission reinforced that sometimes, the best thing we can do for our plants is to step back, diagnose correctly, and create an environment where they can heal themselves. Your wilting spider plant has a fighting chance—start with its roots.





