 bluename
Chlorophytum Leaf Scorch: My Winter Heater Countermeasures That Actually Worked
It happened again last winter. I walked over to my favorite, lush spider plant, its cascading green and white leaves usually a vibrant centerpiece in my living room, only to find the tips turning a sad, crispy brown. The culprit wasn't neglect or pests; it was my well-intentioned heater, silently waging war on my houseplants. This is the classic, frustrating sign of Chlorophytum leaf scorch, a direct result of the dry, hot air blasted by our heating systems. If you're seeing those brown, scorched leaf tips on your spider plant, you're not alone. I spent two weeks testing a multi-pronged strategy to combat this, and I'm here to share exactly what worked, what didn't, and how you can save your plant from the winter blues.
My journey wasn't just about guesswork. I leaned on insights from the Royal Horticultural Society (RHS), which clearly states that low humidity is a primary cause of leaf tip browning in plants like Chlorophytum, and the American Horticultural Society (AHA), which emphasizes creating microclimates for indoor plants. This gave me the confidence to move beyond just occasional misting.
Understanding the Enemy: Why Heaters Cause Spider Plant Leaf Scorch
Before diving into solutions, it's crucial to understand the problem. Spider plants, or Chlorophytum comosum, are remarkably resilient, but they originate from South African coastal forests. They thrive in moderate, stable conditions. Our winter heaters create an environment opposite to their liking.
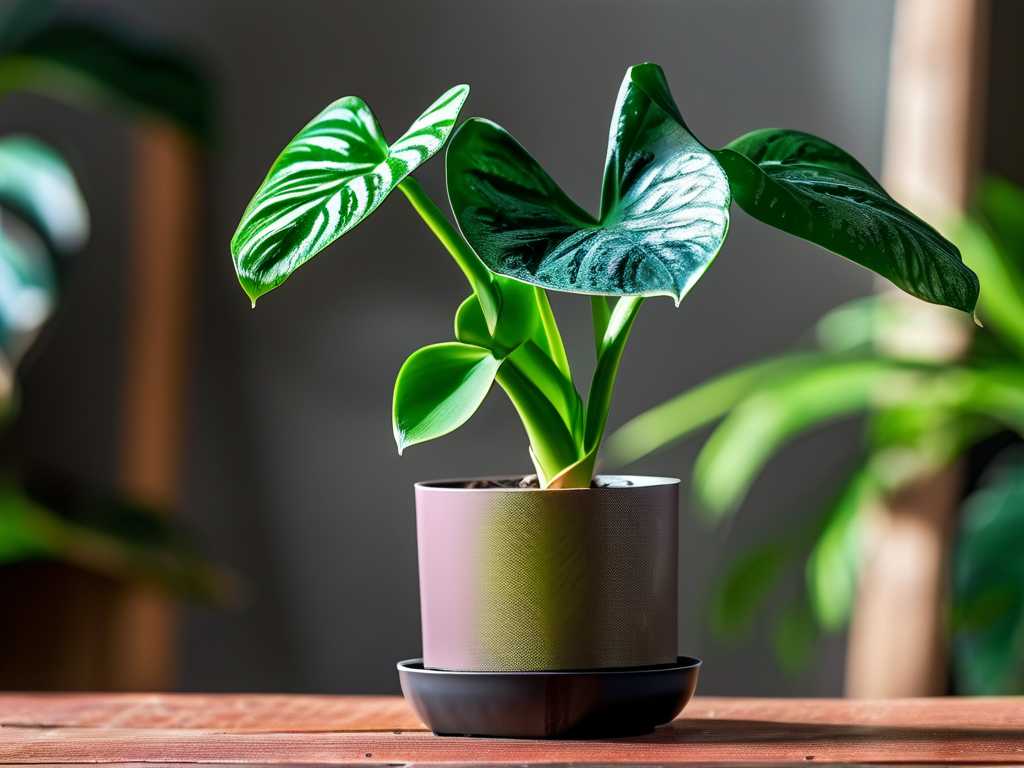
Heaters drastically reduce relative humidity, sometimes to desert-like levels below 20%. Plants lose moisture through their leaves (transpiration) faster than their roots can absorb it. The leaf tips, being the furthest points from the roots, dry out and die first, resulting in that characteristic brown scorch on spider plant leaves. Furthermore, direct hot air currents are like a constant blast of desert wind, physically baking the foliage.
My 2-Week Action Plan: A Step-by-Step Rescue Mission
I decided to treat this as an experiment. I moved my most affected spider plant to a designated "recovery zone" and implemented the following countermeasures for a full 14 days. My goal was not just to stop further damage, but to see if the plant would stabilize and push out healthy new growth.
Day 1-3: The Immediate Intervention Phase
My first step was relocation. I moved the plant to a bright, north-facing bathroom, about 15 feet away from any heating vent. This spot received ample indirect light but was naturally more humid. Immediately, this removed the plant from the direct line of fire.
Next, I tackled humidity. Instead of just misting, which the RHS notes offers only a temporary boost, I set up a pebble tray. I took a wide, shallow tray, filled it with clean pebbles, and poured in water until it sat just below the top of the stones. I placed the spider plant's pot on top. As the water evaporates, it creates a localized humid microclimate around the plant—exactly the kind of buffer the AHA recommends.
I also performed "hydration triage." I gave the plant a thorough, lukewarm shower in the sink, washing the dust off its leaves (which can clog pores) and ensuring the soil was evenly moist. I was careful to let it drain completely, as soggy roots in winter are another danger.
Day 4-10: Observation and Adjustment
During this period, I monitored daily. I used a simple digital hygrometer to track humidity near the plant. Before my interventions, it read 25%. With the pebble tray and the bathroom's ambient moisture, it consistently stayed between 45-50%.
I resisted the urge to overwater. I checked soil moisture by sticking my finger an inch into the soil, watering only when it felt dry. I also made a key decision: I did not trim the brown tips immediately. I wanted to see if the scorch would progress. By Day 7, it was clear—the browning had completely stopped. No new tips were turning crispy.
A minor "aha" moment came on Day 8. I noticed the plant still looked a bit dusty. I learned that clean leaves photosynthesize more efficiently, so I gently wiped the larger leaves with a damp, soft cloth. The difference in vibrancy was noticeable.
Day 11-14: Signs of Recovery and Long-Term Setup
By the start of the second week, the plant looked stable. But the real victory came on Day 12: I spotted two tiny, bright green nubs emerging from the center of the plant—new growth! This was the ultimate sign that my winter heater countermeasures for Chlorophytum were successful. The plant was no longer in survival mode; it was thriving.
Confident in the method, I prepared a more permanent setup for my living room. I couldn't keep all my plants in the bathroom. I grouped several humidity-loving plants (including my spider plant) together. Plants naturally release moisture, so grouping them creates a communal humid zone. I also relocated a small, quiet humidifier to sit a few feet away from the group, set to maintain 40-50% humidity.
The Pitfalls I Encountered (And How I Fixed Them)
My process wasn't flawless. I hit a few snags that taught me valuable lessons.
Pitfall 1: The Overzealous Humidifier. Early on, I placed a humidifier too close to the plant, directly facing it. Within two days, I noticed water droplets constantly beading on the leaves. This created a risk for fungal issues. The Fix: I moved the humidifier to the other side of the plant group, allowing it to diffuse moisture gently into the air rather than drenching the foliage directly.
Pitfall 2: Ignoring Radiant Heat. I initially placed my pebble tray on a windowsill above a radiator. The radiant heat from below was warming the tray water excessively and heating the pot from the bottom, stressing the roots. The Fix: I moved the entire setup to a sturdy side table away from direct heat sources. The temperature around the roots stabilized.
Pitfall 3: Assuming All Water is Equal. Our tap water is quite hard. I realized that the initial brown tips might have been exacerbated by fluoride and chlorine. The Fix: I started using filtered water or rainwater for both the pebble tray and watering. For those without access to these, leaving tap water out overnight allows some chemicals to dissipate.
Maintaining a Healthy Spider Plant Through Winter
After my two-week trial, these practices became routine. The key is consistency. Here’s my sustained approach to preventing Chlorophytum damage from dry air:
- Strategic Placement: Always keep plants away from heater vents, radiators, and drafty windows.
- Humidity Hacks: The pebble tray is a non-negotiable baseline. Grouping plants is a powerful, low-effort booster.
- Judicious Watering: Water less frequently than in summer, but deeply. Always check the soil first.
- Clean Foliage: Gently wipe leaves monthly to maximize light absorption.
Your Questions, Answered
Can I just cut off the brown tips? Yes, but timing matters. I waited until I was sure the scorching had stopped. Use clean, sharp scissors and cut at a slight angle, following the natural shape of the leaf. Don't cut into the healthy green tissue, as this can create a new brown edge.
Will a spider plant recover from bad leaf scorch? Absolutely. Spider plants are champions of resilience. The existing brown tips won't turn green again, but by addressing the cause, you will stop the progression. The plant will redirect its energy into pushing out beautiful, healthy new leaves, which will eventually overshadow the old, damaged ones.
Is misting my spider plant enough to prevent this? Not really, and this is a critical point. As my experience and the RHS guidance confirmed, misting raises humidity for mere minutes. It can help with dust and provide a minor boost, but it is not a substitute for creating a sustained humid environment through pebble trays, grouping, or a humidifier. Relying solely on misting often leads to disappointment.
Seeing those fresh, green shoots emerge from my spider plant was immensely rewarding. Chlorophytum leaf scorch from heaters is a common and solvable problem. It requires understanding the plant's needs and creating a buffer against our artificial indoor climate. By combining relocation, sustained humidity solutions, and mindful care, you can transform your spider plant from a casualty of winter into a thriving, cascading symbol of resilience. The effort is minimal, but the difference it makes for your green companion is profound.





