 bluename
Chlorophytum Leaf Spot Control: My 2-Week Journey with Thiophanate-Methyl (Once Every 10 Days)
There’s nothing more disheartening for a houseplant enthusiast than watching a beloved, once-lush spider plant (Chlorophytum comosum) develop those telltale brown, soggy, or yellow-ringed spots. I’ve been there. You water diligently, provide indirect light, and yet, seemingly overnight, leaf spot fungus invades. After trying neem oil and cultural fixes with limited success, I knew I needed a more targeted approach. My research, backed by resources from the American Phytopathological Society, pointed me toward a systemic fungicide: thiophanate-methyl. The specific guidance I found emphasized a crucial detail for effective Chlorophytum leaf spot control—application frequency. The consensus, which I decided to test rigorously, was to apply thiophanate-methyl once every 10 days. This is the story of my hands-on, two-week experiment to rescue my plant using this precise schedule.
Understanding the Enemy: Why Leaf Spot Plagues Spider Plants
Before mixing any solution, I needed to confirm the diagnosis. Not all spots are created equal. Bacterial spots often look water-soaked, while fungal spots, like those from Cercospora or Alternaria, typically have distinct rings or halos. My plant’s spots had brown centers with yellowish margins, a classic fungal signature. Spider plants are particularly susceptible in humid, stagnant air conditions—exactly what my bathroom provided. The Royal Horticultural Society (RHS) advises that fungicides are most effective when combined with improved air circulation and avoiding overhead watering. So, step one was moving the plant to a breezier location and switching to bottom watering. This set the stage for the thiophanate-methyl treatment to work optimally.
My Step-by-Step Application Protocol
Armed with a bottle of thiophanate-methyl fungicide, I geared up for a careful, consistent process. Safety first: I wore gloves and a mask and worked in a well-ventilated area.
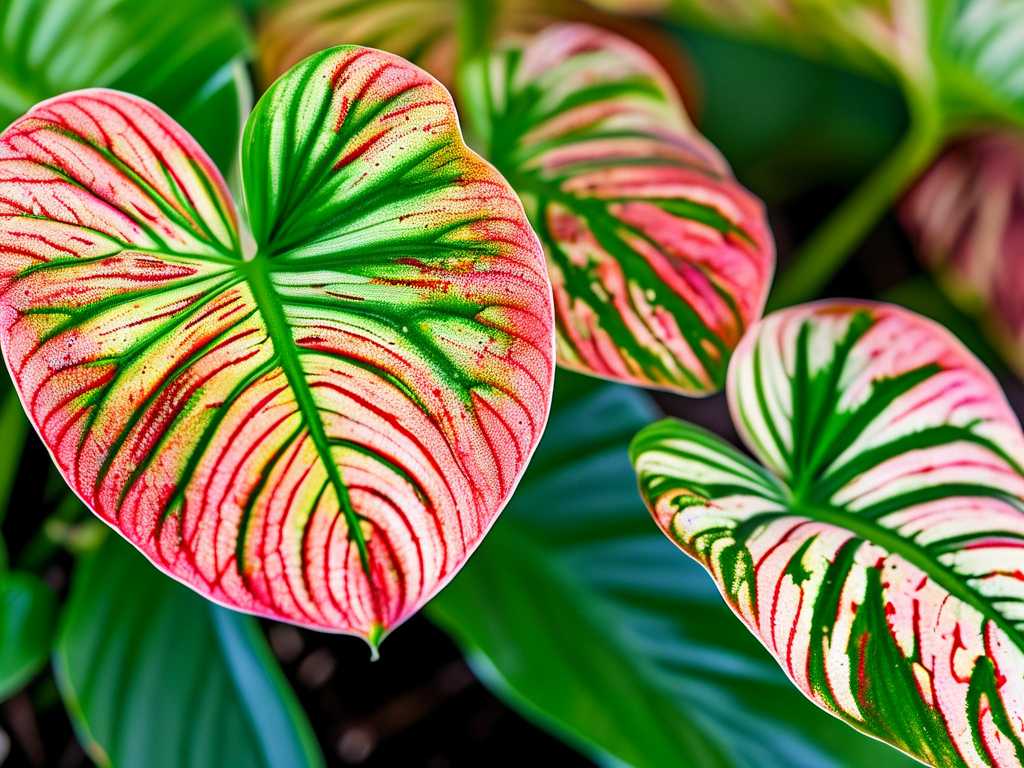
Week 1: The Initial Assault I mixed the fungicide at the recommended curative rate on the label—slightly stronger than the preventative rate. Using a clean, dedicated spray bottle, I thoroughly drenched every part of the plant. This wasn’t a light mist. I coated the tops and undersides of all leaves, the stems, and even the soil surface, as thiophanate-methyl is also absorbed by the roots. The goal was complete coverage. I placed the treated plant in its new, airy spot away from direct sun to avoid leaf burn and marked my calendar for Day 10.
The First 10-Day Interval: Observation and a Critical Mistake For the first few days, I saw no dramatic change, which I expected. Systemic fungicides work from the inside to halt the spread. However, by day 5, I noticed a few new small spots. Panic set in. Had I failed? Upon reviewing the APS guidelines, I realized my error: I had not removed the severely infected leaves before treatment. The fungicide protects healthy tissue and stops the fungus from spreading, but it doesn’t “cure” already necrotic tissue. Those heavily spotted leaves were still reservoirs of spores. I immediately sanitized my pruning shears (with a bleach solution) and carefully removed all leaves with major spotting. This was a vital lesson: Chemical control must be paired with physical removal of infected material.
Week 2: The Follow-Up Application On Day 10, exactly as scheduled, I prepared a fresh batch of solution. The routine was the same: full-coverage spray, top to bottom. This follow-up is critical. The fungicide’s protective barrier diminishes over time. Applying thiophanate-methyl once every 10 days ensures a continuous defensive shield, interrupting the life cycle of the fungus before it can reproduce and create new spots.
The 2-Week Results: A Clear Turning Point
The real proof came in the days following that second application. Here’s what I observed:
- Halt in Progression: The most significant result was the complete cessation of new spot formation. After the second spray, no new brown or yellow lesions appeared on healthy green growth.
- Existing Spot Stabilization: The smaller, early-stage spots that were present before the second application did not enlarge. They simply dried out and became static, contained blemishes.
- New Growth Emerges Healthy: The most encouraging sign was seeing the plant’s central crown push out fresh, perfectly green, and unblemished leaves. This was the ultimate confirmation that the systemic action was protecting new tissue effectively.
By the end of the two-week period (covering one full cycle and the start of the next), the plant’s health had visibly stabilized. The fungal outbreak was under control.
Key Takeaways and Solutions for Common Pitfalls
My journey wasn’t without hiccups. Here are the pitfalls I encountered and how to solve them:
-
Pitfall: Incomplete Coverage. Simply spraying the top of the leaves is ineffective. Fungus thrives on leaf undersides.
- Solution: Take your time. Turn leaves over. Ensure every surface glistens with the fine fungicide mist. Use a spray bottle that produces a fine, even mist for best adhesion.
-
Pitfall: Ignoring Cultural Practices. Relying solely on the chemical is a recipe for recurrence.
- Solution: As the RHS recommends, integrate treatment with environmental changes. I increased airflow with a small fan, stopped misting the foliage, and adopted bottom watering. This removes the humid conditions fungi love.
-
Pitfall: Inconsistent Timing. Life gets busy, and it’s easy to delay the second spray.
- Solution: Set a phone reminder for every 10 days. Consistency is non-negotiable for systemic fungicides to maintain their protective barrier. Three applications over a month is a common effective course.
Frequently Asked Questions from a Fellow Plant Lover
Can I use thiophanate-methyl on other houseplants with leaf spot? Yes, but with caution. Thiophanate-methyl is labeled for a wide range of ornamental plants. However, always check the specific product label for the plant list and test it on a single leaf first. Wait 48 hours to check for phytotoxicity before treating the whole plant.
Is it safe for pets and children? While thiophanate-methyl is considered low toxicity after it dries, safety is paramount. The key is separation. I treated my plants in an empty bathtub, let them dry completely for several hours, and only returned them to their usual spots out of reach of pets and children once no longer wet. Always follow the label's safety instructions.
How many applications are needed total? For an active infection, most labels and horticultural advice suggest a series of 3-4 applications. After my successful two-week start, I completed a third application on Day 20. I then switched to a preventative maintenance schedule (like once a month) during humid seasons, as the AHSA suggests for integrated pest management. Remember, the goal is control, not necessarily eradication, as spores are ever-present in the environment.
Seeing my spider plant return to health was deeply rewarding. Chlorophytum leaf spot control with thiophanate-methyl is highly effective when done correctly. The frequency of thiophanate-methyl use is its secret weapon—applying thiophanate-methyl every 10 days provides the consistent, systemic protection needed to stop the fungus in its tracks. Combine this precise chemical strategy with smart cultural practices like better air circulation and leaf removal, and you’ll give your spotted friend the best possible chance at a full, lush recovery.





