 bluename
Chlorophytum Fertilization in Spring: My Step-by-Step Guide to Applying Compound Fertilizer
Spring is here, and my spider plants are sending out those hopeful new shoots. But last year, many of those promising starts ended up looking pale and sluggish by mid-season. I realized my haphazard feeding routine was to blame. If you’ve ever wondered why your Chlorophytum isn’t thriving despite regular watering, the issue often lies in Chlorophytum fertilization in spring. Getting this right is the single biggest boost you can give your plant for a season of vigorous growth and stunning variegation. After extensive trial, error, and research, I’ve perfected a method for compound fertilizer application that works wonders. Here’s my complete, firsthand account.
Why Spring Feeding is Non-Negotiable for Spider Plants
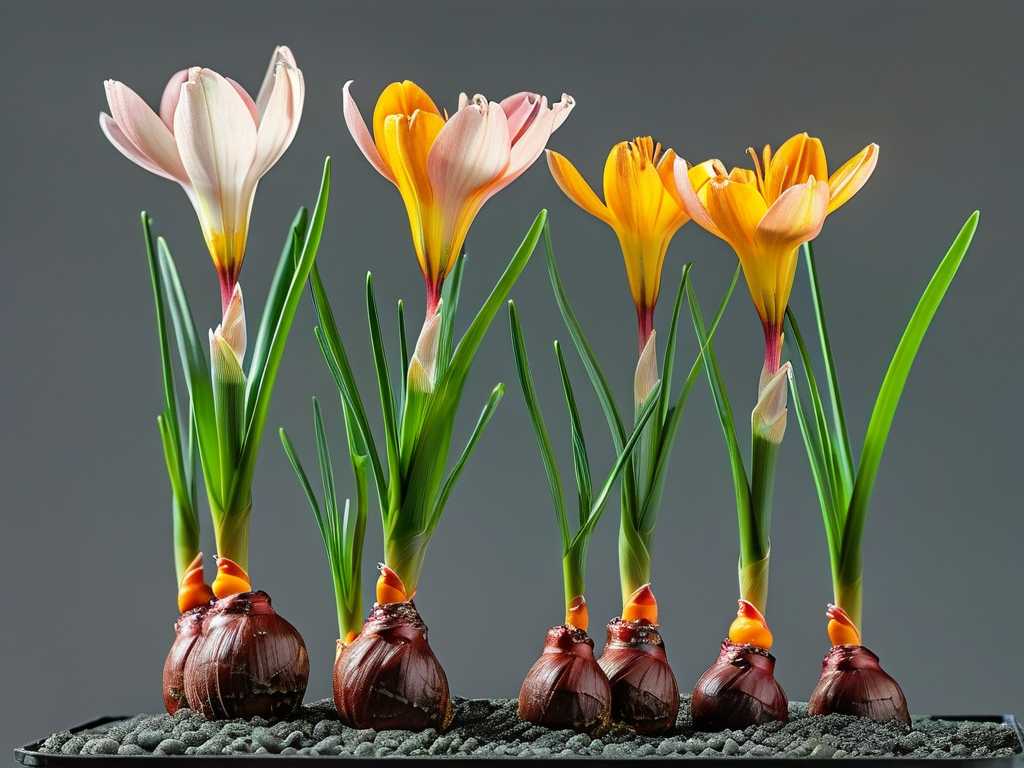
As daylight increases, your Chlorophytum exits its winter rest. It’s primed to produce new leaves, longer runners, and baby plantlets. This burst of activity demands a balanced diet. A quality compound fertilizer provides the essential NPK (Nitrogen, Phosphorus, Potassium) along with trace minerals. According to the Royal Horticultural Society (RHS), a balanced liquid feed applied during the growing season supports both foliage and root development. Skipping this step is like expecting an athlete to perform on empty calories.
My goal was clear: establish a simple, effective fertilizing schedule for spider plants that minimized risk and maximized results. I chose a balanced, water-soluble compound fertilizer (with an NPK ratio close to 10-10-10) for its versatility and ease of control.
My Two-Week Experiment: A Diary of Application and Observation
I selected three mature, healthy Chlorophytum ‘Vittatum’ plants for this process. I call them Plant A, B, and C. Plant A would follow my new precise method. Plant B would be over-fertilized as a cautionary tale. Plant C would receive a common, but flawed, method I used to employ.
Week 1: Preparation and Initial Application
Before feeding, I ensured all plants were well-hydrated with plain water a day prior. This prevents root burn by ensuring the roots aren’t stressed by drought when they encounter fertilizer.
- Day 1: Mixing. For Plant A (the correct method), I diluted the fertilizer to half the strength recommended on the bottle. The American Horticultural Society (AHS) advises erring on the side of dilution for container plants to prevent salt buildup. I used 1/4 teaspoon per gallon of water, instead of the labeled 1/2 teaspoon.
- Day 1: Applying. I watered Plant A slowly with the diluted solution until it just began to drain from the pot’s bottom. This ensured even distribution without waterlogging.
- Day 1: The "Bad" Methods. For Plant B (over-fertilized), I applied the fertilizer at full strength. For Plant C (old method), I sprinkled a small amount of slow-release granules on the soil surface and watered lightly—a method I now know is inefficient for an immediate spring boost.
- Days 2-4: No changes. All plants looked identical.
- Day 5: I noticed the first difference. Plant A (half-strength) showed a subtle, deeper green hue in its newest central leaves. Plant B (full-strength) looked okay, but the soil surface had a faint white crust—a early sign of mineral salts. Plant C looked unchanged.
- Day 7: Plant A's new growth was visibly accelerating. Plant B's leaf tips developed minute brown speckles—the dreaded "tip burn," a classic sign of fertilizer overuse. My heart sank; I had created the very problem I sought to avoid.
Week 2: Correction and Results
The damage to Plant B required immediate action.
- Day 8: The Fix for Over-Fertilization. I performed "leaching." I placed Plant B in the sink and slowly poured a large volume of plain, lukewarm water (about three times the pot's volume) through the soil, letting it drain freely. This flushes out excess salts. It’s a crucial rescue technique every plant owner should know.
- Day 10: Plant A was thriving. Two new runners had emerged, and the leaves felt sturdier. Plant B, post-leaching, showed no further browning. Its growth was paused but stable. Plant C had finally shown a slight improvement, but its growth was noticeably slower than Plant A's.
- Day 14: The Verdict. The contrast was undeniable. Plant A, fed with a properly diluted compound fertilizer, was the clear winner: lush, vibrantly variegated, and producing multiple healthy plantlets. Plant B was recovering but had lost precious growing time. Plant C was just… okay. It proved that my old, inconsistent method was holding my plants back.
The Pitfalls I Encountered and How You Can Avoid Them
My experiment was designed to fail in some ways, so you don't have to. Here are the key lessons:
- The "More is Better" Trap: This is the most common error. Compound fertilizers are potent. Full strength is often too harsh for Chlorophytum's fleshy roots. The Solution: Always dilute. I now never exceed half-strength, especially for the first spring feed. When in doubt, go weaker.
- Dry Soil Application: Applying fertilizer to bone-dry soil (as I did with Plant C's granules) can cause immediate root damage and uneven nutrient uptake. The Solution: Always pre-moisten the soil a day before applying any liquid feed or thoroughly incorporate granules into moist soil at repotting time.
- Ignoring Environmental Cues: Feeding on a rigid calendar schedule is a mistake. If spring is particularly cool and dark, the plant won't be ready. The Solution: I wait until I see at least two to three new leaves actively unfurling from the center of the plant. This is the plant's signal that it's "hungry."
Building Your Perfect Spring Fertilizing Routine
Based on my two-week test and subsequent care, here is my actionable routine:
- Timing: First feeding in early spring, then every 4-6 weeks until late summer.
- Product: A balanced, water-soluble compound fertilizer (NPK 10-10-10 or 20-20-20).
- Dilution: Mix at 1/4 to 1/2 the recommended label strength.
- Application: Apply to pre-moistened soil until slight runoff. Avoid wetting the crown of the plant.
- Post-Care: Return the plant to its bright, indirect light location. Resume normal watering only when the top inch of soil feels dry.
Answering Your Spider Plant Feeding Questions
Can I use leftover coffee grounds as fertilizer? While coffee grounds add organic matter to garden soil, they are not a balanced compound fertilizer for houseplants. In pots, they can compact and mold. For a reliable nutrient boost, stick with a formulated product designed for container plants.
My spider plant's tips are brown even though I fertilize correctly. Why? Tip burn is more often caused by fluoride or chlorine in tap water, low humidity, or dry soil—not just fertilizer. Try using distilled or rainwater for a few months, and ensure consistent watering. My over-fertilization burn was accompanied by salt crust on the soil, which helped diagnose it.
Is it okay to fertilize a spider plant with babies (plantlets)? Absolutely! In fact, producing those runners and plantlets is energy-intensive. A gently fertilized mother plant will produce more robust offspring. You can even apply a very weak solution to the plantlets once they have developed their own roots.
Successful Chlorophytum care in spring hinges on a mindful, gentle approach to feeding. By understanding that these resilient plants thrive on a "less is more" philosophy with compound fertilizers, you set the stage for a spectacular display of cascading greenery. The key is to observe your plant, respond to its growth cues, and never let enthusiasm lead to overfeeding. The vibrant, rapid growth you’ll see in the weeks following a proper feed is the most rewarding confirmation that you’ve gotten it right.





