 bluename
Chlorophytum Cutting Propagation: The Substrate Standard for Success (Loose, Breathable, Pathogen-Free)
If you've ever watched a spider plant pup wilt and die after you lovingly placed it in soil, you're not alone. For years, I struggled with this exact frustration. My cuttings would root in water beautifully, only to falter and rot once transferred to a pot. The heartbreak was real. After countless failed attempts, I finally pinpointed the silent killer: the substrate. I was using whatever potting mix was handy, not understanding that Chlorophytum cutting propagation has a non-negotiable substrate standard. The medium must be loose, breathable, and pathogen-free. Once I mastered this trinity, my success rate soared from a dismal 30% to nearly 100%. Let me walk you through my exact process, the two-week transformation I documented, and the critical lessons I learned the hard way.
Why the Right Medium Isn't Just Important—It's Everything
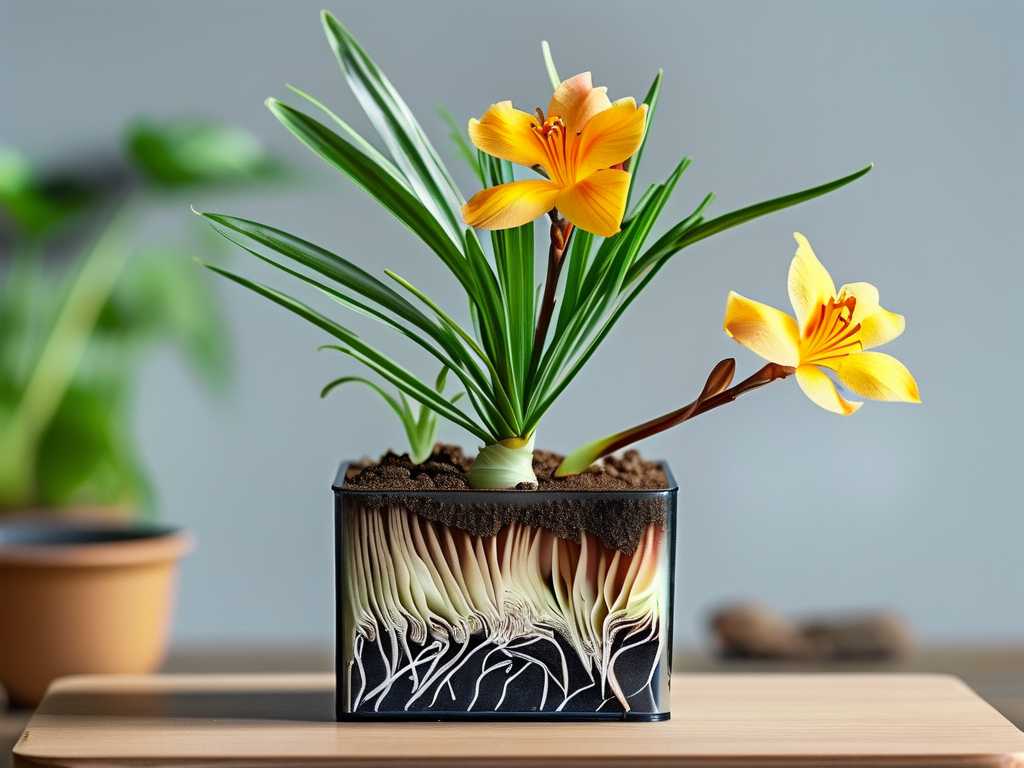
Most guides will tell you spider plants are easy. And they are—if you respect their needs. A cutting, or pup, is vulnerable. Its primary task is to shift from sustaining itself with stored water to establishing a new root system. A dense, water-retentive, or contaminated soil creates a hostile environment. It suffocates nascent roots and invites fungal pathogens like Pythium or Fusarium, leading to damping-off disease. The Royal Horticultural Society (RHS) consistently emphasizes the importance of a free-draining compost for propagation to prevent rot. This isn't just a suggestion; it's the foundational rule.
My goal was to create a loose and breathable potting mix that provided physical support without holding excess moisture against the delicate stem and new roots. The "pathogen-free" aspect was equally crucial to give the cutting a clean start.
My Recipe for the Perfect Propagation Substrate
Through experimentation, I developed a blend that consistently works. Here’s my exact recipe:
- 50% Coconut Coir: This is my base. It’s sterile, retains moisture well but doesn’t become soggy, and has a fantastic, loose structure. It’s also a sustainable choice.
- 30% Perlite: The champion of aeration. These white, porous granules create essential air pockets in the mix, ensuring the soil remains well-aerated and drains instantly.
- 20% Horticultural Sand (Coarse): This adds weight for stability and further improves drainage. I avoid fine play sand, as it can compact.
Crucial Pre-Step: Sterilization is Non-Negotiable
Early on, I lost a whole batch of pups to mold. I learned that even bagged ingredients can harbor spores. Now, I pasteurize my mix. I lightly moisten the combined substrate, spread it on a baking tray, and heat it in the oven at 200°F (93°C) for 30 minutes. This kills pathogens without destroying beneficial structure. Let it cool completely before use.
The Step-by-Step Propagation Process
- Selecting and Preparing the Pup: I choose a healthy, medium-sized pup with visible nubs (the beginnings of aerial roots). Using a sterile knife, I cut the stolon (runner) about an inch from the pup. I gently remove any dry or papery leaves at the base.
- Potting Up: I take a small pot (3-4 inches) with ample drainage holes. I fill it with my cool, prepared substrate. I make a small hole in the center with a pencil and insert the base of the pup, firming the mix gently around it. The key is not to bury the crown (where leaves meet the base) too deeply.
- The Initial Watering: This is critical. I use a watering can with a fine rose to thoroughly moisten the substrate until water runs freely from the drainage holes. This ensures even moisture from the start. I then allow the pot to drain completely.
- The Propagation Environment: I place the pot in a location with bright, indirect light. No direct sun, which can scorch the leaves and dry the cutting out too quickly. I maintain a warm room temperature, around 70-75°F (21-24°C).
The Two-Week Observation Diary: A Story of Growth
- Days 1-3: The pup looks perky, no change. The substrate surface feels slightly damp but not wet. I resist the urge to water again.
- Days 4-7: I notice the pup stands even taller. The surface of the substrate is now dry to the touch. I perform the "knuckle test"—sticking my finger an inch into the mix. It feels barely moist. This is the sign. I give it a light, targeted watering around the base, avoiding the leaves.
- Days 8-10: Exciting development! A gentle, cautious tug on the pup meets with slight resistance. This is the first sign of root anchorage. New, vibrant green growth is visible at the center of the plant. The breathable growing medium is doing its job, allowing oxygen to reach the new roots.
- Days 11-14: The resistance is firm. Several new leaves have unfurled. I carefully tip the pot to peek at the drainage holes and can see tiny, healthy white root tips. Success! The plant is officially established and beginning active growth.
The Pitfalls I Encountered and How I Fixed Them
Pitfall 1: The Overwatering Death Sentence. My biggest early mistake was keeping the substrate constantly moist. I interpreted "keep it damp" as "soggy." This led to stem rot. The fix was learning to read the moisture. The top inch should dry out between waterings. The loose structure of my mix allows this while the coir retains moisture deeper down where the roots are seeking it.
Pitfall 2: Using Contaminated or Old Soil. I once reused old potting soil from another plant. It introduced fungus gnats and likely pathogens. The solution was the sterilization step outlined above and always using fresh components for propagation. The American Horticultural Society (AHA) notes that using sterile tools and media is the first line of defense against disease in propagation.
Pitfall 3: Pot Too Large. A small pup in a large pot means a large volume of wet substrate surrounding a tiny root system. It can't use the moisture, leading to a cold, soggy environment. Always use a pot just slightly larger than the pup's root mass (or lack thereof initially).
Pitfall 4: Ignoring Drainage. A pot without holes is a death sentence. I learned this after one attempt with a "decorative" cache pot. Even the best free-draining soil mix is useless if water has nowhere to go.
Moving Forward: Transitioning to a Mature Plant Mix
After about 4-6 weeks, when roots are well-established, I transition the young spider plant to a slightly richer, but still well-draining, general houseplant mix. I might add a bit of compost or worm castings to the base recipe for nutrients.
Common Questions from Fellow Plant Lovers
Can I just use water to propagate spider plants? Absolutely, and it's a great way to watch roots grow. However, water roots are different from soil roots. When transferring from water to soil, the plant goes through shock as it adapts. Starting in the correct soil for Chlorophytum propagation from day one avoids this transition shock and often leads to a stronger, faster-growing plant.
Is a commercial seed-starting mix okay? Yes, this is an excellent and convenient alternative. Most seed-starting mixes are designed to be sterile, light, and well-draining—meeting all our key criteria. Just ensure it's fresh and stored properly.
How do I know if my mix is breathable enough? Perform a simple test. Moisten a handful of your prepared mix and squeeze it tightly in your fist. When you open your hand, the ball should hold its shape briefly but then crumble easily when poked. If it stays in a dense, muddy ball or if water streams out, it needs more perlite or sand.
Mastering Chlorophytum cutting propagation truly boils down to the foundation you provide. By investing time in creating a loose, breathable, and pathogen-free substrate, you’re not just planting a cutting; you’re engineering an environment for guaranteed success. It turns a hopeful experiment into a predictable, rewarding process. Give this method a try with your next spider plant pup. Watch closely for those two weeks, learn its cues, and you’ll be rewarded with a thriving, new plant that started life on the right root.





