 bluename
Mastering Chlorophytum Leaf Cutting Propagation: My Wound Healing Secrets to Prevent Substrate Waterlogging
There's a special kind of disappointment that only a plant parent knows. You see a beautiful, healthy spider plant (Chlorophytum comosum), decide to propagate a leaf cutting to expand your green family, and then watch helplessly as your promising new plantlet turns to mush. For years, I struggled with this exact scenario. I’d follow the basic advice—snip a leaf, pop it in water or soil—only to face rot, wilting, and failure. The heart of the problem, I discovered through frustrating trial and error, wasn't just the cutting itself; it was the wound healing process and the relentless enemy of propagation: substrate waterlogging.
This guide is the culmination of my journey from failed attempts to consistent success. I’ll walk you through my precise, hands-on method for Chlorophytum leaf cutting propagation, focusing on the critical wound healing skills that are often glossed over. My goal is to equip you with the knowledge to avoid substrate waterlogging and ensure your cuttings thrive, not just survive.
Why the "Wound" Matters More Than You Think
When you make a clean cut on a Chlorophytum leaf or separate a plantlet (spiderette), you create an open wound. This wound is an entry point for pathogens like bacteria and fungi present in water or soil. More critically, an unhealed cutting placed directly into a moist environment will absorb water too rapidly through the fresh cut, leading to cellular rupture and rot—the precursor to waterlogging issues.
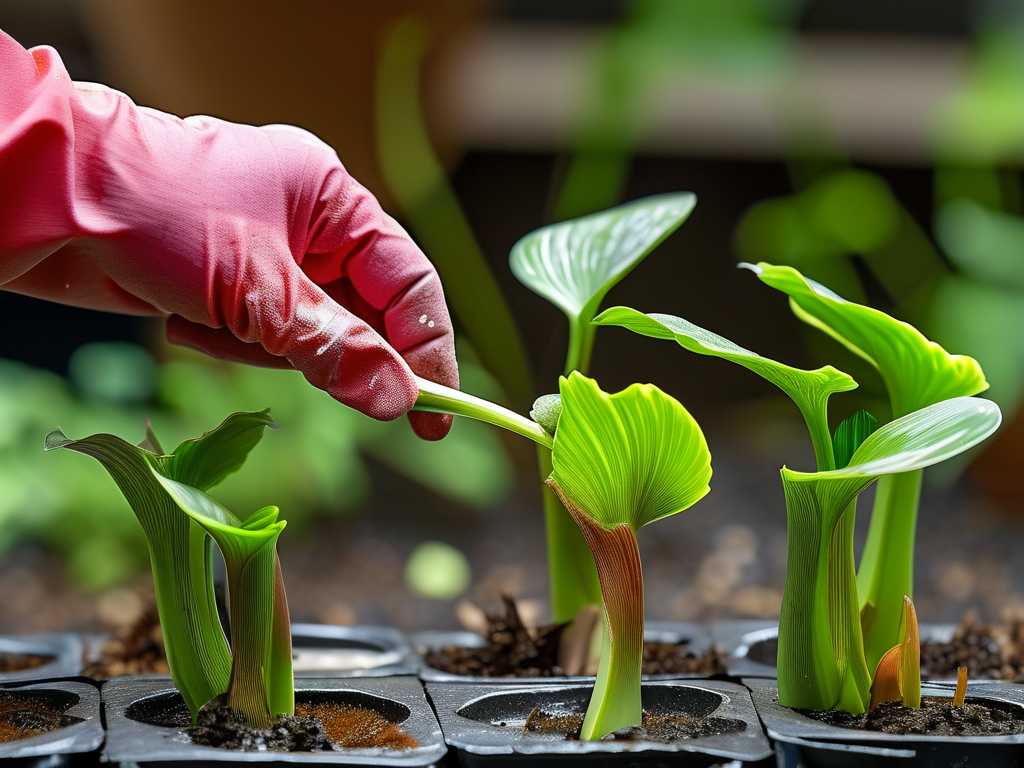
The Royal Horticultural Society (RHS) emphasizes the importance of a good callus in propagation, describing it as a protective layer of cells that seals the wound. This isn't just theory; it's the fundamental barrier between your cutting and a waterlogged, anaerobic (oxygen-deprived) environment that spells doom.
My Two-Week Propagation Protocol: A Step-by-Step Diary
Here is the exact process I now use, honed from countless cuttings.
Week 1: The Precision Cut and The Callus Waiting Game
Day 1: Selection and Surgical Precision I choose a mature, vibrant green leaf from a healthy mother plant, or a well-developed spiderette with tiny aerial roots already nubs. Using a razor blade or scalpel sterilized with isopropyl alcohol, I make a clean, angled cut. The angled cut increases the surface area for root development later. I immediately remove any lower leaves that might sit below the substrate line.
The Critical Step Most Guides Skip: I do NOT place the cutting in water or soil. Instead, I lay it on a dry paper towel in a warm, bright spot with indirect light. This begins the wound healing process for Chlorophytum. The goal is to allow the cut end to dry and form a callus—a slightly hardened, whitish layer over the wound.
Days 2-4: Patient Observation I check the cutting daily. No moisture, no fussing. The cut end will slowly dry and seal. According to the American Horticultural Society (AHS), this simple step dramatically reduces the incidence of rot by giving the plant time to activate its natural defenses. I’ve found this to be the single most effective change in my routine to prevent waterlogging in propagation.
Day 5: The Callus is Formed By day five, the cut end feels dry and has a slight, smooth callus. It’s now ready for the next phase. Rushing this step was my biggest early mistake—placing a freshly cut, weeping stem into potting mix is an invitation for trouble.
Week 2: Strategic Planting and Root Vigilance
Day 6: The Perfect Planting Medium I use a mix I swear by: 50% perlite and 50% peat-free seed starting mix. This combination is airy, well-draining, and virtually impossible to waterlog. I moisten the mix until it feels like a wrung-out sponge—damp, not dripping. I fill a small, clean pot with drainage holes.
I make a narrow hole in the center with a pencil, insert the callused end of the cutting about 1-1.5 inches deep, and gently firm the mix around it. I do not water it in. The pre-moistened mix provides enough humidity without drowning the delicate callus.
Days 7-10: The "Tug Test" and Minimal Watering The pot sits in bright, indirect light. I resist the urge to water. I only add a tiny amount of water around the edges of the pot if the top inch of the mix feels completely dry. Overwatering here is the fast track to failure. The callus is doing its job, protecting the tissue while the plant focuses energy on root initiation.
Days 11-14: Signs of Success Around day 12, I perform the gentlest "tug test." A slight resistance indicates root formation! This is the moment of truth for avoiding root rot in spider plant cuttings. By day 14, I often see the first signs of new growth—a slight greening or a tiny new leaf emerging from the center. This confirms the roots are established and the plant is actively growing.
The Pitfalls I Encountered and How I Solved Them
Pitfall 1: The Impatience Rot My most common error was skipping the callusing phase. I’d cut and plant immediately, especially with spiderettes that already had aerial roots. The result was always the same: the base turned brown and mushy within a week.
- Solution: I now treat every cutting, regardless of size or existing roots, to a 3-5 day dry callusing period. Consistency is key.
Pitfall 2: The Death by "Kindness" (Overwatering) I used to keep the substrate constantly wet, thinking it helped. This created a waterlogged, oxygen-poor environment where roots couldn't breathe and rot fungi flourished.
- Solution: I learned the "wrung-out sponge" moisture level for the initial mix and adopted a "less is more" watering approach until active growth was evident. A moisture meter became a helpful tool to remove guesswork.
Pitfall 3: The Wrong Medium Using standard, dense potting soil led to compaction and moisture retention around the cutting stem, stifling it.
- Solution: Switching to my airy perlite blend was a game-changer. It provides physical support while ensuring excess water drains away instantly, creating the ideal environment for healthy root development in leaf cuttings.
Your Questions, Answered
Can I propagate a spider plant leaf without a node? This is a crucial distinction. A single leaf cutting without a piece of the stem (node) will callus but will almost never produce a new plant. For Chlorophytum, you must include the base where the leaf connects to the crown or use a spiderette, which is essentially a node with leaves. My method focuses on these viable cuttings.
Is water propagation better than soil for avoiding rot? In my experience, water propagation can be deceptive. While you can see the roots, the submerged stem is constantly wet and can become slimy. Transitioning water roots to soil is also a shock. My soil-based method with a proper callus creates stronger, soil-adapted roots from the start and avoids the dual risks of stem rot in water and transplant shock.
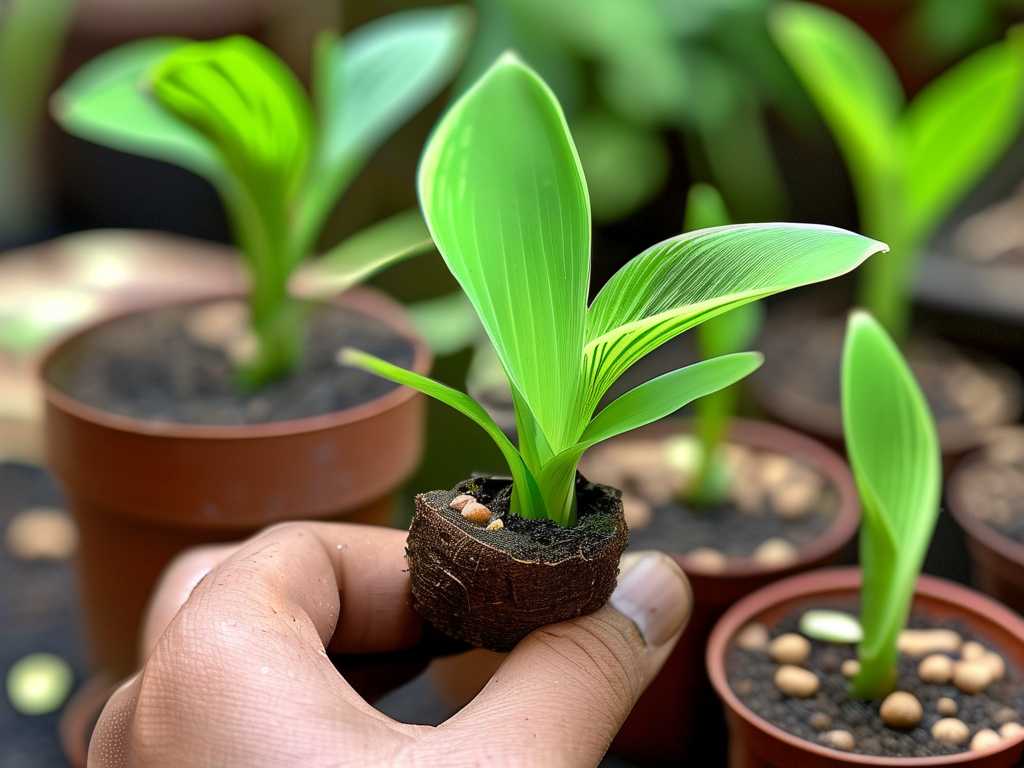
How long does it take for roots to fully establish? While root initiation signs appear in 2 weeks, full establishment for repotting takes 4-8 weeks. Patience is your greatest tool. A cutting pushing new top growth is the best signal that the root system is ready to support more.
Successful Chlorophytum propagation hinges on respecting the plant's biology. By prioritizing the wound healing phase and consciously engineering a well-draining, non-waterlogging environment, you turn a fragile cutting into a resilient new plant. It’s a process that teaches patience and observation. Start with a sharp blade, embrace the waiting period for callusing, choose your medium wisely, and water with restraint. Follow these steps, and you’ll transform your spider plant into a thriving, multi-generational green legacy.





