 bluename
Chlorophytum Yellow Curling Leaves: My 2-Week Journey with Compound Fertilizer Foliar Spraying
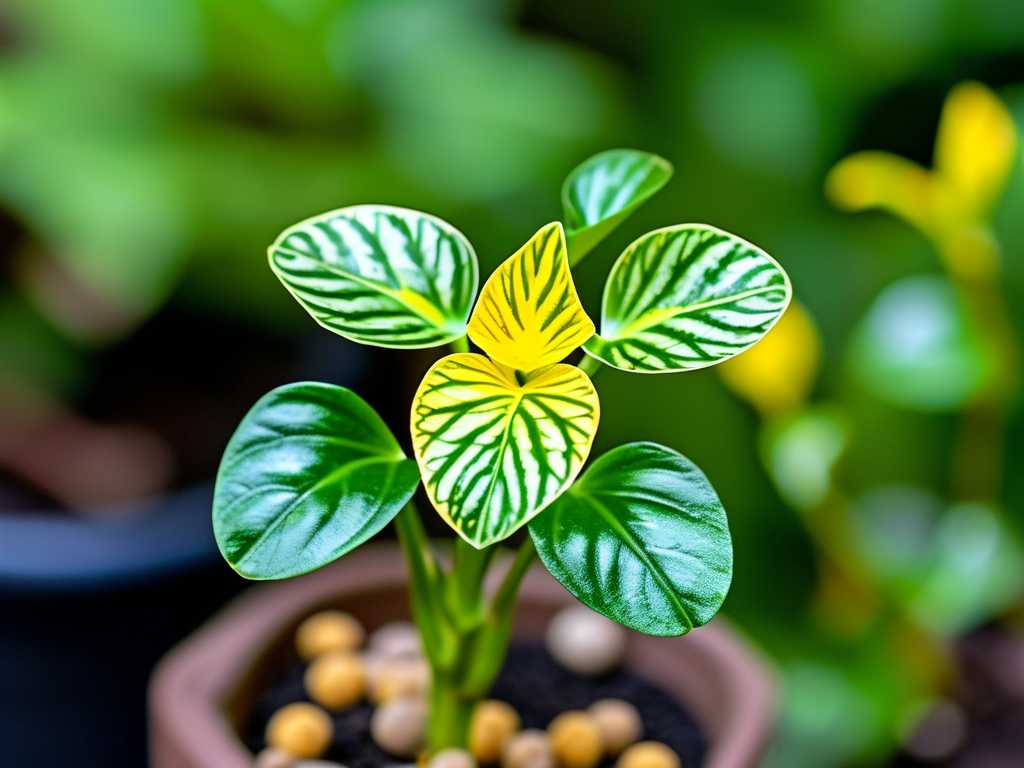
I stared at my beloved spider plant, its once vibrant green ribbons now marred by patches of yellow and the tips curling inward like brittle paper. That familiar pang of worry hit me—was it overwatering, not enough light, or something missing from its diet? After ruling out the usual suspects, my research pointed to a potential nutrient deficiency. This is when I decided to tackle the issue head-on with a method I hadn't tried before: compound fertilizer foliar spraying. For two weeks, I became a dedicated plant scientist in my own home, documenting every step, setback, and success in reviving my chlorophytum.
Why I Chose Foliar Feeding for My Spider Plant
The logic was compelling. When a plant's leaves are yellowing and curling, its roots might be stressed or inefficient at absorbing nutrients from the soil. Foliar spraying delivers nutrients directly to the leaf surface, where they are absorbed quickly. It's like an intravenous boost for a plant that's feeling under the weather. Experts from the Royal Horticultural Society (RHS) note that foliar feeding can correct micronutrient deficiencies more rapidly than soil application. My goal was clear: to address the yellow curling leaves on my chlorophytum with a targeted, fast-acting nutritional intervention using a balanced, water-soluble compound fertilizer.
My Step-by-Step Foliar Spraying Protocol
This wasn't a haphazard misting. I developed a careful plan to ensure safety and effectiveness.
Week 1: The Setup and Initial Treatment
First, I chose my weapon: a balanced, all-purpose water-soluble compound fertilizer with an NPK ratio of 10-10-10, ensuring it contained essential micronutrients like iron and magnesium, which are often linked to chlorosis (yellowing). I diluted it to half the strength recommended on the label for soil application. The American Horticultural Society (AHA) emphasizes that a weaker solution is crucial for foliar sprays to prevent leaf burn.
My tools were simple: a clean, fine-mist spray bottle, distilled water (to avoid mineral buildup), and the diluted fertilizer. I moved my plant to the sink for a controlled environment.
- The Pre-Spray Cleanse: I gently wiped the leaves with a damp cloth to remove dust, ensuring maximum absorption. This step is often overlooked but vital.
- The Application: In the early morning, when the plant's stomata are most open, I thoroughly misted the undersides of the leaves. This is where most absorption occurs. I sprayed until a fine, even film coated the foliage, avoiding drenching or letting large droplets pool in the crown, which can cause rot.
- The Post-Spray Care: I placed the plant in a spot with bright, indirect light and good air circulation to help the leaves dry quickly, preventing fungal issues.
I repeated this foliar spray application twice during the first week, with three days between each session.
The First Week's Observations and a Major "Oops"
After the first spray, I was overly eager for results. By day three, I noticed no improvement—in fact, one older leaf seemed more yellow. I panicked and, against my better judgment, applied a second spray just two days later with a slightly stronger concentration. Big mistake.
Within 24 hours, I saw the first tiny, brown scorch marks on the tips of two leaves. I had fallen into the classic trap of "more is better." The fertilizer salts were literally burning the tender leaf tissue. This was my biggest pitfall.
The Fix: I immediately stopped spraying. I took the plant to the shower and gently rinsed the leaves with plain distilled water to wash off any residual fertilizer salts. I then returned to a strict schedule and the original, half-strength dilution.
Week 2: Recovery and Remarkable Turnaround
Humbled by my mistake, I resumed the treatment at the end of week one. The second week protocol was simple: one careful foliar spray at the correct dilution, mid-week.
The change was subtle at first. By the 10th day of the experiment (about 4 days after the corrected spray), the intense, sickly yellow on the newest leaves began to fade into a lighter, lime-green hue. Most notably, the curling leaf tips on my spider plant started to relax and unfurl. They weren't brittle anymore. The overall plant, which had looked stressed and dull, seemed to have a renewed vigor.
By the end of the two-week period, the transformation wasn't complete—the older, severely damaged leaves remained yellow—but the new growth was emerging a healthy, deep green, and the curling had virtually stopped on all but the most affected foliage. The plant had clearly utilized the direct nutrient hit to kickstart its recovery.
Key Lessons from My 2-Week Foliar Spray Trial
- Patience is Non-Negotiable: Plants don't heal overnight. My initial impatience caused physical damage. Consistent, gentle care yields results.
- Dilution is Your Best Friend: Always err on the side of a weaker solution. A 50% dilution of the soil application rate is a safe starting point for treating chlorophytum leaf problems.
- Timing and Technique Matter: Early morning spraying, focusing on leaf undersides, and ensuring quick drying are as important as the fertilizer itself.
- Foliar Feeding is a Supplement, Not a Cure-All: This process addressed a symptom (nutrient deficiency) rapidly. I also assessed my watering habits and light conditions to ensure the root cause was fixed. The foliar spray gave the plant the strength to recover while I corrected its overall care routine.
Frequently Asked Questions From Fellow Plant Lovers
Can I use any fertilizer for foliar spraying on my spider plant? No. Use only water-soluble fertilizers labeled as safe for foliar application. Avoid granular or slow-release formulas. A balanced compound fertilizer with micronutrients is ideal.
How often should I spray my chlorophytum with fertilizer? Less is more. For corrective care like this, once every 7-10 days for 2-3 applications is sufficient. For maintenance, once a month during the growing season is plenty. Over-spraying can clog leaf pores and cause damage.
Will foliar spraying fix all causes of yellow, curling leaves? Absolutely not. It is highly effective for nutrient deficiencies but will not help if the primary issue is root rot from overwatering, excessive direct sun, or pest infestation. Always diagnose the problem first. Foliar spraying is a powerful tool for reviving a chlorophytum with foliar feed, but it's not a magic potion for all ailments.
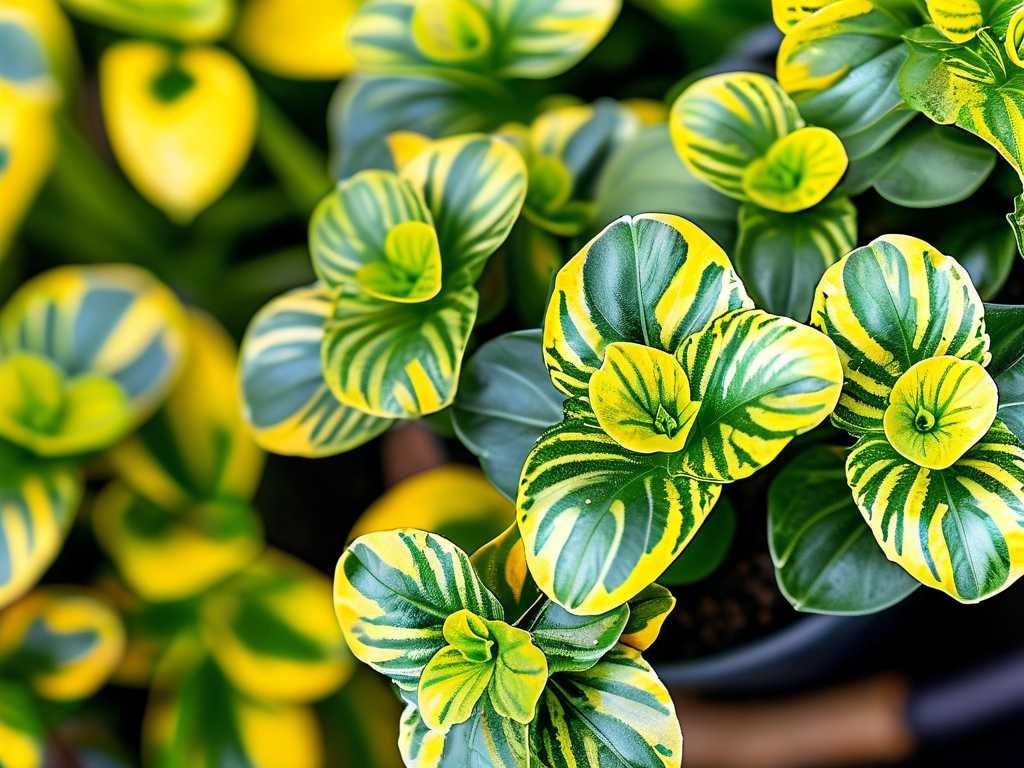
My spider plant is now on a path to full recovery, pushing out healthy new runners. The experience taught me that sometimes, the most direct route—feeding through the leaves—can provide the critical support a struggling plant needs. By understanding the why and meticulously managing the how, you can turn those yellow, curling leaves back into symbols of lush, vibrant health.





