 bluename
The spider plant Propagation Experiment: Can a Single Leaf Grow Into a New Plant?
For years, I’ve shared spider plant babies, or pups, with fellow plant lovers. It’s a foolproof process. But recently, a friend asked me a question that stopped me in my tracks: “What if I only have one leaf? Can I still propagate it?” I realized many plant enthusiasts face this dilemma—a broken leaf, a sparse plant with no offshoots, or simply wanting to maximize every piece. The common belief is that spider plant propagation requires a whole pup. I decided to put this to the test with a focused experiment on Chlorophytum cutting propagation using a branch with only 1-2 leaves.
My goal was clear: to see if a minimal cutting, just a leaf or two with a tiny bit of stem node, could develop roots and thrive. Over two weeks, I documented every step, the results, the surprises, and the solutions to problems I encountered.
Why Leaf Number Matters in Spider Plant Propagation
Before we dive into my process, let’s understand the science. According to the Royal Horticultural Society (RHS), successful propagation relies on meristematic tissue—cells capable of rapid division. In spider plants, this critical tissue is concentrated in the stem nodes, the small bumps where leaves emerge and where pups form. A cutting without a node lacks this growth engine.
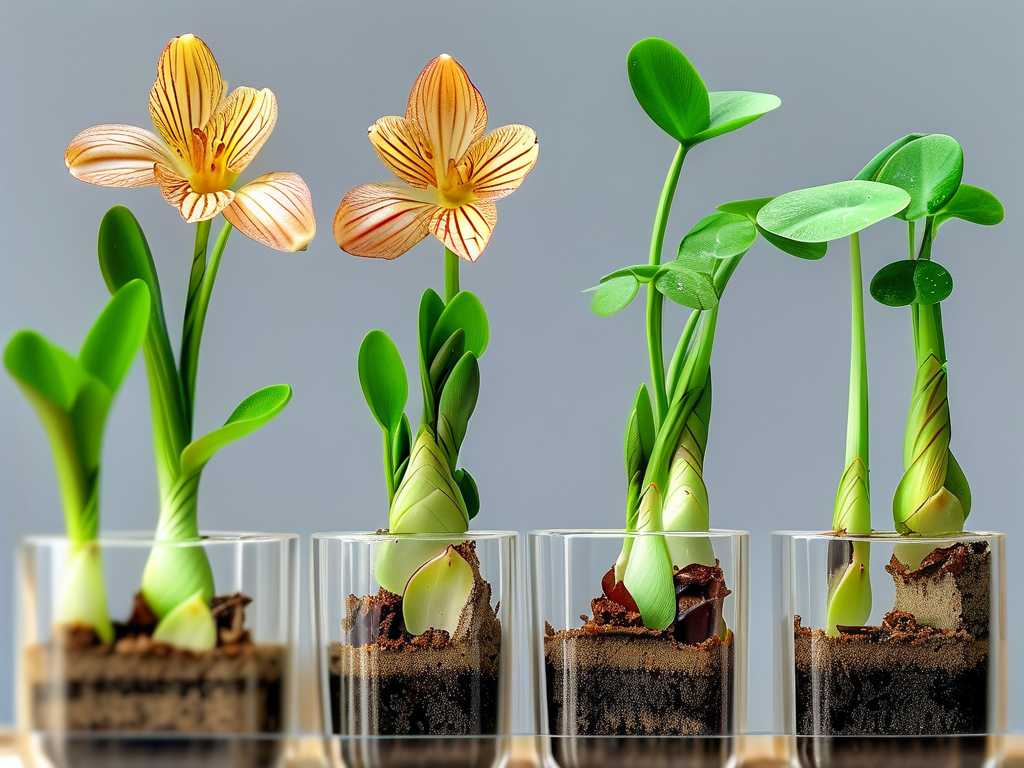
The American Horticultural Society (AHA) notes that while some plants can regenerate from leaf cuttings alone (like succulents), monocots like Chlorophytum typically require nodal tissue. Therefore, the question isn’t about the number of leaves on a spider plant cutting, but whether that cutting includes a viable piece of stem. One or two leaves are simply the solar panels; the node is the root.
My Step-by-Step Guide to Propagating a 1-2 Leaf Cutting
I selected a healthy, mature Chlorophytum comosum ‘Vittatum’. Using sterilized, sharp scissors, I identified a long, healthy stolon (runner) that had a small, undeveloped bump—a potential node. I made my cut about half an inch below this node, ensuring the cutting included the node and exactly two leaves. For a true test, I also prepared a second cutting with just one leaf and its attached node.
Step 1: Preparation is Key I filled two small glass jars with room-temperature, filtered water. Using opaque jars (I repurposed small ceramic pots) is a pro-tip I learned later; it discourages algae growth. I removed any lower leaves that might sit submerged to prevent rot. Each cutting was placed in its jar so only the bare stem and node were underwater. The leaves rested comfortably on the rim.
Step 2: The Ideal Environment I placed the jars on a bright windowsill with plenty of indirect light. Direct sun would heat the water and stress the cuttings. I maintained a consistent room temperature of around 70°F (21°C). This stable, bright environment is crucial for triggering root development.
Step 3: Ongoing Care and Observation My routine was simple but strict. Every third day, I completely changed the water to keep it oxygenated and free of bacterial buildup. I gently rinsed the stem and node under lukewarm water. I also misted the leaves every other day to provide humidity, as the cuttings had no roots to draw up moisture.
The Two-Week Observation Diary: Patience Pays Off
Days 1-4: The cuttings looked healthy but static. No changes. This is the period where patience is essential. The plant is redirecting energy to the wound site.
Days 5-7: A breakthrough! On Day 6, the cutting with two leaves showed the first sign: a tiny, white, nub-like protrusion from the node. It wasn’t a root yet, but the meristematic tissue was activating. The single-leaf cutting showed no visible change.
Days 8-11: The nub on the two-leaf cutting elongated into a definite, pale root about 1/4 inch long. By Day 11, a second root tip appeared. Remarkably, the single-leaf cutting finally joined the party, showing its own small, white nub. The propagation of spider plant leaf cuttings was underway.
Days 12-14: Growth accelerated. The two-leaf cutting developed three sturdy, half-inch roots with fine root hairs visible. The single-leaf cutting had one primary root about 1/3 inch long. Both sets of leaves remained green and firm, showing no signs of wilting or yellowing—a clear indicator of successful energy allocation.
The Pitfalls I Encountered and How I Solved Them
My experiment wasn’t without its hiccups. Around Day 5, I noticed the water in the two-leaf jar looked slightly cloudy. This was my first pitfall: early bacterial growth.
Problem 1: Cloudy Water and Slimy Stems. Cloudiness signals bacteria, which can rot the tender node before it roots. I had been lazy, just topping off the water instead of changing it.
Solution: I immediately switched to a full water change every three days without fail. I gently wiped the stem with a soft cloth during changes. For an extra boost, I used a single drop of 3% hydrogen peroxide in the water for one change, which cleared the cloudiness without harming the cutting.
Problem 2: The “Why Is Nothing Happening?” Panic. With the single-leaf cutting lagging, I was tempted to move it, poke it, or worse, fertilize the water. Impatience is a propagator’s worst enemy.
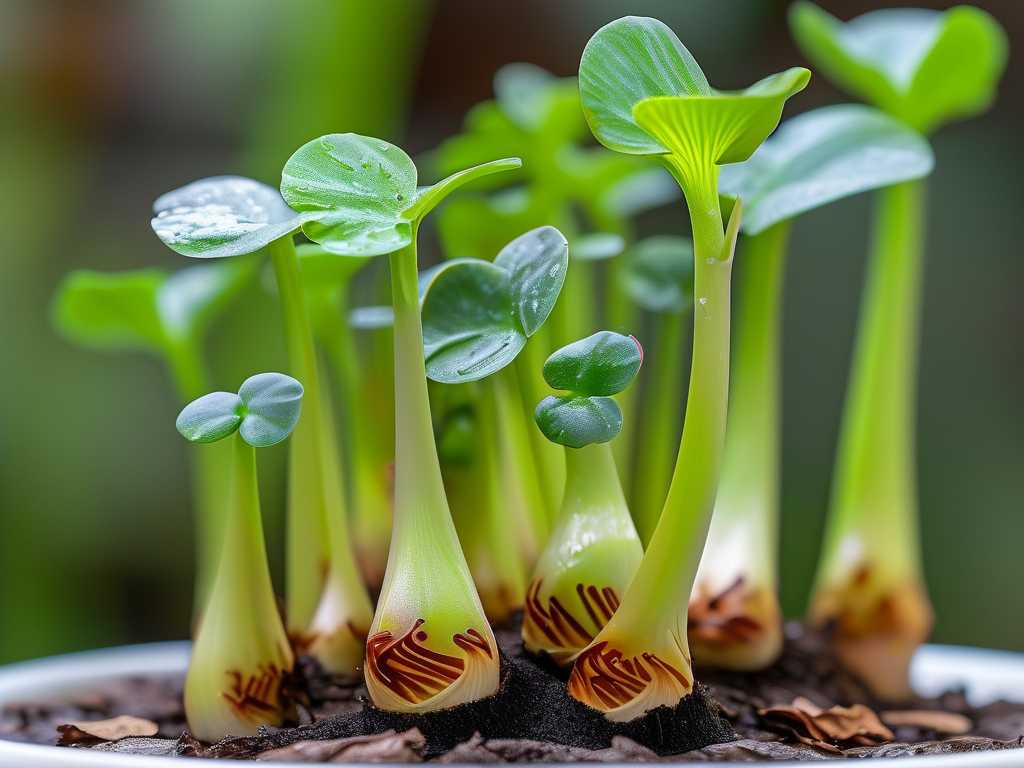
Solution: I trusted the process. I double-checked its placement for good light and ensured the node was submerged. I reminded myself that different cuttings have their own timelines. The single leaf likely had slightly less stored energy, so its response was slower but still successful.
Problem 3: Leaf Tip Browning. The original mother plant had some minor tip browning, and one tip on my cutting started to brown slightly. This isn’t necessarily a propagation failure but can be unsightly.
Solution: I trimmed the brown tip at a slight angle with sterile scissors to mimic the leaf’s natural point. More importantly, I ensured my misting water was filtered, as spider plants are sensitive to fluoride and chlorine in tap water, which can cause tip burn.
From Water to Soil: The Transition Phase
After 14 days, the cuttings had viable root systems. The next critical phase was potting. I prepared a well-draining mix of two parts potting soil to one part perlite. I planted each cutting in a 3-inch pot, gently covering the roots and firming the soil. I watered thoroughly until it drained from the bottom and placed them back in bright, indirect light.
For the first week post-potting, I kept the soil consistently moist (but not soggy) to help the water roots adapt to soil. After a week, I resumed a normal, moderate watering schedule, allowing the top inch of soil to dry out between waterings.
Can you propagate a spider plant with just a leaf? Yes, but with a critical caveat. You cannot propagate from a leaf blade alone. You must have a piece of the stem node attached. So, while you can use a cutting with just 1-2 leaves, that cutting is useless without the tiny node where the leaf meets the stem.
How long does it take for a spider plant leaf cutting to root? In my controlled experiment, the first root nub appeared in 6 days, with established roots forming between 10 to 14 days. This can vary based on season, temperature, and light. Expect a timeframe of 1-3 weeks for solid root development in water.
Is water or soil better for propagating small spider plant cuttings? For cuttings with only 1-2 leaves, I strongly recommend water propagation. It allows you to monitor root development closely, ensures the node stays hydrated, and reduces the risk of the tiny cutting rotting in soil before it establishes. Once roots are 1-2 inches long, you can safely transition to soil.
My two-week journey proved that Chlorophytum cutting propagation is remarkably resilient. Even a modest cutting with minimal foliage holds the potential for new life, provided you include that all-important node. The process taught me more about plant patience and precision than any textbook could. If you have a lone spider plant leaf with a bit of stem, don’t discard it. Give it a jar of water, a bright spot, and a little faith. You might just witness the humble beginnings of your next great plant success.





