 bluename
Chlorophytum Soft Stem: Quick Cutting Skills for Effortless Propagation
I’ve lost count of how many times I’ve admired a friend’s lush, cascading spider plant (Chlorophytum comosum) and wished I could replicate that green bounty at home. The desire for more plants often clashes with the fear of harming the parent plant or the frustration of failed attempts. If you’ve ever looked at those dangling plantlets with their seemingly delicate Chlorophytum soft stems and wondered how to turn one into many, you’re in the right place. I’ve been there, and through trial, error, and a lot of patience, I’ve refined a method that works every single time. This guide is born from my hands-on experience, detailing the exact steps I use, what I observed over a critical two-week period, and the pitfalls I navigated so you don’t have to.
Why Mastering Soft Stem Cuttings Matters
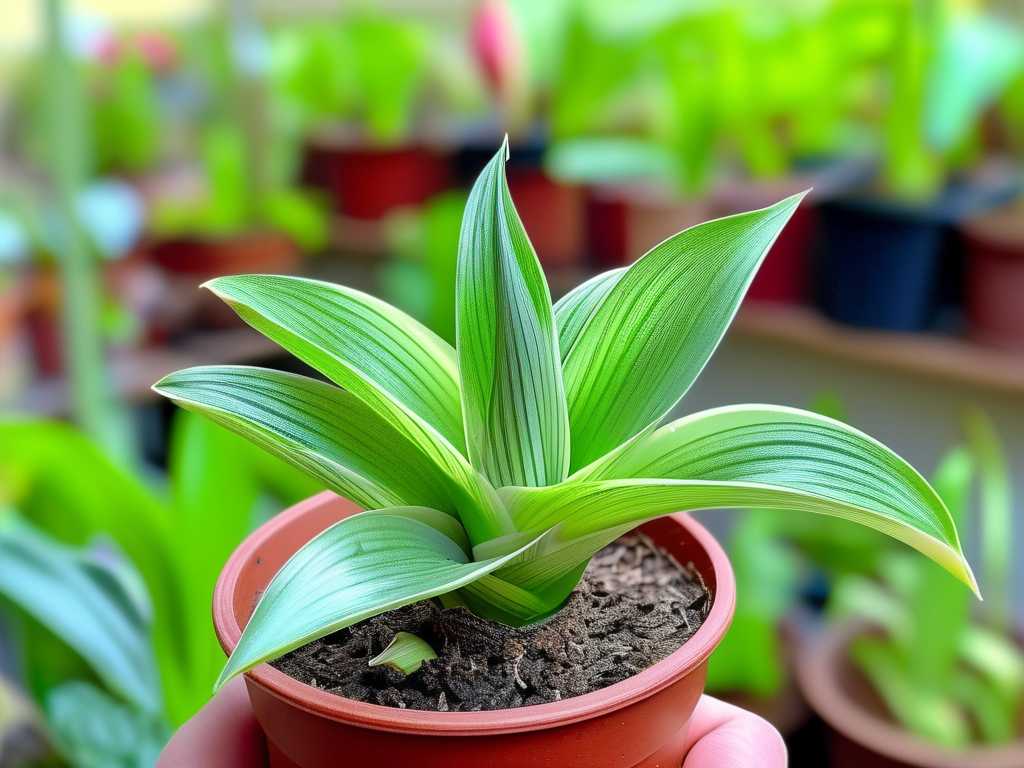
Many guides treat all spider plant propagation the same, but the approach for a mature, hard-stemmed offset differs from one with a tender, new soft stem. The soft stem is a sign of a young, actively growing plantlet. According to the Royal Horticultural Society (RHS), these young offsets often root more quickly because their cells are primed for growth. However, their tenderness also makes them susceptible to rot if not handled correctly. My goal was to find the quickest, most reliable method that leverages this youthful vigor while minimizing risk.
My Toolkit for Success
Gathering the right materials beforehand is half the battle. Here’s what I prepared:
- Sharp, Sterile Scissors or Pruners: I use a pair dedicated to plant care, wiped with isopropyl alcohol.
- Rooting Medium: After experiments, I settled on two favorites: a well-draining potting mix (a cactus/succulent blend works wonders) and plain water in a clear glass jar. For this specific trial, I used the soil method.
- Small Pots (3-4 inches) with Drainage Holes: Non-negotiable.
- Optional: Rooting Hormone Powder. I used it for one batch to compare results.
The Step-by-Step Process I Followed
Selecting and Separating the Perfect Plantlet
I don’t just snip any offshoot. I look for a plantlet that has developed its own little root nubs—those tiny white bumps at the base of the soft stem cutting. This is a clear signal it’s ready for independence. I chose a healthy, medium-sized plantlet from my ‘Vittatum’ spider plant. Holding the stem gently, I made a clean cut about an inch below the root nubs, ensuring I didn’t crush the tender stem. The American Horticultural Society (AHS) emphasizes clean cuts to prevent disease entry, and I’ve learned this the hard way.
Preparing and Planting the Cutting
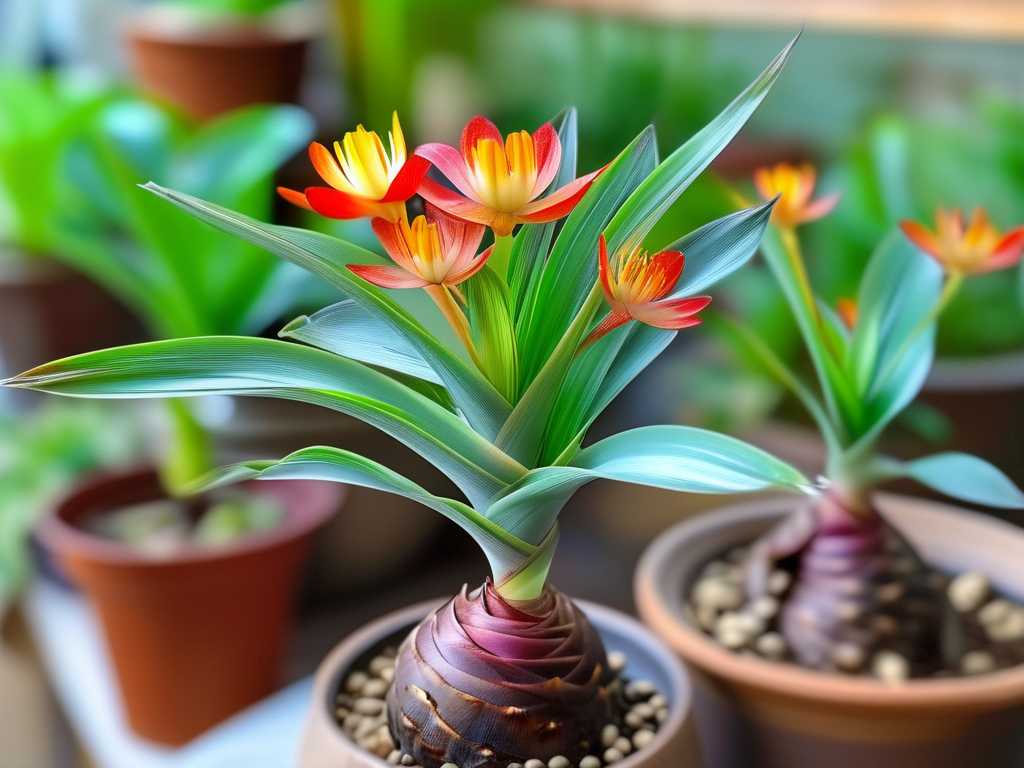
For the soil method, I filled my pot with pre-moistened mix. I then dipped the cut end of the stem, specifically the root nub area, into the rooting hormone, tapping off the excess. I made a small hole in the soil, placed the cutting so the base of the plantlet was just above the surface, and gently firmed the soil around it. The key is not to bury the crown of the new plant. I lightly watered it to settle the soil.
The Critical First Two Weeks: My Daily Log
This is where most of the learning happens. I placed the potted cutting in a spot with bright, indirect light—no direct sun, which can scorch it.
- Days 1-3: The plantlet looked perky. No signs of wilting. I resisted the urge to water again, as the soil was still moist.
- Days 4-7: Here was my first common mistake: overwatering anxiety. I saw the surface soil dry and almost watered. Instead, I stuck my finger an inch down—it was still cool and damp. I held off. This is crucial for preventing Chlorophytum stem rot.
- Days 8-10: I noticed the very first sign of growth! Not roots yet, but one of the central leaves appeared slightly taller. This is a great indicator the plant is establishing itself.
- Days 11-14: The true test. I gave the plantlet a very gentle tug on Day 14. There was slight resistance—a thrilling sign of root development! No new plantlets were forming yet, but the original foliage was vibrant and green, with no yellowing or browning at the base.
The Pitfalls I Encountered and How I Fixed Them
My journey wasn’t flawless. In a previous attempt, I used a pot that was too large. The excess soil stayed wet for too long, and the soft stem turned mushy—a classic case of rot. The solution was simple: always use a small pot proportionate to the cutting. It dries out more evenly, encouraging roots to seek moisture and grow.
Another issue was light. One batch I placed in too low light became leggy and slow to root. Moving it to a brighter location (still indirect) spurred new growth within days. The AHSA notes that adequate light is essential for photosynthesis, which fuels root development, even before you see visible top growth.
Water Propagation: A Parallel Experiment
For comparison, I also placed a similar soft stem cutting in a water jar, ensuring only the base was submerged. The roots were visible within 10 days, which was satisfying to watch. However, when I transplanted it to soil after two weeks, it went through noticeable shock and wilting. The water roots are different from soil roots, and the transition needs extra care. For speed and simplicity, I now prefer the direct-to-soil method for a stronger start.
Answering Your Spider Plant Propagation Questions
How long does it take for a spider plant cutting to root in soil? From my consistent observations, you can expect initial root formation within 10-14 days under ideal conditions (bright indirect light, warm temperatures, proper moisture). Firm root establishment takes about 4-6 weeks.
Can you put spider plant cuttings straight into soil? Absolutely, and I highly recommend it. As long as your cutting has root nubs and you use a well-draining mix, going straight to soil avoids the transplant shock of moving from water to soil. It’s the most efficient method for propagating Chlorophytum.
Why are the tips of my new spider plant turning brown? This is usually a sign of low humidity or minerals in your water. My propagated cuttings showed this when I used tap water. I switched to distilled or rainwater for watering, and misted the leaves lightly every few days. The new growth came in perfectly green.
Watching a Chlorophytum soft stem cutting transform into an independent plant is one of the most rewarding experiences for a plant lover. It requires minimal tools but a good dose of observation and restraint—especially with the watering can. By selecting a healthy plantlet, providing a snug pot with good drainage, and giving it bright, gentle light, you set the stage for success. Remember, the soft stem is not a weakness; it’s a sign of potential, ready to burst into growth with just a little encouragement. Now, go find that spider plant offshoot and start your own propagation adventure.





