 bluename
How to Water spider plants: The Ultimate Guide for Beginners
I’ve killed my fair share of houseplants. Overwatering, underwatering, you name it. But when I got my first spider plant, I was determined to get it right. These resilient beauties are often called "beginner-friendly," but that label can be misleading. The truth is, improper watering is the fastest way to send your spider plant into a spiral of brown tips and mushy roots. If you're wondering exactly how to water spider plants to keep them lush and thriving, you're in the right place. This guide is born from my own trial, error, and two-week experiments at my sunny kitchen window.
Why Getting Water Right Is Everything
Spider plants (Chlorophytum comosum) are forgiving, but they have specific needs rooted in their native environment. According to the Royal Horticultural Society (RHS), these plants store water in their thick, tuberous roots. This makes them drought-tolerant but also highly susceptible to root rot in soggy soil. My biggest "aha!" moment came from understanding this balance. It’s not just about frequency; it’s about technique, soil, and observation.
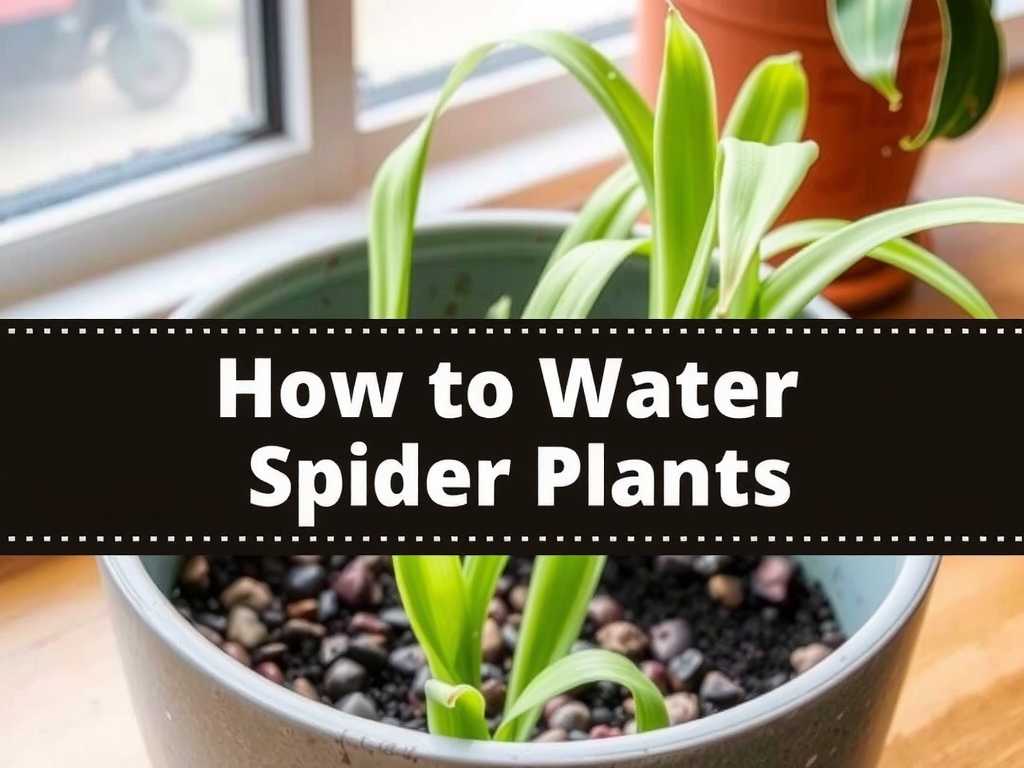
My Step-by-Step Watering Method (That Actually Works)
Forget the calendar. Watering every Tuesday because it's Tuesday is a recipe for disaster. Here is the method I developed after years of keeping spider plants happy.
The Finger Test: Your Best Tool
This is non-negotiable. I insert my index finger into the soil up to the second knuckle (about 2 inches deep). If the soil feels dry at that depth, it's time to water. If it feels cool or moist, I walk away and check again in a few days. This simple test prevents 90% of overwatering mistakes.
The Thorough Soaking Technique
When my plant passes the finger test, here’s my exact process:
- Take it to the sink. I always water my spider plant in the sink. This allows for a complete soak and proper drainage, which is critical.
- Water slowly and evenly. I use a watering can with a long spout to water the soil surface evenly. I avoid pouring water directly into the crown of the plant, as this can lead to rot.
- Soak until it drains. I continue watering until I see water freely flowing out of the drainage holes at the bottom of the pot. This ensures the entire root ball is moistened.
- Let it drain completely. This is the step I used to skip! I leave the plant in the sink for at least 30 minutes to let all the excess water drain out. No plant sits in a saucer of water in my house anymore.
- Return to its spot. Only after it's fully drained do I put it back in its decorative pot or saucer.
The Two-Week Observation: Seeing the Results
I decided to document this method on a slightly stressed spider plant I had. It had a few brown tips and seemed sluggish.
- Days 1-3: After a thorough soak and drain, the leaves looked perkier within 48 hours. The soil surface was still dark and moist.
- Days 4-7: I resisted watering. By day 7, the top inch of soil was dry, but the deeper soil (per the finger test) was still slightly moist. No signs of thirst from the plant.
- Day 10: The finger test revealed dry soil at the 2-inch depth. Time to water again. I repeated the sink soak-and-drain ritual.
- Day 14: The plant showed visible new growth—a tiny spiderette (baby plant) was starting to form! The existing leaves were a vibrant, uniform green without any new brown tips.
The cycle settled at about 10 days between waterings under my specific conditions (bright, indirect light, average room humidity). This will vary for everyone, which is why the finger test is so crucial.
The Water Itself: Often Overlooked
Here’s a major pitfall I encountered: tap water chemistry. Spider plants are sensitive to fluoride and chlorine, commonly found in municipal water. This was the cause of the persistent brown leaf tips on my first plant.
My Solution: I now use filtered water, rainwater, or distilled water. If I must use tap water, I fill the watering can and let it sit out for 24 hours. This allows some of the chemicals to evaporate. The American Horticultural Society (AHS) notes that using purified water can significantly reduce leaf tip burn in sensitive species like spider plants. This small change made a dramatic difference in the overall health and appearance of my plants.
Seasonal Adjustments: Listening to the Plant
My summer watering rhythm is not my winter rhythm. Spider plants slow their growth in the cooler, darker winter months.
- Spring/Summer (Active Growth): This is when they’re thirsty. I find myself using the finger test more frequently, often watering every 7-10 days.
- Fall/Winter (Dormant Period): Growth slows. The soil takes much longer to dry out. My watering interval often stretches to 14-21 days. The key is to let the soil dry out more thoroughly between waterings to prevent rot in the low-light conditions.
Common Watering Pitfalls and How I Fixed Them
Pitfall #1: The "Soggy Saucer" Syndrome I used to think a little water in the saucer was a reserve for the plant. I was wrong. This keeps the roots constantly wet, inviting root rot. Fix: Always empty the saucer or cache pot after watering.
Pitfall #2: Misting for Humidity I misted my spider plant daily, thinking it needed tropical humidity. This did nothing for humidity and often led to water sitting in the leaf crown, causing localized rot. Fix: I stopped misting. For low humidity homes, a pebble tray with water underneath the pot is a far more effective and safer method.
Pitfall #3: Ignoring the Pot and Soil I had my plant in a dense, moisture-retentive potting mix in a plastic pot with poor drainage. It stayed wet for weeks. Fix: I repotted using a well-draining, peat-based potting mix blended with about 25% perlite for aeration. I also chose a pot with ample drainage holes. Terracotta pots are excellent as they "breathe" and help soil dry more evenly.
Signs You're Getting It Wrong (And What to Do)
- Brown, Crispy Leaf Tips: Usually a sign of underwatering, low humidity, or chemical buildup from tap water. Check soil moisture first, then consider your water source.
- Yellowing Leaves, Especially at the Base: This is the classic sign of overwatering and potential root rot. Stop watering immediately. Let the soil dry out completely. In severe cases, you may need to repot, trim away any black, mushy roots, and use fresh soil.
- Pale Leaves or Lack of Growth: Could be related to watering (chronic overwatering suffocates roots so they can't feed the plant) but also check light levels. Spider plants need bright, indirect light to thrive.
What type of water is best for spider plants? Filtered, distilled, or rainwater is ideal to prevent brown tips from fluoride. If using tap water, let it sit out overnight before watering to allow some chemicals to dissipate.
How often should I water my spider plant? There's no universal schedule. The best method is the finger test: water only when the top 2 inches of soil are dry. This could be weekly in summer or every 3 weeks in winter, depending on your home's environment.
Do spider plants like to be misted? No, misting is generally not recommended. It doesn't significantly raise humidity and can promote fungal diseases if water sits in the leaf crowns. Use a pebble tray for a more stable humidity boost.
Mastering how to care for spider plants starts with mastering their hydration. It’s a dance of observation rather than a rigid schedule. By using the finger test, watering thoroughly but infrequently, ensuring perfect drainage, and minding your water quality, you’ll avoid the common pitfalls. My two-week experiment proved that consistency with this method doesn't just prevent problems—it actively encourages vibrant growth and those delightful spiderettes. Your resilient spider plant is ready to thrive; you just need to give it the right drink.





