bluename
spider plant Soil Requirements: What Type Works Best?
I’ve killed my fair share of spider plants. It’s a confession I don’t make lightly. For years, I assumed these “unkillable” plants would thrive in whatever dirt I had leftover from another project. The result was always the same: sad, brown-tipped leaves, stunted growth, and a complete absence of those charming little spiderettes. My core frustration was simple: I was following every watering and light rule, yet the plant was failing. The hidden culprit, I finally discovered, was almost always the soil. Getting the spider plant soil requirements right isn't just a detail; it's the foundation for a thriving, baby-producing plant.
This realization sent me on a mission. I decided to treat my next spider plant not as a hardy survivor, but as a discerning guest with specific needs. I committed to a two-week experiment, meticulously observing how different soil mixes affected a newly propagated spider plant. Here’s exactly what I learned, step-by-step, including the mistakes that almost derailed the whole project.
Why Soil is the Secret to Your Spider Plant's Success
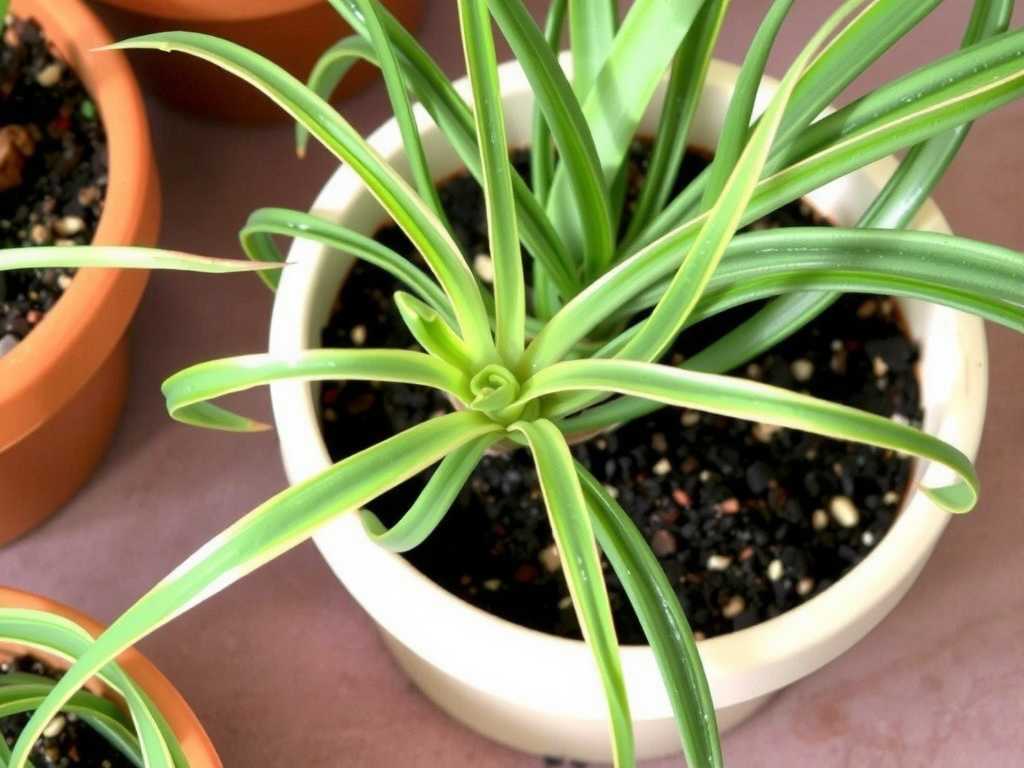
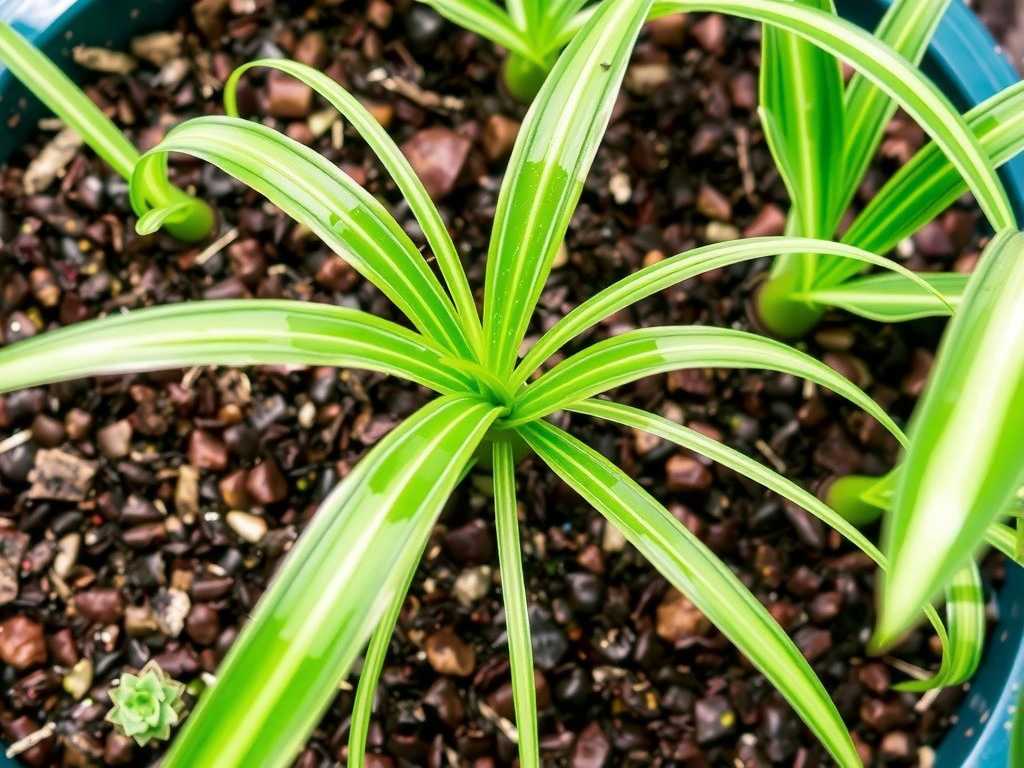
Most care guides focus on light and water, and for good reason. But they often treat soil as an afterthought. For spider plants (Chlorophytum comosum), soil is their anchor, their pantry, and their respiratory system. The Royal Horticultural Society (RHS) notes that spider plants require "well-drained, loam-based potting compost." This single phrase holds the key. "Well-drained" means water flows through readily, preventing soggy roots. "Loam-based" indicates a balanced structure that holds moisture and nutrients without becoming dense.
A poor soil mix creates a cascade of problems. Heavy, moisture-retentive soil leads to root rot, the silent killer. Conversely, soil that’s too sandy and porous dries out too fast, stressing the plant and causing those infamous brown tips. The perfect best soil for spider plants strikes a delicate balance, mimicking the well-draining yet moderately fertile conditions they’d experience in their native South African habitats.
My 2-Week Soil Experiment: A Hands-On Journey
I started with four identical spider plant pups, propagated from the same healthy mother plant. Each was planted in a different medium, all in pots with drainage holes. I placed them side-by-side on a bright, indirect light shelf and committed to a consistent watering schedule—only when the top inch of soil felt dry.
Week 1: The Setup and Initial Observations
My goal was to test common recommendations and see the real-time effects. Here were my four test subjects:
- Mix A: The "Premium" Well-Draining Mix. I combined 2 parts all-purpose potting soil, 1 part perlite, and 1 part coarse horticultural sand. This is widely touted as the ideal, well-aerated spider plant potting mix.
- Mix B: Standard All-Purpose Potting Soil. This was the straight-from-the-bag mix I’d used in my failing attempts. It was peat-based and felt dense when wet.
- Mix C: Cactus & Succulent Mix. A very fast-draining blend of sand, pumice, and minimal organic matter.
- Mix D: The "Kitchen Sink" Experiment. A misguided attempt to "enrich" Mix A by adding extra compost for "more nutrients."
By day three, the first differences emerged. Mix C (cactus mix) dried out incredibly fast, requiring water two days before the others. Mix B (all-purpose) still felt damp at the surface. Mix A felt moist but not wet an inch down. Mix D, worryingly, felt cold and heavy.
Week 2: Clear Winners and a Costly Mistake
The second week revealed the dramatic consequences of my choices.
- Mix A (Premium Mix): The plant was visibly perky. New, bright green growth was emerging from the center. The soil dried at a predictable rate, making watering intuitive.
- Mix B (All-Purpose): Growth was stagnant. The lower leaves developed a slight yellow tinge—a classic sign of overwatering stress, even though I was watering all plants the same. The soil’s poor drainage was creating a chronically wet environment.
- Mix C (Cactus Mix): The plant looked stressed. Leaves became pale and slightly crispy at the tips. It was drying out too quickly, unable to retain moisture and nutrients long enough for the roots to uptake them.
- Mix D ("Kitchen Sink"): Disaster. By day ten, the plant was wilting dramatically, despite the soil feeling wet. I gently tipped it out and found the beginnings of root rot—brown, mushy roots and a sour smell. The overly rich, dense compost had suffocated the roots and created a toxic, waterlogged environment.
The Pitfalls I Encountered and How to Fix Them
My experiment was successful precisely because I failed with some mixes. Here are the critical mistakes and how you can avoid them.
The Compost Overload (Mix D): My biggest error was thinking "more nutrients = better." Spider plants are not heavy feeders. According to the American Horticultural Society (AHA), they perform best with moderate fertility. An overly rich soil leads to salt buildup, root burn, and ironically, can inhibit the growth of spiderettes as the plant focuses on leaf growth. The Fix: If making your own mix, limit nutrient-dense components like compost or manure to no more than 1/4 of the total volume. A light, balanced potting soil is a better base.
Ignoring Drainage (Mix B): Assuming any commercial potting mix would work was naive. Many are formulated for moisture-loving plants or to reduce watering frequency, which is the opposite of what spider plants need. The Fix: Always, always amend a standard potting mix. For every 3 parts potting soil, add 1 part perlite or pumice. This one step transforms its structure.
Overcorrecting with Cactus Mix (Mix C): While spider plants hate wet feet, they are not true desert succulents. A mix that drains too well causes drought stress and nutrient leaching. The Fix: Cactus mix can be used, but it must be moderated. Blend it 50/50 with a standard potting soil to improve moisture retention.
Building the Perfect Spider Plant Soil Mix
Based on my two-week deep dive and continued growth, the winning formula is clear. You can either buy a quality pre-mixed soil for Chlorophytum comosum or make your own. For a DIY blend that has never failed me, here is my recipe:
- 2 parts All-Purpose or Peat-Free Potting Soil: This provides the base structure and some mild fertility.
- 1 part Perlite or Pumice: This is non-negotiable. These volcanic minerals create essential air pockets, dramatically improving drainage and aeration.
- 1 part Coarse Horticultural Sand or Orchid Bark: Sand further prevents compaction, while orchid bark adds excellent drainage and slowly breaks down to provide acidity. Avoid fine play sand, as it can cement the soil together.
Mix these thoroughly before potting. When you water, it should soak in immediately and begin draining from the bottom within seconds. This is the hallmark of a well-draining potting mix for spider plants.
Signs Your Spider Plant is Suffering from Wrong Soil
How do you know if your current soil is the problem? Look for these telltale signs:
- Water sits on the surface for minutes before absorbing.
- The pot feels abnormally heavy long after watering.
- Yellowing leaves, particularly lower ones.
- Brown, crispy leaf tips that persist despite good humidity.
- A complete lack of spiderettes or flowers on a mature plant.
- A musty or sour smell emanating from the soil.
If you see these, it’s likely time for a soil intervention. The best course is a gentle repot into a fresh, well-draining mix, carefully trimming away any rotted roots.
How often should I repot my spider plant to refresh the soil? Spider plants enjoy being slightly root-bound, which can encourage them to produce offsets. Repotting every 2-3 years in spring is usually sufficient, or when you see roots circling the bottom of the pot or growing out of the drainage holes. Use this as an opportunity to refresh with new, well-draining soil.
Can I use moisture-retentive crystals in my spider plant soil? I do not recommend it. While designed to reduce watering frequency, they can disrupt the delicate moisture balance spider plants prefer, often holding too much water near the roots. Sticking with inorganic aerators like perlite is a safer, more reliable choice for maintaining healthy soil conditions.
Is the soil requirement different for spider plant babies (spiderettes)? The principle is identical: excellent drainage is paramount. However, for very small pups just starting to root in water, I transition them to an even airier mix. I use a blend of half perlite, half potting soil for their first few months to ensure their delicate new roots aren't overwhelmed. Once established, they graduate to the standard mix.
Finding the right soil transformed my spider plant care from a guessing game into a predictable joy. It’s the unsung hero that supports everything else—your watering routine, nutrient uptake, and root health. By investing in a light, chunky, and well-aerated mix, you’re not just putting your plant in dirt; you’re giving it a resilient home where it can confidently grow, flourish, and fill your space with its graceful, arching leaves and delightful offspring. Start with the foundation, and the rest of the care falls seamlessly into place.