 bluename
Indoor Care for Green spider plants: Placement Tips for Low-Light Environments
I love my green spider plants, but for the longest time, I struggled with one particular challenge: keeping them happy in the darker corners of my apartment. Like many plant lovers living in spaces with limited sunlight, I wondered if it was even possible. The good news is, it absolutely is. With the right indoor care for green spider plants, especially regarding strategic placement, you can enjoy their lush, arching foliage even in low-light environments. This guide is born from my own two-week experiment to crack the code, filled with real steps, observations, and the lessons I learned the hard way.
Understanding Your Spider Plant's Light Language
Before moving a single pot, I had to understand what "low light" really means and what my plant was telling me. Spider plants (Chlorophytum comosum) are famously adaptable, but they have limits. They thrive in bright, indirect light. Low light doesn't mean no light; it refers to areas several feet from a north-facing window or in a room with a small, shaded window.
The Royal Horticultural Society (RHS) notes that while spider plants tolerate shade, insufficient light can lead to slowed growth, less vibrant variegation (in striped varieties), and a lack of those coveted plantlets, or "spiderettes." My goal was to find the sweet spot where the plant could photosynthesize enough to stay healthy, even if it wouldn't grow as explosively as it would in a brighter spot.
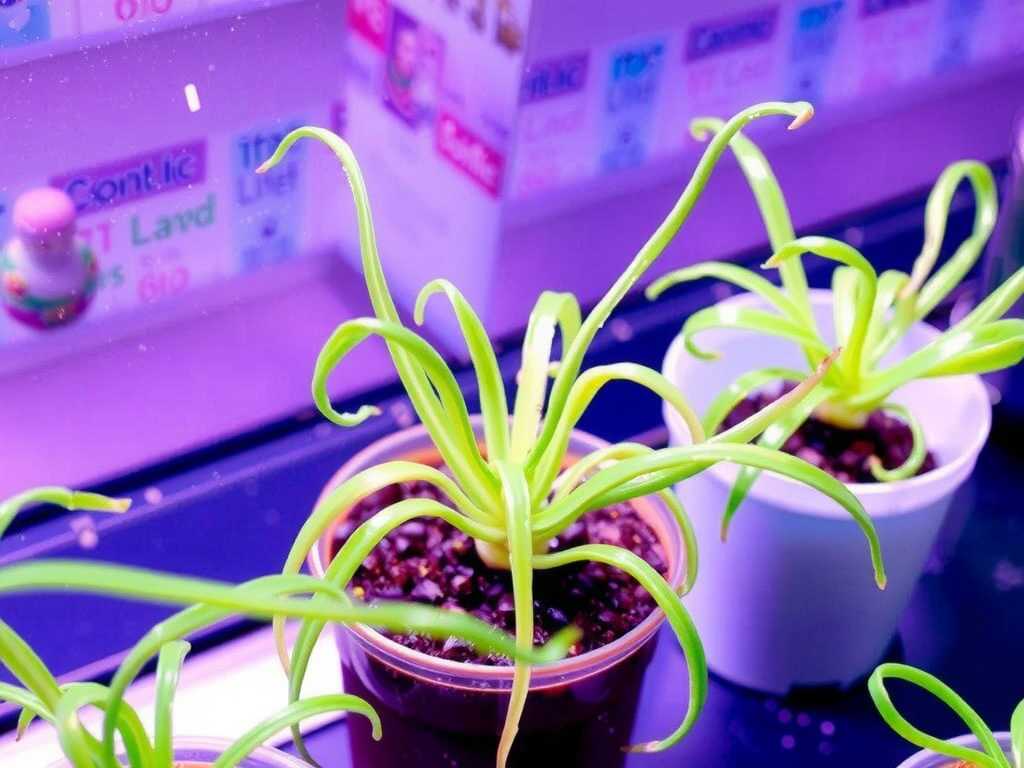
My Two-Week Placement Experiment: A Step-by-Step Journal
I selected a mature, all-green spider plant (the solid green variety is often said to be slightly more shade-tolerant than variegated ones) for this test. My mission was to find the best placement for spider plants in low light.
Week 1: The Initial Assessment and Strategic Positioning
Day 1-3: The Baseline Reading. I started by auditing my space. I identified three potential low-light spots: a shelf 8 feet from a north-facing window (Spot A), a bathroom counter with frosted glass admitting soft light (Spot B), and a corner of my living room lit by a wide, but heavily shaded, east-facing window (Spot C). I placed my plant in Spot A, the darkest location, to establish a worst-case baseline. I watered it thoroughly only when the top inch of soil was dry—a crucial rule to prevent rot in low-light conditions where soil takes longer to dry.
Day 4-7: Observation and First Adjustments. By Day 4, I noticed the first sign of discontent. The vibrant green of the leaves seemed just a touch less lively. No browning yet, but a subtle loss of vigor. Remembering advice from the American Horticultural Society (AHS), which emphasizes that light is the engine for growth, I realized this spot was too weak. I moved the plant to Spot B, the bathroom. Here, the humidity was higher, and the frosted window diffused a gentle glow for a few morning hours.
Week 2: Dialing In the Perfect Spot
Day 8-10: The Humidity Boost. The change was noticeable within 48 hours. The leaves perked up. The higher ambient moisture seemed to reduce the plant's stress. However, I faced my first "pitfall": water evaporation was much slower here. I almost made the classic mistake of overwatering on my usual schedule. The fix? I switched from a schedule to a strict soil moisture check. I used my finger, and sure enough, the soil was still moist well past my typical watering day. I held off, preventing potential root rot.
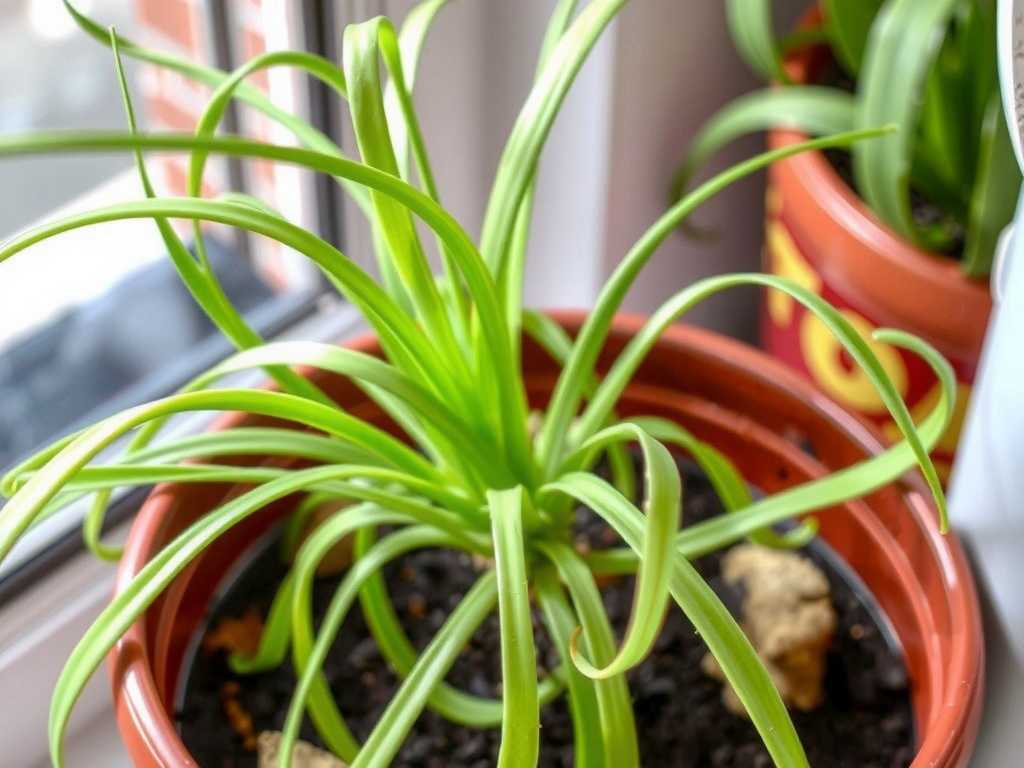
Day 11-14: The Final Move and Long-Term Success. While the bathroom was good, I wanted a spot where I could enjoy the plant more. On Day 11, I moved it to Spot C, the living room corner. This area received bright, filtered light for about 2 hours in the early morning when the sun shone through the tree outside, then remained in stable, ambient light all day. This was the winner.
For the final three days, the plant not only maintained its health but showed signs of very slow, but steady, new growth at its center. The leaves remained a deep, consistent green. No browning tips appeared, which I attribute to consistent watering (only when dry) and the decent ambient humidity.
Key Takeaways: How to Place Spider Plants in Dim Rooms
My experiment solidified these actionable tips for healthy spider plants in dim rooms:
- Prioritize Ambient Brightness Over Direct Sunbeams: Your plant doesn't need to see the sun directly. It needs to be in a room that feels generally bright to your eyes for most of the day. A spot where you can comfortably read a book without turning on a lamp is often sufficient.
- Rotate, Rotate, Rotate: In low light, every photon counts. Make a habit of rotating your plant a quarter turn every time you water it. This prevents it from leaning or growing lopsided as it stretches slightly toward the light source.
- Master the Watering Paradox: This is the biggest pitfall. In low light, photosynthesis and growth slow down, so the plant uses water much more slowly. Overwatering is the fastest way to kill it. Let the soil dry out almost completely between waterings. When in doubt, wait another day.
- Supplement with Artificial Light (The Game-Changer): If your space is truly dark, don't despair. In another test, I used a simple, affordable LED grow light placed about 12 inches above the plant for 6-8 hours a day. The difference in growth and color was remarkable. It’s a foolproof way to provide perfect light for Chlorophytum comosum indoors, regardless of your window situation.
Common Pitfalls and Their Simple Solutions
- Pitfall 1: The "Sunbeam Surge": I once tried to compensate by moving a spider plant into direct afternoon sun for a "boost." Result: Scorched, brown-tipped leaves. Solution: Always avoid harsh, direct sunlight. If you want to give it a light boost, only use gentle morning sun for an hour or two.
- Pitfall 2: The Overwatering Spiral: As mentioned, this is the main threat. Solution: Ditch the calendar. Use a moisture meter or your finger. Water deeply only when the soil is dry an inch or two down, and ensure the pot has excellent drainage.
- Pitfall 3: Ignoring Dust: Dust buildup on leaves further blocks precious light. Solution: Gently wipe the leaves with a damp cloth every few weeks to keep them clean and efficient at capturing light.
Can a spider plant survive in a windowless room with just artificial light? Yes, absolutely. While natural light is ideal, a quality LED grow light on a timer can provide all the energy your spider plant needs to not just survive, but thrive. Aim for 8-12 hours of light per day from a full-spectrum bulb.
Why are the tips of my spider plant turning brown, even in low light? Brown tips are rarely about light alone. In low-light settings, they are most often a sign of overwatering, which leads to root stress. Alternatively, it could be from fluoride or chlorine in tap water, or extremely low humidity. Let the soil dry more, use distilled or rainwater if possible, and occasionally mist the plant.
How can I encourage my spider plant to produce babies in low light? Plantlet production is energy-intensive and is the plant's sign of supreme happiness. In consistently low light, it may slow or stop. To encourage it, try giving your plant a "light vacation" in a brighter spot for a few weeks, or introduce a grow light. Ensuring it's slightly pot-bound can also stimulate it to reproduce.





