 bluename
spider plant Care for Renters: Wall-Mounted Placement Solutions for Small Spaces
Living in a rental apartment with a serious plant addiction has always been a spatial puzzle. I adore greenery, but floor space is a premium commodity I simply don’t have. My spider plants, those prolific and forgiving beauties, were starting to feel cramped, their pups trailing onto countertops and furniture. I needed a vertical solution—a way to practice proper spider plant care for renters without drilling permanent holes or sacrificing my security deposit. This is my journey into finding the perfect wall-mounted home for my Chlorophytum comosum.
For any renter, the core dilemma is balancing our love for plants with the strict "no damage" policies of most leases. We crave the air-purifying benefits and vibrant life that plants like spider plants bring, but standard pots and planters eat up our precious square footage. The solution, I discovered, lies in looking up. Wall-mounted placement solutions for small spaces aren't just trendy; they're a practical necessity. Over two weeks, I tested several methods, from over-the-door hangers to adhesive hooks and full rail systems, tracking my spider plants' health and my landlord's potential blood pressure. Here’s what worked, what didn’t, and how you can create your own vertical indoor jungle safely.
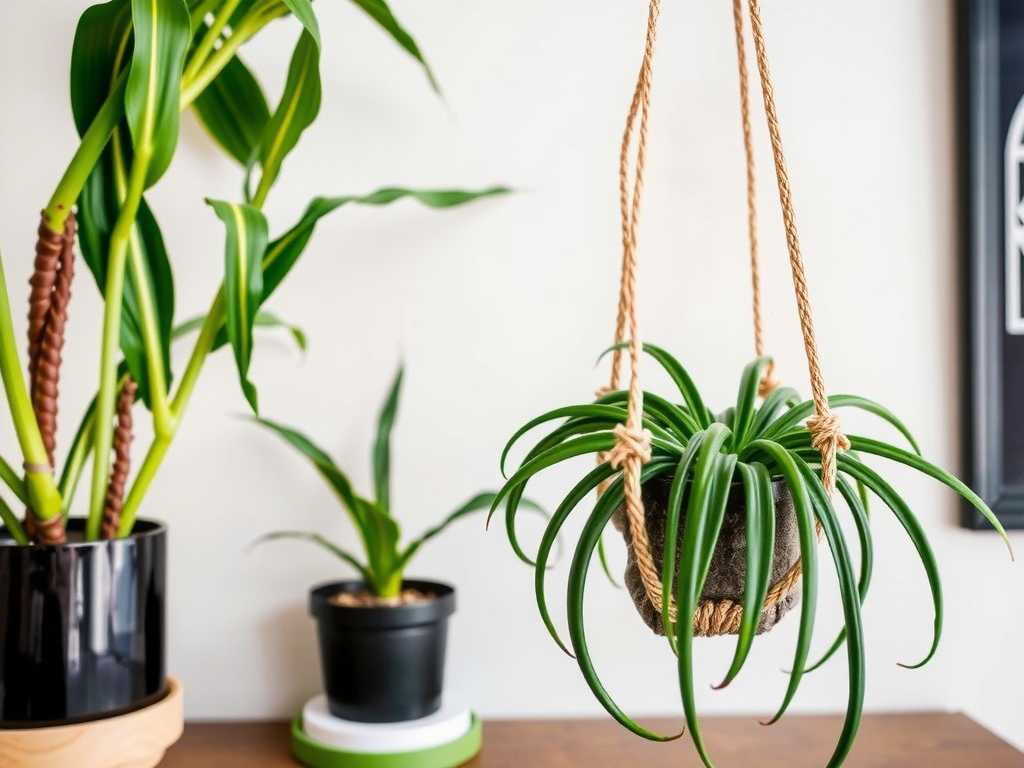
Why Spider Plants Are the Perfect Tenant-Friendly Plant
Before we get to the "how," let's talk about the "why." Spider plants are arguably the best roommate a renter could ask for. According to the Royal Horticultural Society (RHS), they are remarkably adaptable to a range of light conditions, from bright, indirect light to partial shade. This flexibility is key for renters with limited light options, as apartment lighting can be unpredictable.
Their care routine is forgiving. They prefer to dry out slightly between waterings, which means if your busy renter's life gets in the way, they’re less likely to dramatically wilt. Most importantly, they are non-toxic, a crucial point highlighted by the ASPCA, making them safe for households with curious pets—another common renter concern. Their rapid production of plantlets, or "spiders," means you can easily propagate and expand your collection without extra cost, perfect for decorating multiple walls.
My Toolkit: Damage-Free Hanging Solutions I Tested
My primary rule was no drill, no damage. I gathered three popular renter-friendly hanging systems: heavy-duty adhesive hooks, tension rods for windows or corners, and an over-the-door hanging organizer I repurposed.
1. Heavy-Duty Adhesive Hooks: I chose hooks rated for 5-7 lbs, well above the weight of my plastic pot, soil, and plant. Surface preparation was non-negotiable. I thoroughly cleaned the wall with isopropyl alcohol, let it dry completely, and applied pressure for a full minute as instructed. I waited a full 24 hours before hanging the plant.
2. Tension Rod System: I installed a slim tension rod in a bright corner between two walls. Using S-hooks and macramé hangers, I could suspend multiple spider plants at different heights. This felt very secure and added a lovely layered effect.
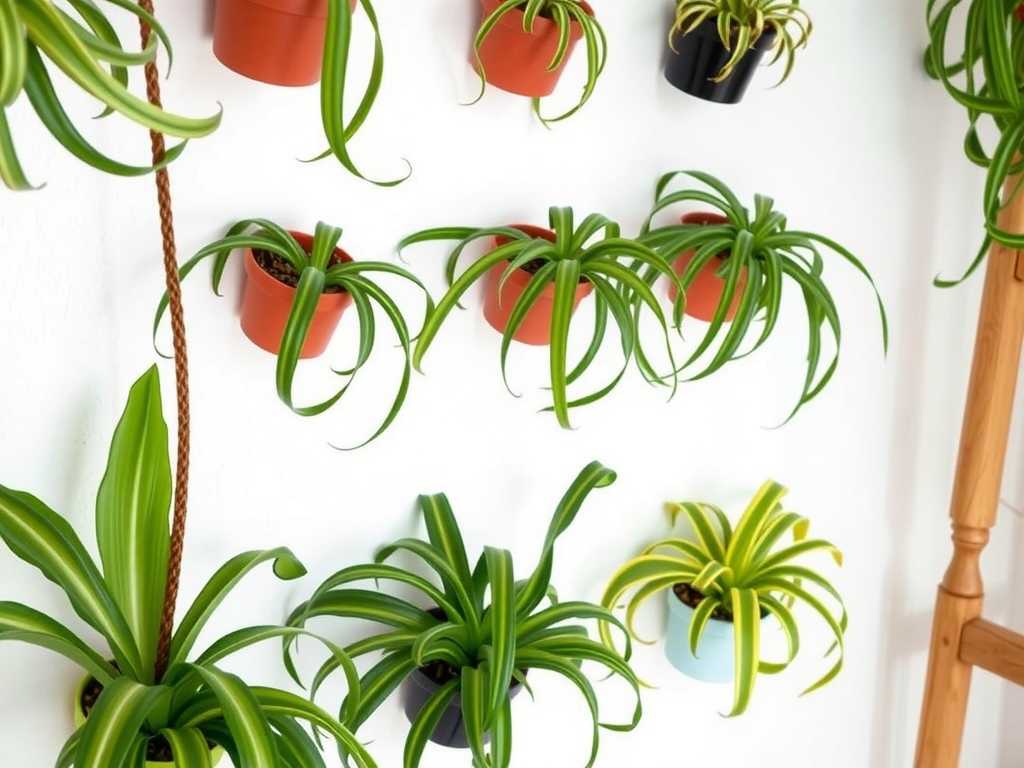
3. Over-the-Door Hanger: I used a fabric shoe organizer with clear pockets. By carefully placing small, propagated spider plant pups in lightweight plastic cups within the pockets, I created a living wall on the back of my pantry door.
The Two-Week Observation: Growth, Light, and Watering Adjustments
Hanging a plant changes its environment more than I initially realized. Here’s my day-by-day log of the most successful setup—the adhesive-hook-mounted plant in my east-facing bathroom.
- Days 1-3: The plant seemed to settle in well. The location received bright, indirect morning light. I noted that the soil dried out faster than when it was on a shelf. Air circulation around the pot was improved.
- Days 4-7: I observed the first sign of a new leaf spike unfurling from the center. The existing leaves showed no signs of stress. However, the lower soil was drying out significantly quicker. I adjusted my watering schedule from once every 10 days to once a week, with a thorough soak.
- Days 8-14: Growth was visibly accelerated. The new leaves were longer and the plant produced two new runners with tiny plantlets. The wall-mounted position seemed to encourage more vigorous trailing, as the runners had clear space to cascade down. The adhesive hook showed no signs of slipping or weakening.
The tension rod system also thrived, but the door hanger method had limitations. The pups grew, but more slowly, likely due to less consistent light and air flow inside the fabric pockets.
Pitfalls I Encountered and How I Fixed Them
No project is without its hiccups. I faced two major issues during my experiment.
The Great Adhesive Fail: My first attempt with an adhesive hook ended in a near-disaster. I was impatient and hung the plant after only 4 hours. That night, I heard a dreaded thud. The hook had pulled away from the wall, taking a small chip of paint with it. The Fix: I panicked, but then remembered a renter's secret weapon: toothpaste. For small, shallow paint chips, a dab of white, non-gel toothpaste can fill the spot. I applied it, smoothed it flat, and it blended surprisingly well. For the new hook, I followed the instructions to the letter—clean surface, full pressure, 24-hour cure—and had no further issues.
The Light Miscalculation: I placed one spider plant using a suction cup hook on a window that got direct afternoon sun. Within three days, the leaf tips began to brown and crisp—a classic sign of too much direct light, as the RHS notes spider plants can scorch. The Fix: I immediately moved it to a wall adjacent to the same window, where it received bright but filtered light. The browning stopped, and new growth remained healthy. I learned that "wall-mounted" doesn't always mean "directly in a window"; assessing light quality is still paramount.
Creating Your Own Spider Plant Vertical Garden
Based on my trial and error, here is a foolproof, step-by-step guide for renters.
- Assess Your Light: Walk your space at different times of day. Identify walls that receive bright, indirect light (near but not directly in a south or east-facing window).
- Choose Your Mounting System:
- For single, standard-sized plants: Use heavy-duty adhesive hooks. Always overestimate the weight and prep the wall perfectly.
- For multiple plants or a cascading display: A tension rod system is incredibly versatile and sturdy.
- For a collection of small pups: Get creative with over-the-door organizers, wall-mounted gutters, or even a pegboard with hooks.
- Select the Right Pot: Always use lightweight plastic or fiberglass pots. Ceramic is too heavy for most damage-free solutions. Ensure pots have drainage holes and use a saucer or a hanging pot with a built-in catchment to protect your walls and floors.
- Master the Watering Routine: Check soil moisture by finger-test more frequently—at least twice a week. Hanging plants dry out faster. Water thoroughly until it runs from the drainage holes, but never let the pot sit in water.
- Enjoy and Propagate: As your spider plant thrives and sends out runners, snip the plantlets, root them in water, and pot them to create more space-saving wall displays for spider plants. It’s the gift that keeps on giving.
Will wall-mounted plants damage my walls with moisture? This is a valid concern. The key is prevention. Always use a pot with a saucer or a cache pot to catch excess water. Ensure you water carefully, avoiding splashes. For added security, you can place a clear, adhesive waterproof liner behind the hook area. My plants have not caused any moisture damage.
My spider plant's leaves are turning pale or losing stripes. What's wrong? This is almost always a light issue. While spider plants tolerate lower light, their vibrant variegation fades without enough bright, indirect light. If your wall is too dark, consider supplementing with a compact grow light or moving the plant to a brighter location. My window-adjacent plant maintained perfect stripes.
How often should I fertilize my hanging spider plant? Less is more. During the active growing season (spring and summer), a balanced, water-soluble fertilizer diluted to half-strength once a month is sufficient. In fall and winter, stop fertilizing altogether. Over-fertilizing can cause brown leaf tips, which is often mistaken for underwatering.
Embracing vertical space transformed my small rental from a cluttered plant station into an airy, green sanctuary. Spider plant care for renters is not only possible but highly rewarding when you leverage the right wall-mounted placement solutions. By choosing damage-free hardware, understanding the slight shift in care needs, and learning from minor setbacks, you can cultivate a thriving, upward-growing collection. It proves that even with limited square footage and a strict lease, your green thumb has plenty of room to grow. Start with one hook, one plant, and watch your walls come to life.





