 bluename
spider plant Leaf Cleaning Guide: Weekly Dust Removal Tips
You know that feeling when you dust your bookshelf and suddenly the whole room feels brighter? I used to think my spider plants were just fine, until I looked closely one Tuesday afternoon. The leaves, usually a vibrant stripe of green and white, were wearing a dull, gray coat. It wasn't just one or two; it was a collective sigh of neglect. As a longtime plant enthusiast, I realized I’d been overlooking the most basic care task: cleaning. Dust isn’t just an eyesore; it clogs the very pores plants use to breathe and photosynthesize. I decided then and there to start a proper spider plant leaf cleaning routine. This guide is the result of my two-week journey from dusty to dazzling, packed with the weekly tips, mistakes, and solutions I discovered firsthand.
Why Your Spider Plant’s Leaves Deserve a Weekly Wipe
We often focus on watering and light, but leaf cleaning is non-negotiable for plant health. The Royal Horticultural Society (RHS) states that a layer of dust can reduce light absorption by up to 10%. For a spider plant, which thrives on bright, indirect light, that’s a significant handicap. Dust also attracts pests and can harbor pathogens. My goal wasn’t just beauty; it was to boost my plant’s overall vitality. I committed to a simple weekly dust removal schedule every Sunday morning. The consistency, I found, was key—it never allowed dust to build up to a problematic level, making each session quick and easy.
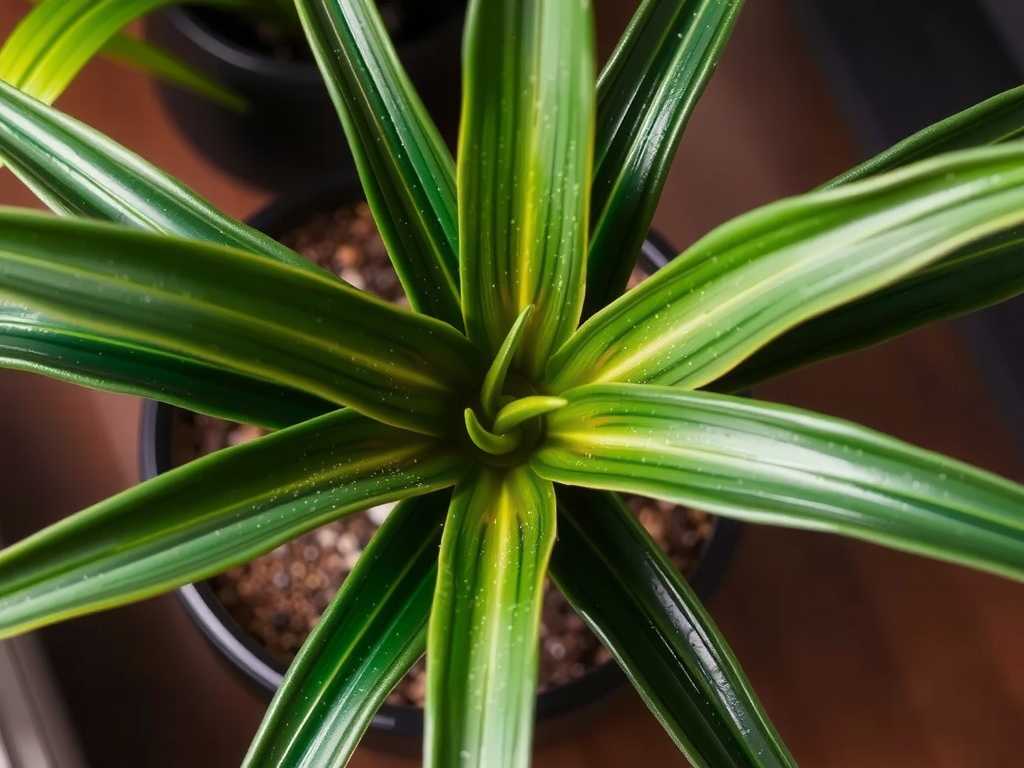
My Step-by-Step Weekly Cleaning Ritual
I gathered my supplies: a gallon of lukewarm water, a few drops of gentle liquid castile soap, a pair of soft microfiber cloths, and a spray bottle. Harsh chemicals or leaf shine products are a definite no, as they can damage the leaf’s natural coating.
Step 1: The Initial Inspection Before any wiping, I gently support a leaf with one hand and run a finger along its length, both top and bottom. This isn’t just for dust; it’s my chance to check for pests like mealybugs or signs of stress. I found a few leaves with brown tips, which I noted to adjust my watering later.
Step 2: The Gentle Shower (For Light Dust) For my larger, established plant, I simply moved it to my kitchen sink. Using the sprayer on a gentle, lukewarm setting, I misted the entire plant, letting the water run off the leaves. This dislodges surface dust without abrasion. I let it drip-dry in the sink for an hour before returning it to its spot. This method is perfect for a quick spider plant dusting.
Step 3: The Hands-On Wipe (For Stubborn Grime) For my smaller spider plant babies and the older leaves on the mother plant, they needed more attention. I mixed my soapy water in the spray bottle, misted a single leaf, and then gently wiped from the base to the tip with a damp microfiber cloth. I used a fresh section of the cloth for each leaf to avoid spreading any potential issues. I immediately followed with a second cloth dampened with plain water to rinse any soap residue. Crucial tip: Always support the leaf from underneath to prevent tearing.
Step 4: The Drying Phase I never let my plants sit with water pooled in the crown (where leaves meet the base). This is a fast track to rot. I used a dry corner of the cloth to dab away any excess droplets and placed the plant in a spot with good air circulation but out of direct, hot sun while the leaves dried completely.
The Two-Week Transformation: What I Observed
Week 1: Immediate Results and a Hiccup After the first cleaning, the difference was visually stunning. The white variegation on my ‘Vittatum’ variety popped like never before. The plant just looked happier. However, by Wednesday, I noticed a few leaves on one plant had developed small, soft brown spots. I had made my first mistake: using water that was too cold and wiping too aggressively on a few delicate leaves. The shock and minor damage were clear.
- The Fix: I switched strictly to lukewarm water. I also became more mindful of my pressure, treating each leaf like a precious piece of silk. For the damaged leaves, I snipped off the worst spots with sterile scissors at an angle.
Week 2: Deeper Changes and a Routine Refined Entering the second week, my Sunday routine was down to 15 minutes. The lack of dust buildup made it effortless. The most significant observation wasn’t just cosmetic. I monitored new growth, and the emerging leaves on my cleaned plants were unfurling faster and appeared larger and more robust than the older, previously dusty ones. This aligned perfectly with the American Horticultural Society’s (AHS) emphasis on clean leaves for optimal photosynthesis and growth. My plants were literally breathing easier and putting that energy into new growth.
Common Pitfalls and How I Navigated Them
The Over-Wiping Trap: In my zeal, I initially cleaned every single leaf every week. This is overkill and can stress the plant. I learned to focus on the upper, most exposed leaves and do a full, meticulous clean only once a month.
The Wrong Fabric: I started with paper towels. Big mistake. They are too abrasive and can leave micro-scratches. Switching to ultra-soft microfiber cloths was a game-changer for safe cleaning spider plant leaves.
Ignoring the Undersides: Pests and dust love the leaf underside. I made it a rule to gently lift and check the bottom of at least a few leaves during each session. This is where I once caught a early spider mite issue before it spread.
Water Quality: My tap water is hard. I realized the mineral deposits were leaving faint white marks after drying. My solution? I started using filtered or distilled water for the final rinse, which solved the problem completely.
Your Spider Plant Cleaning Questions, Answered
Can I use milk or mayonnaise to make the leaves shine? Please don't. While these home remedies might give a temporary glossy look, they clog stomata (leaf pores) and attract dust and pests like a magnet. They create more problems than they solve. Stick to clean water and a soft cloth for a healthy, natural shine.
How often should I really clean my spider plant? A light weekly dusting with a soft brush or mist is perfect for maintenance. A more thorough wipe-down with support and cleaning of the undersides is ideal every 3-4 weeks. Your environment dictates the schedule; a plant in a dusty room will need attention more often.
My spider plant has brown tips. Should I avoid cleaning those leaves? Not necessarily. Brown tips are often due to fluoride in water or low humidity. You can still gently clean the leaf, but avoid the damaged tip if it’s brittle. Consider trimming the brown part off after cleaning for aesthetics, and switch to distilled water for both drinking and cleaning.
Starting a dedicated spider plant leaf cleaning routine was one of the most rewarding adjustments I’ve made to my plant care. It transformed my plants from passive decor into visibly thriving organisms. The process is meditative, the results are immediate, and the long-term health benefits are undeniable. It’s a simple act of care that echoes through every new stripe and every tiny plantlet that dangles from a healthy, clean mother plant. Set a weekly reminder, grab a soft cloth, and give your spider plants the fresh start they deserve.





