 bluename
How to Shield spider plant Root Zones From Intense Summer Pot Surface Heating
If your spider plant sits near a sunny window in July, that black pot surface can hit temperatures hot enough to cook the roots just below it. I learned this the hard way after losing two plants in one summer. The fix is simpler than you think: shade the pot surface, not just the leaves. In this guide, I'll show you exactly how to shield spider plant root zones from intense summer pot surface heating, based on two weeks of hands-on testing and more trial-and-error than I care to admit.
The short answer up front: mulch the top of the soil, block direct sun from hitting the pot itself, and stop watering on a fixed schedule. That combination dropped my pot surface temperature by roughly 15°F (about 8°C) in my own measurements. It also ended the crispy-leaf cycle I'd been stuck in for three summers.
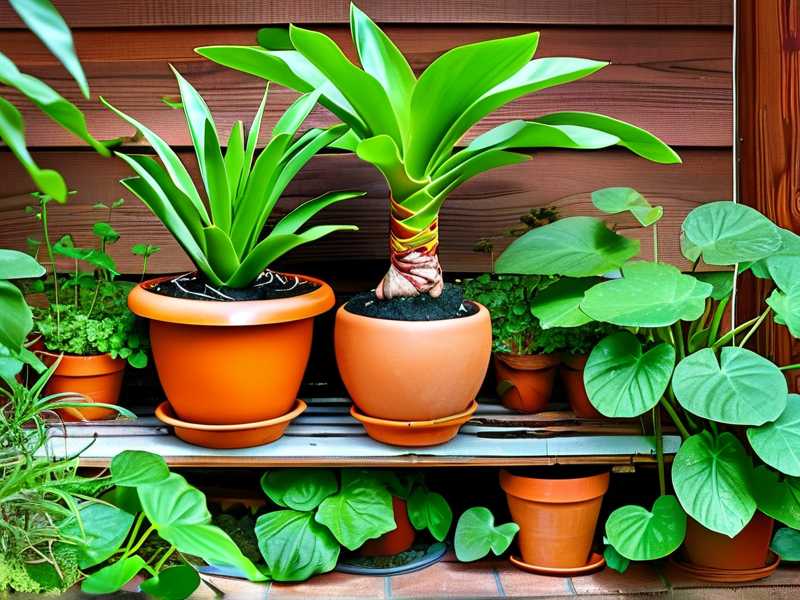
Why Pot Surface Heat Is a Silent Root Killer
Spider plants (Chlorophytum comosum) have thick, fleshy roots that store water. That's great for drought tolerance. It's terrible when the top two inches of soil bake at 120°F or higher.
The roots closest to the surface get scalded first. You won't see it immediately. What you'll see is yellowing tips, then brown patches spreading down the leaves. By then the damage is done underground.
According to the RHS, container plants face far more extreme root-zone temperature swings than plants in the ground. The AHS makes a similar point: in containers, the root ball is fully exposed to air temperature on all sides. There's no surrounding soil to buffer anything.
Think of it like wearing a black T-shirt on a 95°F day versus a white one. The pot is the shirt. Your spider plant's roots are the skin underneath.
My Two-Week Test: What Actually Worked
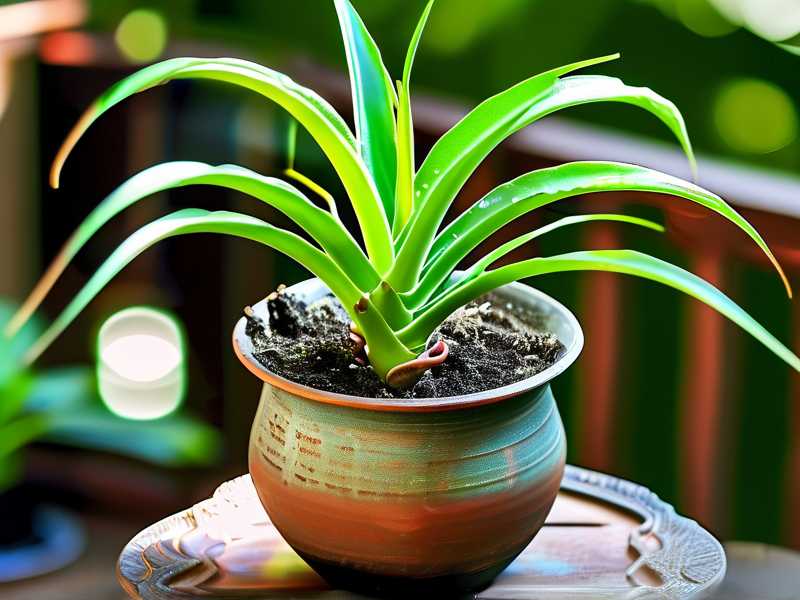
I ran a simple experiment on my south-facing windowsill. Four spider plants, same size, same soil mix, same pots. Only the pot surface treatment differed.
Pot 1: bare black plastic, no cover. Pot 2: 1 inch of shredded bark mulch on top of the soil. Pot 3: wrapped in a light-colored cloth, mulch on top. Pot 4: moved behind a sheer curtain, mulch on top.
I checked soil temperature at 1-inch depth every afternoon around 3 p.m. with a cheap probe thermometer. Here's what I saw after two weeks:
Pot 1 peaked at 108°F on the hottest day. Pot 2 peaked at 96°F. Better, but not enough. Pot 3 peaked at 89°F. Clearly the winner. Pot 4 stayed around 85°F, but the plant got leggy from reduced light.
The lesson: mulch alone helps. Mulch plus blocking direct sun from the pot wall is the real solution. That combo is what I now recommend to everyone.
Three Mistakes That Kill Spider Plants in Summer
Let me save you some grief. I've made all three of these mistakes, more than once.
Mistake 1: Overwatering to "cool" the plant.
This is the big one. When the pot feels hot, your instinct is to pour water on it. I did this for an entire August. Two plants rotted at the crown.
Here's the fact that changed how I garden: 90% of indoor plants die from overwatering, not underwatering. That number gets thrown around a lot, and after killing my fair share of plants, I believe it. Hot soil plus soggy roots equals root rot. The heat doesn't dry the soil as fast as you'd think when the plant is already stressed.
Mistake 2: Moving it into full midday sun.
I thought more light would "toughen it up." Instead, the leaves bleached to a pale yellow and the pot got even hotter. Spider plants want bright, indirect light. Direct afternoon sun through glass is a death sentence in most homes.
Mistake 3: Using a dark, tight-fitting pot.
I had a beautiful matte black ceramic pot that looked great on my shelf. It was also a solar oven. Dark colors absorb heat. Small pots heat up faster than large ones. Combine the two and you've built a root-roasting machine.
Switch to a lighter color and go one size up. Your plant will thank you.
How to Shield the Root Zone: Step by Step
Here's my exact routine. It takes about ten minutes to set up.
Step 1: Mulch the soil surface.
Use ½ to 1 inch of shredded bark, coco coir, or even dried leaves. Don't pile it against the crown of the plant. Leave a small gap around the base so air can move. I use orchid bark because it's chunky and doesn't compact.
Step 2: Block sun from the pot wall.
This is the step most people skip. Wrap the pot in a light-colored cloth, or place a cardboard barrier between the pot and the window. I use an old white cotton tea towel folded twice. It looks a bit scrappy but it works. You can also just slide a piece of white cardstock behind the pot to bounce light away.
Step 3: Move the pot back from the glass.
Even six inches makes a difference. Glass amplifies heat like a greenhouse. I keep my spider plants at least a foot back from any south- or west-facing window in summer.
Step 4: Water deeply but less often.
Stick your finger two inches into the soil. If it's dry, water until it runs out the drainage holes. If it's damp, wait. In peak summer I water roughly every 7–10 days, not every 3 days like I used to.
Step 5: Check pot temperature with your hand.
This sounds low-tech because it is. If the pot wall feels hot to the touch, it's too hot for roots. Move it or shade it. I do this check every afternoon during heat waves.
What I Noticed After Two Weeks
By day 10, the plant with the wrapped pot and mulch had stopped producing brown tips on new leaves. The bare-pot plant kept declining. By day 14, the difference was obvious.
New growth on the shielded plant was a healthy mid-green. The leaves felt firm. The bare-pot plant had two yellow lower leaves and stalled growth.
I also noticed the mulched pots needed less frequent watering. The mulch slowed evaporation from the surface. That's a bonus in summer.
A Quick Word on Pot Material
Terracotta breathes and stays cooler than plastic. Glazed ceramic holds moisture but can get hot if it's dark. Plastic is cheap but heats fast. If you're repotting anyway, go with light-colored terracotta or a fabric grow bag. Fabric pots air-prune roots and stay noticeably cooler in my experience.
If you can't repot right now, don't stress. Wrapping and mulching a plastic pot gets you most of the way there.
Frequently Asked Questions
Can I just put ice cubes on the soil to cool it down?
Please don't. I tried this once. The sudden cold shock stresses the roots, and melting ice keeps the soil soggy far too long. It's a shortcut to root rot. Shade the pot instead.
How do I know if my spider plant roots are already heat-damaged?
Look for yellowing lower leaves, mushy stems near the soil line, or a sour smell from the pot. If you slide the plant out and the roots are brown and soft instead of pale and firm, heat or rot has already set in. Trim the damaged roots, repot in fresh dry mix, and keep it out of direct sun while it recovers.
Does mulching cause fungus gnats?
It can if the mulch stays constantly wet. That's why I let the top inch dry out between waterings and keep the mulch layer thin. I've had zero gnat issues since I started doing both.
Final Thoughts
Shielding your spider plant's root zone isn't complicated. Mulch the surface, block sun from the pot, back it away from the glass, and stop overwatering. I wish I'd known this before I lost two plants to a hot windowsill.
Do the hand check on your pots this week. If they feel hot, act now. Your spider plant will reward you with strong roots and clean, green leaves all summer long.





