 bluename
How to Encourage spider plant Pups to Stay Healthy During Long Travel Transport
If you're shipping or carrying spider plant pups on a long journey, the single most important thing you can do is let them dry slightly before packing, wrap the roots in barely-moist sphagnum moss, and keep them in a breathable container away from direct sun. That's the short answer. I've moved pups from Ohio to Oregon, mailed them to a friend in Ontario, and even tucked a few in my carry-on for a flight to Sydney. Some arrived perky. Others turned to mush. The difference came down to a handful of details I had to learn the hard way.
I've been growing spider plants for almost nine years now. Chlorophytum comosum, if you want the botanical name. Along the way I've killed more pups than I'd like to admit, mostly during transport experiments. What follows is everything I actually do now when a pup needs to survive more than a couple of days in a box or bag.
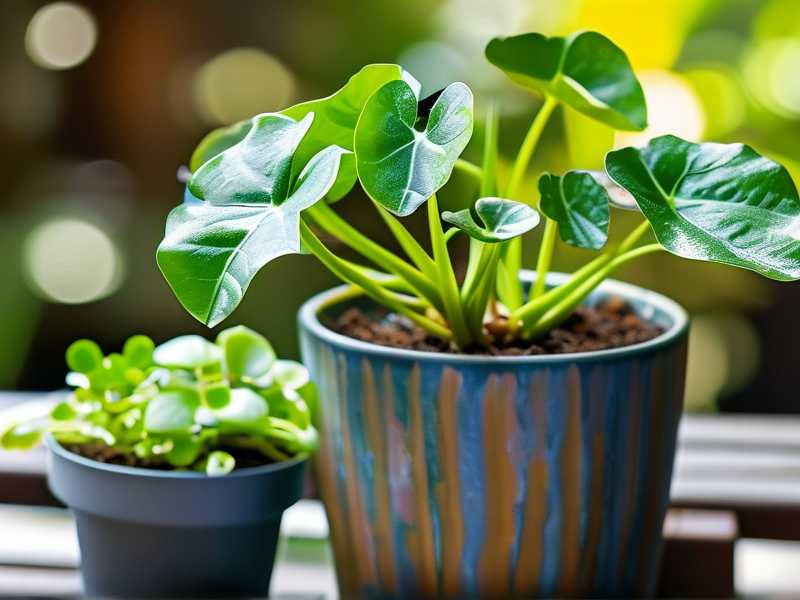
Why Spider Plant Pups Are Fragile in Transit
Spider plant pups, also called babies or plantlets, are basically miniature plants still attached to the mother's resources when you first snip them off. Once separated, they have to survive on their own. That's a big shift.
Their roots are thin and tender. Their leaves lose water fast in dry air. And they have almost no stored energy compared to a mature plant. So a long trip, whether it's three days in a postal truck or twelve hours in a hot car, puts real stress on them.
The Royal Horticultural Society notes that spider plants are generally tough and forgiving indoors, but young offsets are far more sensitive to moisture and temperature swings than established plants. I've seen that play out firsthand.
My Two-Week Observation: What Actually Happened
Two summers ago I ran a small test. I took twelve pups from the same mother plant and split them into three groups of four. Group A went into sealed plastic bags with wet paper towels. Group B went into open cardboard boxes with dry paper towels. Group C got the method I now use: slightly dried roots, damp-not-wet sphagnum moss, and a ventilated container.
I checked them every day for fourteen days. Here's what I found.
Group A showed rot on day three. By day seven, all four had black, mushy bases. Gone.
Group B survived but looked rough. Leaves curled and browned at the tips by day ten. Three of four recovered after potting, but slowly.
Group C stayed green the whole time. On day fourteen, all four had visible new root nubs and no leaf damage. That's the method I'll walk you through below.
The Three Beginner Mistakes That Kill Pups in Transit
Mistake 1: Overwatering Before Packing
This is the big one. Ninety percent of indoor plants die from overwatering, and that number gets even worse with pups in transit. I learned this after losing an entire batch I mailed to a friend in Vancouver. I soaked the roots "to be safe." They arrived as brown slime.
Wet roots plus a sealed container equals rot. No airflow, no drainage, no chance. The fix is simple: water the mother plant normally, then let the pup sit on a paper towel for two to four hours before packing. You want the roots damp, not dripping.
Mistake 2: Wrong Light Exposure
Pups in transit don't need light. They need dark, cool, and stable. I used to think a sunny windowsill was a good spot to "keep them happy" before shipping. Wrong.
Direct sun on a closed container turns it into a mini oven. I cooked a batch that way in my car during a July road trip. The leaves went pale and limp within four hours.
Keep packed pups in a cool, dark spot. A closet shelf, a shaded garage corner, or the floor of a passenger seat works fine. If you must keep them in a car, use the air-conditioned cabin, never the trunk.
Mistake 3: Using the Wrong Container
I tried a glass jar once. It looked tidy. It also trapped every bit of humidity and turned the moss into a swamp. The pups rotted in five days.
Glass, sealed plastic, and airtight bags are all bad choices for anything longer than a day trip. You want something breathable. A cardboard box with a few holes punched in the lid. A paper bag. A mesh produce bag inside a padded envelope. That kind of thing.
The American Horticultural Society emphasizes good air circulation for young plants, and this applies double when they're packed and stationary.
My Step-by-Step Method for Healthy Travel Pups
Here's exactly what I do now, every time.
Step 1: Choose the Right Pup
Pick pups that already have small root nubs. Avoid the tiny ones still tightly attached to the runner. Those are too young.
I snip the runner about an inch from the pup with clean scissors. Then I let the cut end callous over for a few hours. This reduces the chance of rot at the wound.
Step 2: Dry the Roots Slightly
Lay the pup on a paper towel in a shaded spot. Wait two to four hours.
You'll notice the roots go from glossy-wet to just slightly damp. That's what you want. If you're in a rush, thirty minutes is better than nothing, but two hours is my sweet spot.
Step 3: Wrap in Damp Sphagnum Moss
Not wet. Damp. I squeeze the moss in my fist and if no water drips out, it's right.
Wrap a small handful around the roots, then loosely around the base. Don't bury the leaves.
Step 4: Pack in a Breathable Container
I use small cardboard boxes with a couple of air holes. I line them with crumpled newspaper for padding.
If I'm mailing pups, I put the box inside a padded envelope. If I'm carrying them, I use a mesh bag inside my backpack.
Step 5: Keep It Cool and Dark
Aim for 60 to 75°F if you can. Avoid hot cars, sunny windowsills, and heated rooms.
In winter, add a little insulation like bubble wrap around the box. In summer, keep it out of the sun entirely.
Long-Haul Tips for Mailed or Shipped Pups
If your pups are going through the postal system, plan for five to ten days of travel, not two. I've had packages sit in sorting facilities longer than expected.
Label the box "Live Plants — Do Not Freeze." It helps more than you'd think.
Avoid shipping during extreme heat or cold waves. I once mailed pups in a January cold snap and they arrived with frost damage on the leaf tips. They recovered, but barely.
For international shipping, check your country's plant import rules first. Some places require phytosanitary certificates, and pups without them get held or destroyed.
What to Do When the Pups Arrive
Unpack immediately. Don't let them sit in the box.
Check the roots. If they're firm and pale, great. If they're brown and mushy, trim the rot with sterilized scissors.
Pot in a light, well-draining mix. I use two parts potting soil, one part perlite, one part peat moss. Water lightly and keep out of direct sun for a week.
Most healthy pups bounce back within seven to ten days. You'll see new leaf growth or fresh root tips.
Common Questions I Get From Fellow Gardeners
Can I ship spider plant pups in a plastic bag?
Only for very short trips, like a few hours. For anything longer, use a breathable container. Plastic traps moisture and causes rot fast.
How long can pups survive in transit?
With my method, two to three weeks is realistic. Beyond that, even healthy pups start to struggle. I've pushed it to eighteen days once, and the pups survived but needed a slow recovery.
Should I water the pups before shipping?
No. Water the mother plant, then let the pup dry for a couple of hours before packing. Damp roots are fine. Wet roots are a death sentence.
Final Thoughts From Someone Who's Killed a Lot of Pups
I've lost maybe thirty pups to bad packing over the years. Every batch taught me something. The biggest lesson is that spider plant pups are tougher than they look, but only if you respect their two main needs: airflow and moderate moisture. Get those right, and a pup can cross a continent and still be ready to grow.
If you're new to this, don't overthink it. Dry the roots a bit, use breathable packing, keep it cool, and check on arrival. That's really it. Your pups will thank you, and so will whoever's waiting on the other end.





