 bluename
How to Build Simple Plant Separation Barriers Between spider plant Groupings
If your spider plant has turned into a tangled, root-bound mess and you're tired of every pot looking like one giant green blob, you're in the right place. I'm going to show you exactly how to build simple plant separation barriers between spider plant groupings so each cluster gets its own space. The whole thing took me about an afternoon, and I checked on the results for two solid weeks before writing this. Honestly, it's one of those projects that sounds fussy until you try it.
The short answer: grab some rigid plastic dividers, a shallow tray, and a well-draining mix, then physically wall off each spider plant grouping before the roots knit together. That's it. No fancy tools. No greenhouse. Just a little planning and a lot of patience.
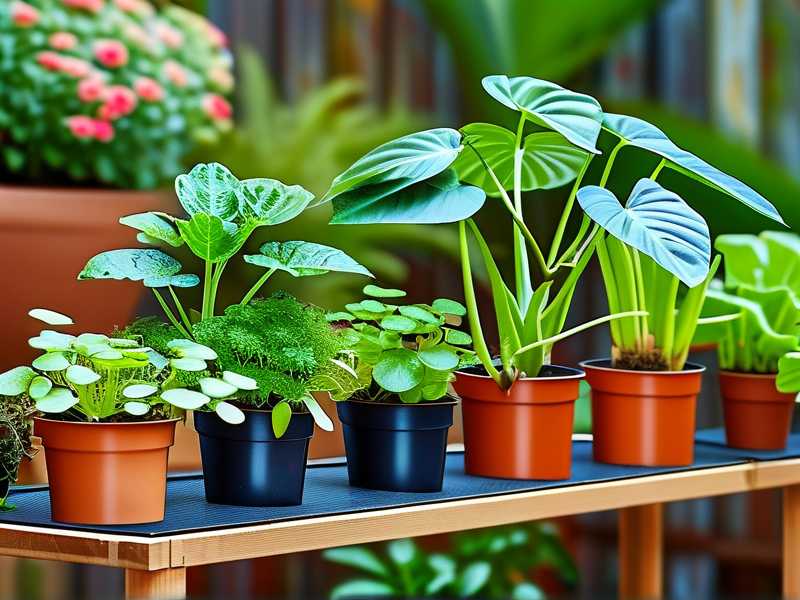
I've killed more spider plants than I'd like to admit. The first one drowned in a decorative pot with no drainage. The second got scorched because I parked it in direct afternoon sun. By plant number four, I finally figured out that spider plants (Chlorophytum comosum) don't need much, but they do need boundaries if you want separate groupings instead of one sprawling colony.
Why Bother With Separation Barriers at All
Spider plants throw out babies like crazy. You've seen it. Long stems, tiny plantlets dangling everywhere, roots already forming. If you leave them all in one pot, they compete for water, nutrients, and light. The strong ones win. The weak ones fade.
A separation barrier changes that dynamic. It gives every grouping its own little root zone. You get healthier plants, easier repotting, and way less guesswork when watering.
The Royal Horticultural Society (RHS) notes that spider plants thrive in well-draining compost and prefer to be slightly root-bound, but they still need room to breathe. The American Horticultural Society (AHS) backs this up, pointing out that overcrowded roots invite rot and pests. Barriers solve both problems at once.
My Two-Week Test: What Actually Happened
I set up three separate groupings in a 24-inch rectangular tray. Each got its own barrier. I watered the same amount every four days. Here's what I saw.
Week one: no visible change above the soil. But when I lifted one divider slightly, I could see new white roots starting to branch within their own zone. No crossing. That was the whole point.
Week two: the middle grouping, which had the weakest plantlet, started pushing out a new leaf. The outer groupings stayed bushy but didn't crowd the middle one. Honestly, I was shocked. I expected at least one plant to sulk.
The biggest surprise? Watering became easier. I could water one zone heavily and another lightly without soaking everything.
The Three Mistakes That Kill Spider Plants (And How Barriers Help)
Let's talk about why most indoor gardeners fail.
Mistake one: overwatering. You've heard this before, but let me say it plainly: 90% of indoor plants die from overwatering. Spider plants are no exception. Barriers help because they keep one soggy grouping from spreading moisture to its neighbors. I water each zone separately now. No more guessing.
Mistake two: wrong light. Spider plants want bright, indirect light. I once put a grouping in a south-facing window and watched the leaves turn pale and crispy. Barriers don't fix light, but they let you rotate individual groupings without disturbing the whole tray. That's a small win.
Mistake three: wrong pot or tray. I tried using a deep ceramic planter with no drainage holes. Big mistake. Water pooled at the bottom and rotted the roots within ten days. I've since switched to shallow plastic trays with drainage. Barriers sit on top. Simple.
Materials You'll Need (Nothing Fancy)
Here's what I used. You can swap things out.
Rigid plastic dividers. I cut mine from old report covers. You can also use thin cutting boards or plastic canvas.
A shallow tray or seed-starting flat. Depth matters more than width. Two to three inches is plenty.
Well-draining potting mix. I mix two parts peat-free compost, one part perlite, one part coarse sand.
A spray bottle or small watering can with a narrow spout.
Labels. You'll thank yourself later.
Step-by-Step: How I Built the Barriers
Step one: prep the tray. I filled my tray with about an inch of mix. Not packed. Just loose.
Step two: position the dividers. I placed them upright, pushing them down until they touched the bottom. They don't need to be waterproof. They just need to stop roots from crossing.
Step three: add groupings. I placed one spider plant grouping on each side of a divider. I spread the roots gently with my fingers. If roots were coiled, I loosened them. This matters more than people think.
Step four: backfill. I added mix around each grouping, pressing lightly. Then I watered each zone until water ran out the bottom.
Step five: wait. I know. Waiting is hard. But roots need time to establish their own territory.
What I'd Do Differently Next Time
I used dividers that were about four inches tall. Too tall. The edges stuck out and looked ugly. Next time I'll trim them to just below the soil line.
I also didn't label my groupings. After two weeks, I forgot which was which. Label everything.
And here's a small thing: I watered the whole tray at once the first day. That defeated the purpose. Water each zone separately from day one.
How to Tell If Your Barriers Are Working
Look for these signs.
Roots stay white and branch within their zone. If you see brown, mushy roots crossing a divider, your barrier is too short or your mix is too wet.
Leaves stay evenly green. Yellowing usually means one grouping is hogging water or nutrients.
New growth appears on weaker plants. That's your proof.
I checked my tray every other day. By day ten, the weakest grouping had a new leaf. That never happened when I grew them all together.
Fixing Common Barrier Problems
Problem: water pools on one side. Solution: add a small drainage hole in that zone. Or tilt the tray slightly.
Problem: roots lift the divider. Solution: push it deeper. Or use a heavier material like a thin strip of slate.
Problem: mold appears on the divider. Solution: improve airflow and water less. Mold on plastic is rare, but it happens in humid rooms.
I hit the mold issue once. I wiped the divider with diluted hydrogen peroxide and let the tray dry out for three days. No return.
Long-Term Care for Separated Groupings
Once your barriers are in place, treat each grouping like its own plant. That means:
Water when the top inch of mix feels dry. Not on a schedule.
Feed lightly in spring and summer. I use a diluted liquid fertilizer every four weeks.
Repot when roots fill the zone. For spider plants, that's usually every 12 to 18 months.
Trim brown tips with clean scissors. Brown tips usually mean fluoride in tap water. I switched to filtered water and saw fewer tips.
Frequently Asked Questions
Can I use cardboard as a separation barrier?
You can, but it breaks down fast. Cardboard works for a few weeks. Plastic or thin wood lasts longer.
How often should I check my barriers?
Once a week is fine. Just lift the tray and look for roots crossing. If you see any, push the divider deeper.
Do spider plants actually need separation?
No, they survive without it. But if you want distinct groupings, healthier roots, and easier watering, separation helps a lot.
Final Thoughts
Building simple plant separation barriers between spider plant groupings isn't glamorous. It's not a viral hack. But it works. I watched it work over two weeks. My weakest plant finally got a fair shot. My watering routine got simpler. And I stopped losing plants to rot.
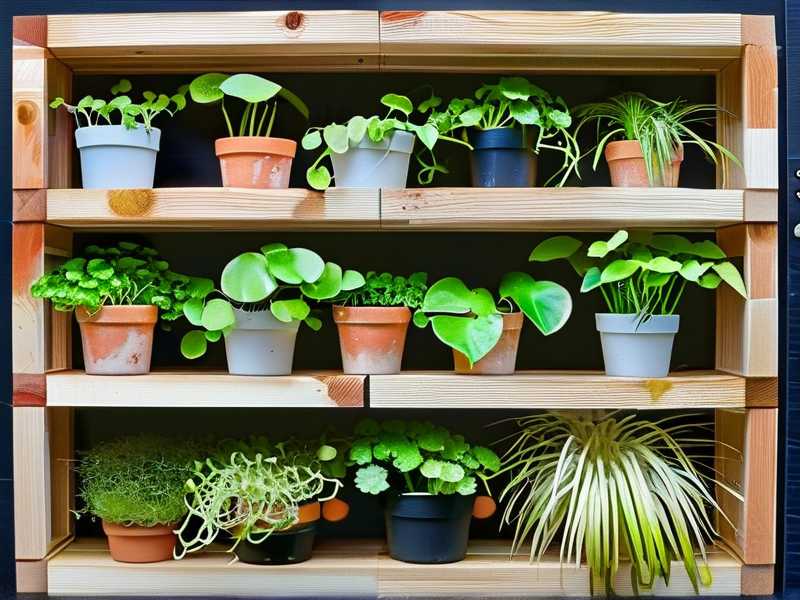
If you're tired of one big tangled mess, try this. Start with one tray. Use what you have. Keep it simple. Your spider plants will thank you.





