 bluename
How to Sanitize spider plant Propagation Water Containers Between Cuttings
I used to think propagation was the easy part of keeping spider plants. You snip off a baby, drop it in a glass of water, wait a couple weeks, and boom—roots. Then I lost three rounds of cuttings in a row to that slimy film that creeps up the inside of the jar. That's when I learned the boring truth: sanitizing your propagation water containers between cuttings is what actually separates success from a cloudy, smelly mess. If you're reusing the same jar or cup for a new cutting, this step is not optional.
Here's the short answer: between every single cutting, wash the container with hot water and dish soap, scrub the inside walls and the waterline, then disinfect with either a 10% bleach solution for 15 minutes or 70% isopropyl alcohol. Rinse thoroughly with clean water and let it air dry completely before adding a new cutting. That's it. Five minutes of work that saves you weeks of watching a cutting rot.
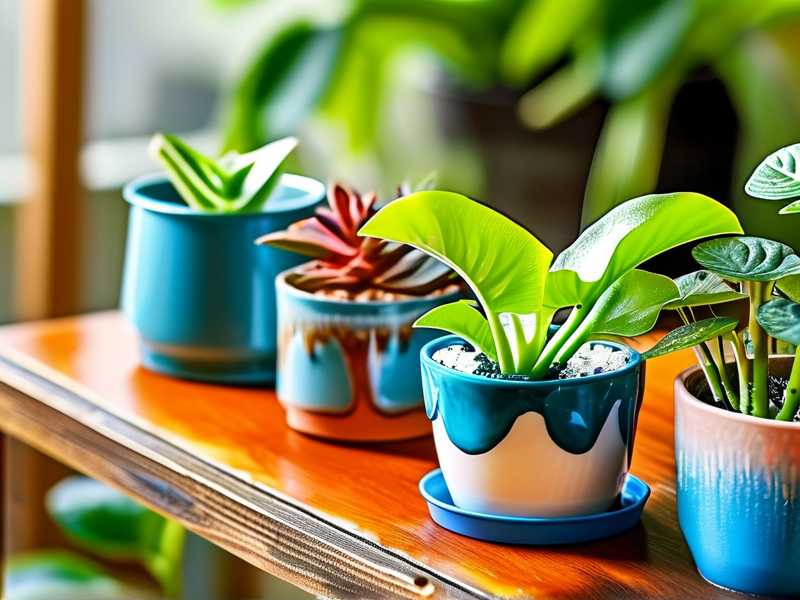
Why Reusing a Dirty Container Wrecks Your Cuttings
Spider plant cuttings root in water through a cut stem or a small node. That cut is an open wound. Any bacteria, algae, or fungal spores sitting on the container walls from the last cutting get a free ride straight into the plant tissue.
It doesn't take much. I've pulled a cutting out after just four days and found the stem end brown and mushy. The water looked fine at the top, but there was a slick coating on the glass below the surface. That coating is biofilm, and once it takes hold, your cutting is basically done.
The Royal Horticultural Society backs this up in its guidance on cuttings: clean containers and fresh water are the two biggest factors in preventing rot during water propagation. Not rooting hormone, not fancy glassware. Clean gear. That's the whole game.
I'll be honest, I learned this the hard way. I kept one mason jar on my kitchen windowsill for months and just topped off the water each time. By the fifth cutting, nothing rooted at all. Everything just dissolved into brown goo. I finally dumped it out, and the bottom of the jar had a layer of green-brown slime I couldn't even scrub off with my fingers.
My 2-Week Test: What Actually Works
I ran a simple side-by-side test over two weeks because I wanted to know which method was worth the effort.
Week 1: I put two spider plant babies in separate identical glass jars. Jar A got a quick rinse under the tap. Jar B got the full soap-scrub-alcohol-rinse-dry treatment. Both got fresh filtered water and sat in the same bright, indirect spot.
Day 3: Jar A's water started looking slightly cloudy. Jar B was still crystal clear.
Day 7: Jar A had a faint ring of film at the waterline. The cutting stem was still green but had a soft, slippery feel. Jar B's cutting had tiny white root nubs showing.
Day 10: Jar A's stem end had turned brown and the tip of a leaf was yellowing. Jar B had roots about half an inch long.
Day 14: Jar A's cutting was dead. The stem was completely mushy and the water smelled like a pond. Jar B had roots over an inch long and was ready to pot up.
Same plant. Same water. Same light. The only difference was container sanitation. That's how much it matters.
The Only Sanitizing Methods I Trust Now
There are a dozen ways to clean a jar, but most of them are either overkill or not strong enough. Here's what I actually use.
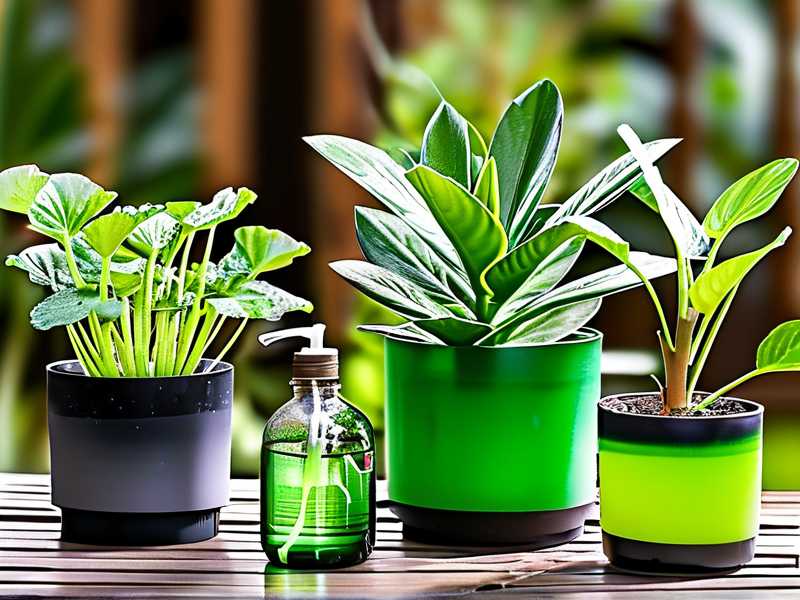
Hot Water and Dish Soap
This is the baseline. Every single time. Fill the container with hot water, add a drop of dish soap, and scrub the inside with a bottle brush or your fingers. Get into the corners and along the waterline, because that's where biofilm hides.
Rinse until no suds remain. If you skip this step and go straight to bleach, you're wasting the bleach on dirt instead of germs.
70% Isopropyl Alcohol
This is my go-to for glass jars and ceramic cups. Pour a little in, swirl it so it coats the entire inside, and let it sit for about 30 seconds. Dump it out and let the container air dry. Alcohol evaporates completely, so you don't need to rinse if you let it dry fully.
I like this method because it's fast and I always have a bottle under the sink. It's also great for the small glass test tubes I use for single cuttings.
10% Bleach Solution
For plastic containers or anything with scratches, bleach is the safer bet. Mix one part unscented household bleach with nine parts water. Fill the container and let it sit for 15 minutes. Pour it out, then rinse at least three times with clean water. Let it air dry completely.
Bleach is the heavy hitter. I use it when I've had a cutting rot in a container, or when the container has been sitting empty for weeks and I'm not sure what's growing in it.
White Vinegar
Vinegar is gentler and works well for light cleaning and descaling mineral buildup. It's not a true disinfectant for plant pathogens, though. I use it for maintenance between deep cleans, not as my only sanitizing step. A 1:1 mix of vinegar and water, let it sit for 10 minutes, then wash with soap and rinse.
What I Don't Use
I stopped using hydrogen peroxide as a container soak because it breaks down too fast to be reliable. I also avoid scented dish soaps and any cleaner with added moisturizers or fragrances. Those leave residues that can irritate delicate new roots.
The Drying Step Most People Skip
This is the part I got wrong for way too long. After rinsing, I used to immediately refill the jar and stick a new cutting in. That's a mistake.
If there's any moisture left in the container, you're creating a humid microclimate along the walls. That's exactly what biofilm and algae want. Let the container air dry completely, upside down on a clean dish rack, before you add water and a cutting.
It adds maybe an hour of waiting. It's worth it.
How Often to Sanitize Between Cuttings
Every time. No exceptions.
I know it's tempting to just swap the water and drop in a new cutting when the old one moves to soil. I've done it. It worked maybe half the time. The other half, I lost the new cutting within a week.
If you're propagating several cuttings at once in separate containers, sanitize them all at the same time so you're not doing it piecemeal. I line mine up on the counter, run through the whole batch, and let them dry together.
For containers that held a cutting that rotted, do a full bleach soak. Don't just rinse and hope.
Three Mistakes That Kill More Cuttings Than Dirty Jars
Actually, dirty containers are a symptom of a bigger problem. Most propagation failures come down to three rookie errors.
Mistake 1: Overwatering
This one follows you from propagation into potting. 90% of indoor plants die from overwatering, and cuttings are no different. In water propagation, "overwatering" looks like letting the cutting sit in stale water for weeks without changing it. Change the water every three to four days. Fresh water means more oxygen, and oxygen is what roots need.
Once your cutting is in soil, the rule flips. Let the top inch of soil dry out before watering again. Spider plants store water in their thick roots, so they bounce back from dryness far better than from soggy soil.
Mistake 2: Wrong Light
I killed my first batch of spider plant babies by putting them on a south-facing windowsill in July. The water got warm, algae bloomed, and the cuttings cooked. Bright, indirect light is what you want. A few feet back from a bright window, or under a sheer curtain, is perfect.
The American Horticultural Society notes that most houseplant cuttings root best in bright indirect light with consistent temperatures. Direct midday sun through glass is too much.
Mistake 3: Wrong Container
I tried rooting cuttings in a dark ceramic mug once because it looked cute on my shelf. I couldn't see the water level, couldn't see the roots forming, and couldn't tell the water had gone cloudy until the cutting was already rotting. Clear glass is not about aesthetics. It's about being able to monitor what's happening.
Avoid containers with narrow necks that make scrubbing impossible. Avoid anything scratched or cracked, because those surfaces hold bacteria no matter how well you clean. Wide-mouth mason jars, clear drinking glasses, and glass test tubes are my favorites.
My Full Routine, Start to Finish
Here's exactly what I do between every cutting.
Take the old cutting out. If it's rooted, pot it up. If it failed, toss it and note what went wrong.
Dump the old water down the sink. Don't reuse it.
Wash the container with hot water, a drop of dish soap, and a bottle brush. Scrub the waterline and the bottom corners.
Rinse well under running water.
Disinfect. Alcohol for glass, bleach solution for plastic or anything questionable. Follow the timing above.
Rinse again if you used bleach. Skip the rinse if you used alcohol and let it evaporate.
Air dry completely, upside down.
Refill with fresh room-temperature water and add the new cutting.
That's the whole thing. It takes five minutes, and it's the difference between a windowsill full of rooted babies and a sad collection of mushy stems.
Frequently Asked Questions
Can I just use hot water without soap or bleach?
Hot water alone will remove some surface grime, but it won't kill bacteria or fungal spores left behind from a previous cutting. Soap lifts the biofilm, and a disinfectant step kills what's left. If you're in a pinch, hot water and soap is better than nothing, but I wouldn't skip the disinfectant for a cutting that's going into the same container.
Does the type of container change how I should sanitize it?
Yes. Glass and ceramic handle alcohol and bleach well. Plastic scratches easily, and those scratches harbor bacteria, so I use a bleach soak for plastic rather than a quick alcohol swab. Anything with deep scratches gets retired from propagation duty. It's not worth the risk.
What if I see algae growing in the container?
Algae means light is hitting the water and nutrients are present. Empty the container, do a full bleach soak, rinse thoroughly, and dry it completely. Then move your propagation setup out of direct sun. A little algae won't always kill a cutting, but it's a sign the water is stagnating and the container needs a reset.
The bottom line is simple. Clean container, fresh water, bright indirect light, and patience. Get the sanitation step right and everything else about propagating spider plants gets a whole lot easier.





