 bluename
How to Arrange spider plant Shelves to Prevent Light Blockage Between Specimens
If your spider plants are starting to look pale, leggy, or just plain tired, the problem usually isn't the plant itself. It's almost always how the shelves are arranged. I learned this the hard way after watching three of my healthiest variegated spider plants lose their stripes because the top shelf was casting a shadow over everything below. The fix wasn't buying more grow lights or moving to a bigger room. It was simply rearranging the shelves to prevent light blockage between specimens. In the next few minutes, I'll walk you through exactly how I did it, what went wrong during my first two weeks of testing, and the small adjustments that made a huge difference.
Why Shelf Arrangement Matters More Than You Think
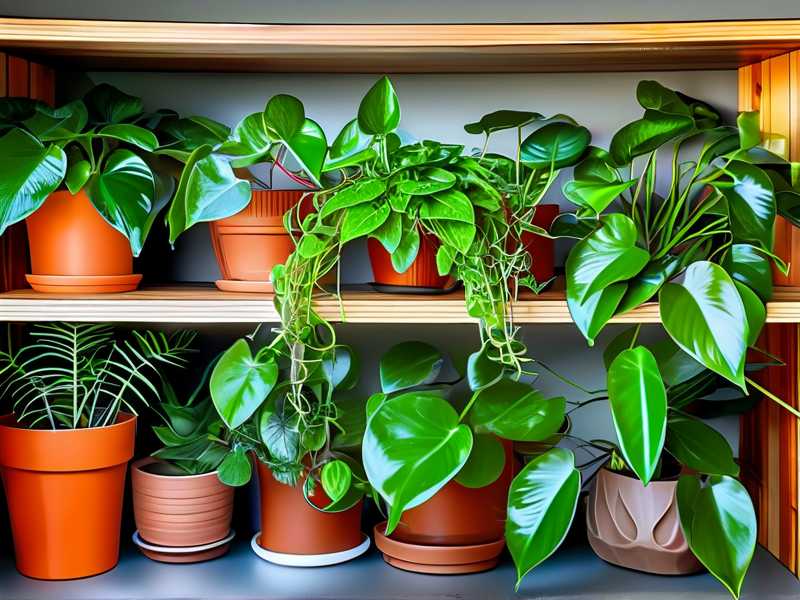
Spider plants are forgiving, but they're not immune to bad placement. The Royal Horticultural Society notes that Chlorophytum comosum thrives in bright, indirect light, and when that light gets blocked, the plant tells you fast. Leaves stretch toward whatever light source they can find. Variegation fades. New growth comes in thin and weak.
I used to assume that as long as the room was bright, every shelf got enough light. That's not how it works. Light drops off dramatically with distance and obstruction. A single large spider plant on the top shelf can cut the light reaching the shelf below by more than half. Stack three tiers like that and the bottom row is basically living in a cave.
Most people don't notice until the damage is done. I didn't either. That's why I started measuring, rearranging, and tracking results over a two-week period.
The Three Mistakes That Killed My First Shelf Setup
Before I get into what actually worked, let me be honest about what didn't. I've killed more spider plants than I'd like to admit, and every failure came down to one of three things.
Mistake One: Overwatering
This is the big one. You've probably heard it before, but it bears repeating because it's still the number one killer. Roughly 90% of indoor plants die from overwatering. Spider plants are especially vulnerable because their thick roots store water. When you water on a fixed schedule instead of checking the soil, you're basically drowning them slowly.
I used to water every Sunday like clockwork. That worked fine in summer. By October, half my plants had root rot and I couldn't figure out why. The fix was simple. Stick your finger two inches into the soil. If it's dry, water. If it's not, wait. That's it.
Mistake Two: Light Misalignment
This is the sneaky one. Your shelf might look well-lit to your eyes, but your spider plant experiences light very differently. I had a three-tier metal shelf near a south-facing window. The top shelf looked perfect. The middle shelf was okay. The bottom shelf was basically in permanent shade.
I didn't realize this until I rotated my plants after two weeks and saw that the bottom ones had lost almost all their variegation. The leaves were still green, but the cream stripes were gone. That's a classic sign of insufficient light.
Mistake Three: Using the Wrong Pots
I know this sounds unrelated to shelf arrangement, but it's not. The size and shape of your pots determines how much vertical space each plant takes up, which directly affects how much light reaches the shelf below. I used to cram my spider plants into wide, shallow bowls because I liked how they looked. The problem was those bowls blocked light for everything underneath them.
Switching to standard nursery pots that were taller than they were wide made an immediate difference. Light could pass around them instead of being trapped.
How I Arranged My Shelves to Prevent Light Blockage
After about a year of trial and error, I landed on a setup that works consistently. Here's what I did, step by step.
Step One: Map Your Light Before You Move Anything
Don't guess. Spend one day just watching how light moves through your room. Morning light is different from afternoon light. A shelf that's bright at 10 a.m. might be dim by 2 p.m.
I used a cheap light meter app on my phone to measure the readings on each shelf at three different times of day. The results were eye-opening. My top shelf was getting around 800 foot-candles in the morning. The bottom shelf was getting less than 150. That's a massive gap.
If you don't want to use an app, just hold your hand a few inches above each shelf. If you can barely see the shadow of your hand, that shelf is too dark for a spider plant.
Step Two: Stagger Your Plants by Height
This was the single biggest change I made. Instead of lining up all my spider plants at the same height, I staggered them. Taller, more mature plants went on the outer edges of each shelf. Shorter, younger plants went toward the center.
Why does this matter? Because light comes in at an angle. If you put tall plants in the middle, they cast a shadow straight down onto the shelf below. If you put them on the edges, the light passes through the gaps between shelves and reaches the lower levels.
I tested this over two weeks. The shelves with staggered plants showed noticeably better growth on the lower tiers. New leaves on the bottom shelf were wider and had stronger variegation compared to the shelves where I kept everything uniform.
Step Three: Leave Gaps Between Pots
I know it's tempting to fill every inch of shelf space. I did that too. But crowding your spider plants together creates a canopy effect. The leaves from one plant block light from reaching its neighbor.
Leave at least two to three inches between pots. For larger specimens, give them even more room. I spaced mine about four inches apart and the difference was clear within ten days.
Step Four: Rotate Every Few Days
Even with perfect spacing, light isn't perfectly even. One side of the shelf will always get more light than the other. Rotating your plants a quarter turn every three to four days keeps growth balanced.
I started doing this after I noticed that my spider plants were leaning hard toward the window side. After two weeks of regular rotation, they stood up straighter and the new growth was more symmetrical.
Step Five: Use Mirrors or Reflective Surfaces
This is a trick I picked up from an old gardening forum. Placing a small mirror or a piece of white cardboard behind your shelf can bounce light back onto the plants. It's not a substitute for real light, but it helps fill in the gaps.
I taped a piece of white foam board to the wall behind my bottom shelf. The light meter reading went from about 150 foot-candles to nearly 300. That's a meaningful improvement for a five-dollar fix.
What I Noticed After Two Weeks
I tracked my rearranged shelves for exactly fourteen days. Here's what changed.
The plants on the bottom shelf stopped losing variegation. Two of them actually started producing new striped leaves again. The middle shelf plants, which had been doing okay but not great, started growing faster. I measured about half an inch of new growth on several plants, which doesn't sound like much until you consider that they'd been stalled for months.
The top shelf plants didn't change much because they were already getting plenty of light. But they did start looking more balanced after I began rotating them regularly.
The biggest surprise was how much water usage changed. The plants on the lower shelves, which had been in shade, were using less water. Once they started getting more light, they dried out faster. I had to adjust my watering routine, which honestly caught me off guard.
A Few More Things I Learned the Hard Way
Spider plants are tough, but they're not invincible. Here are some extra tips that might save you some frustration.
Don't put your shelves directly in front of a window. I tried this once and the leaves on the window-facing side got scorched. Spider plants want bright, indirect light. Direct sun through glass can burn them, especially in summer.
Don't stack shelves too close together. I had a setup where the gap between shelves was only about ten inches. That wasn't enough. Light couldn't penetrate to the lower levels and the plants suffered. I'd recommend at least fourteen to sixteen inches of vertical space between shelves.
Don't ignore your plants just because the setup is good. Even with perfect shelf arrangement, you still need to check on them. Pests, disease, and watering issues don't care about your shelf layout.
When to Move a Plant Instead of Rearranging the Shelf
Sometimes the problem isn't the shelf. Sometimes the plant just needs a different spot. If a spider plant has been on the same shelf for months and still looks unhappy despite your best efforts, try moving it to a different location entirely.
I had one plant that refused to thrive no matter where I put it on my shelves. I eventually moved it to a hanging basket near a different window and it exploded with new growth. Some plants are just picky about their spot.
Frequently Asked Questions
How often should I rotate my spider plants on shelves?
Every three to four days is ideal. If you're short on time, once a week is better than nothing. The goal is to keep all sides of the plant getting roughly equal light exposure.
Can I use artificial grow lights instead of rearranging my shelves?
You can, but it's not always necessary. If you have a window that provides decent indirect light, rearranging your shelves is usually cheaper and easier than setting up a grow light system. That said, if your room is genuinely dark, a grow light is a good investment.
What's the best shelf material for spider plants?
Wire shelves are actually great because they let light pass through. Solid wood or metal shelves block light from reaching the level below. If you already have solid shelves, just be extra careful about spacing and staggering your plants.
Final Thoughts
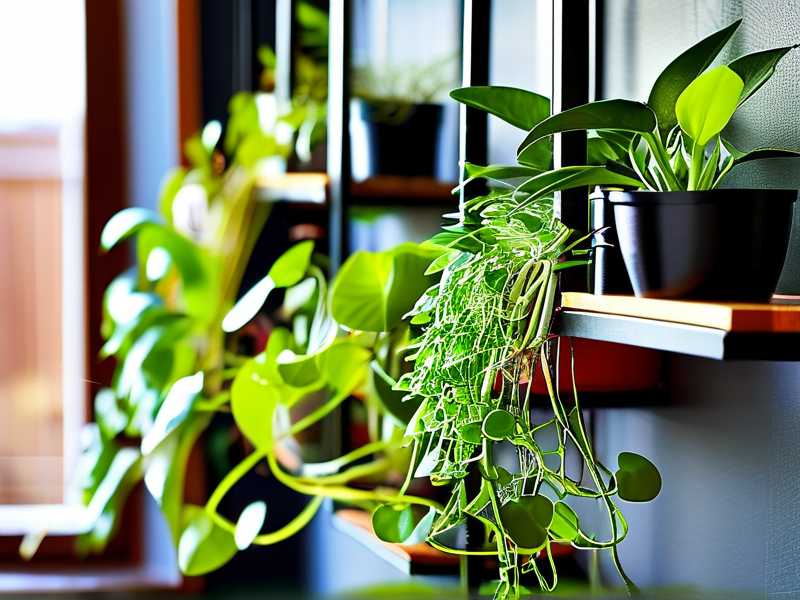
Arranging spider plant shelves to prevent light blockage isn't complicated, but it does require paying attention. Map your light. Stagger your plants by height. Leave gaps between pots. Rotate regularly. Use reflective surfaces if you can.
And whatever you do, don't overwater. Remember that 90% of indoor plants die from overwatering, and spider plants are no exception. Get the light right and the watering right, and your spider plants will reward you with healthy growth and those beautiful striped leaves.
I've been growing spider plants for years and I'm still learning. Every setup is a little different. But these principles have worked for me across multiple rooms and multiple shelf configurations. Give them a try and see what happens in your space.





