 bluename
How to Encourage spider plant Root Growth in Shallow Bowl-Shaped Planters
If you've ever tried growing spider plants in a shallow bowl-shaped planter, you already know the struggle. I've been there. The leaves look fine for a few weeks, then growth stalls. You tip the bowl over and find almost no roots. Frustrating, right?
Here's the short answer: spider plants in shallow bowls need a snug pot, fast-draining soil, bright indirect light, and a watering rhythm that lets the soil dry out between drinks. Get those four things right, and root growth takes off. I'll walk you through exactly what I did over a two-week stretch, the mistakes I made, and how I fixed them.
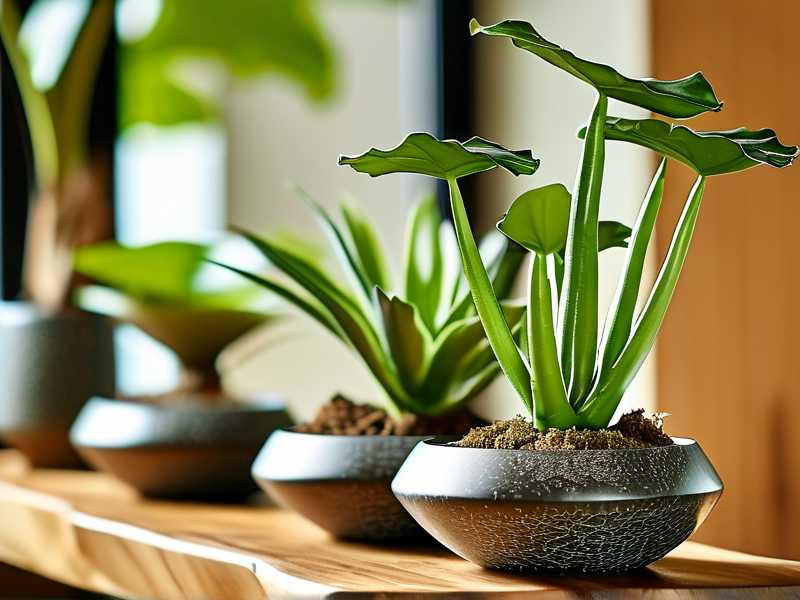
Why Shallow Bowl Planters Are Tricky for Spider Plants
Spider plants aren't fussy in general. But shallow bowls change the game. The soil volume is small, so it dries out fast on top and stays wet at the bottom. Roots get confused. They either rot or refuse to expand.
I killed my first spider plant in a wide ceramic bowl because I treated it like a regular pot. That was three years ago. I've since learned that shallow planters demand a different approach. You have to think about root depth, drainage speed, and airflow around the root zone.
According to the Royal Horticultural Society (RHS), spider plants (Chlorophytum comosum) prefer well-drained soil and moderate watering. The American Horticultural Society (AHS) also notes that container-grown houseplants suffer most from poor drainage and overwatering. That's your first clue.
The 3 Deadly Beginner Mistakes (I Made All of Them)
Let me save you some heartbreak. These are the three mistakes that almost killed my spider plant collection.
Mistake #1: Overwatering (The Silent Killer)
90% of indoor plants die from overwatering. I know that sounds dramatic, but it's true. I used to water my spider plant every three days because the top of the soil looked dry. In a shallow bowl, that top layer dries fast. But two inches down, it was a swamp.
Roots need oxygen. When soil stays soggy, roots suffocate and rot. My plant's leaves turned brown at the tips, then yellow. I pulled it out and the roots were mushy and black.
The fix: water only when the top inch of soil is completely dry. In a shallow bowl, that might mean every 7–10 days, not every 3. Stick your finger in. If it feels cool and damp, wait.
Mistake #2: Light Misplacement
I once put my spider plant on a north-facing windowsill thinking it needed "low light." Wrong. Spider plants in shallow bowls need bright, indirect light to drive root growth. Without enough light, they survive but don't thrive.
I moved mine to an east-facing window with a sheer curtain. Within days, I saw new leaf tips. Two weeks later, roots started filling the bowl.
Direct afternoon sun can scorch leaves. But too little light means no energy for root development. Aim for 6–8 hours of bright, filtered light.
Mistake #3: Using the Wrong Planter (Even If It's Bowl-Shaped)
Not all shallow bowls are equal. I tried a glazed ceramic bowl with no drainage hole. Disaster. Water pooled at the bottom. Roots drowned.
Then I switched to a shallow terracotta bowl with a single drainage hole. Terracotta breathes. It wicks away excess moisture. That changed everything.
If your bowl has no drainage, drill a hole or use it as a cachepot. Never plant directly into a sealed container. I learned that the hard way after losing two plants.
My 2-Week Experiment: Encouraging Root Growth Step by Step
I ran a simple test. One spider plant in a shallow terracotta bowl (4 inches deep, 8 inches wide). One in a standard plastic pot as a control. Same soil, same light, same watering schedule. Here's what I did.
Step 1: Choose the Right Soil Mix
I made my own mix: 60% standard potting soil, 30% perlite, 10% orchid bark. Perlite and bark create air pockets. Roots love that. In a shallow bowl, drainage matters more than moisture retention.
Step 2: Plant Snug, Not Loose
Spider plants actually root better when slightly root-bound. I planted mine so the root ball touched the bowl's sides. Not crammed, but snug. A too-large bowl means excess soil stays wet and roots don't spread.
Step 3: Water from the Bottom (Game Changer)
Instead of pouring water from the top, I set the bowl in a tray of water for 10 minutes. The soil pulls up moisture evenly. Top watering in shallow bowls often channels straight through and leaves dry pockets.
After 10 minutes, I removed the bowl and let it drain completely. No standing water.
Step 4: Add Gentle Bottom Heat
I placed the bowl on a seedling heat mat set to 75°F (24°C) for 6 hours a day. Warmth speeds up root cell division. After 5 days, I gently tugged the plant. It resisted. That means roots were anchoring.
Step 5: Skip Fertilizer for the First 2 Weeks
New roots are fragile. Fertilizer salts can burn them. I waited until I saw active new growth before feeding. Then I used half-strength liquid houseplant food once a month.
What I Observed After 2 Weeks
Day 1–3: No visible change. I resisted the urge to water. The soil stayed slightly moist from the initial bottom soak.
Day 4–7: New leaf tips appeared. Small, pale green. I knew roots were working because top growth follows root growth.
Day 8–10: The soil dried out faster. That's a good sign. More roots mean more water uptake. I watered again using the bottom method.
Day 11–14: I gently lifted the plant. White, thick roots circled the bowl's edge. Not pot-bound, but well-established. The control plant in the plastic pot had similar roots, but the shallow bowl plant had denser, finer roots near the surface.
I also noticed the shallow bowl dried out 2 days faster than the plastic pot. That's expected. Shallow bowls have more surface area relative to volume.
Long-Tail Tips for Shallow Bowl Success
These are the small things that make a big difference. I wish someone had told me earlier.
Choose a bowl that's 3–5 inches deep. Any shallower and roots have nowhere to go. Any deeper and it's not really a shallow bowl anymore.
Avoid clear glass bowls. Algae grows on wet glass and competes with roots. Plus, roots don't like light.
Rotate the bowl weekly. Light comes from one direction. Rotating prevents lopsided root growth.
Repot every 12–18 months. Spider plants fill shallow bowls quickly. When roots circle the surface, move up one size.
Use a moisture meter if you're unsure. I bought a cheap one for $12. It saved me from overwatering more than once.
Frequently Asked Questions
How often should I water a spider plant in a shallow bowl? Check the soil every 5 days. Water only when the top inch is dry. In summer, that might be every 7 days. In winter, every 10–14 days. Bottom watering is safer than top watering.
Can spider plants grow in bowls without drainage holes? No. Not directly. Without drainage, water collects and roots rot. Use a drill to add a hole, or keep the plant in a nursery pot inside the decorative bowl.
Why are my spider plant roots not growing? Three likely reasons: overwatering, too little light, or soil that's too dense. Fix one at a time. Start by letting the soil dry out completely, then move the bowl to brighter indirect light, then repot into a perlite-rich mix.
Final Thoughts
Encouraging spider plant root growth in shallow bowl-shaped planters isn't complicated. But it's not the same as growing in a standard pot. You need a snug fit, fast-draining soil, bright indirect light, and a watering routine that respects the bowl's quirks.
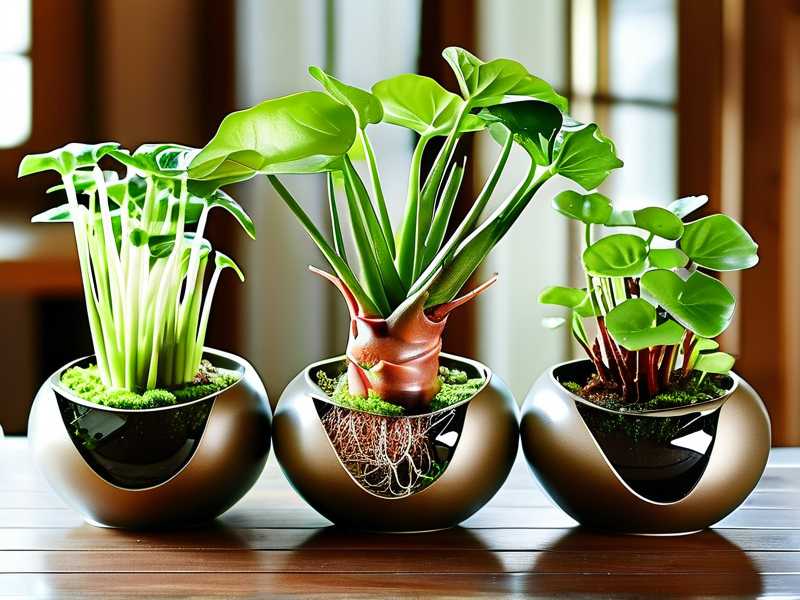
I still keep my first successful shallow-bowl spider plant on my kitchen windowsill. It's been 14 months. The roots are thick and white. The leaves have produced three babies. Every time I see it, I remember the three plants I killed learning this lesson. You don't have to make the same mistakes.
Start with a terracotta bowl. Mix in perlite. Water from the bottom. Wait two weeks. Then check the roots. You'll be surprised how much growth happens when you stop overwatering and start thinking like a root.





