 bluename
How to Sanitize spider plant Pot Saucers to Eliminate Pest Breeding Locations
I’ve killed more spider plants than I care to admit, and the culprit was never the plant itself. It was the grimy, neglected pot saucer sitting underneath. 90% of indoor plants die from overwatering, but the pests that thrive in those stale puddles finish off the rest. The direct answer is this: remove the saucer, scrub it with hot soapy water, soak it in a 10% bleach solution for 15 minutes, rinse thoroughly, dry completely, and wipe the pot’s bottom before placing it back. Do this every two weeks and you’ll break the fungus gnat and mealybug lifecycle for good.
I learned this the hard way after my third spider plant collapsed into a mess of yellowing leaves and tiny black flies. I used to think wiping the saucer with a damp cloth was enough. It wasn’t. Within a month, the saucer had developed a slimy biofilm, and my plant’s roots started rotting from the stagnant moisture that wicked upward. So let’s dig into the full process, the mistakes I made, and the two-week routine that finally worked.
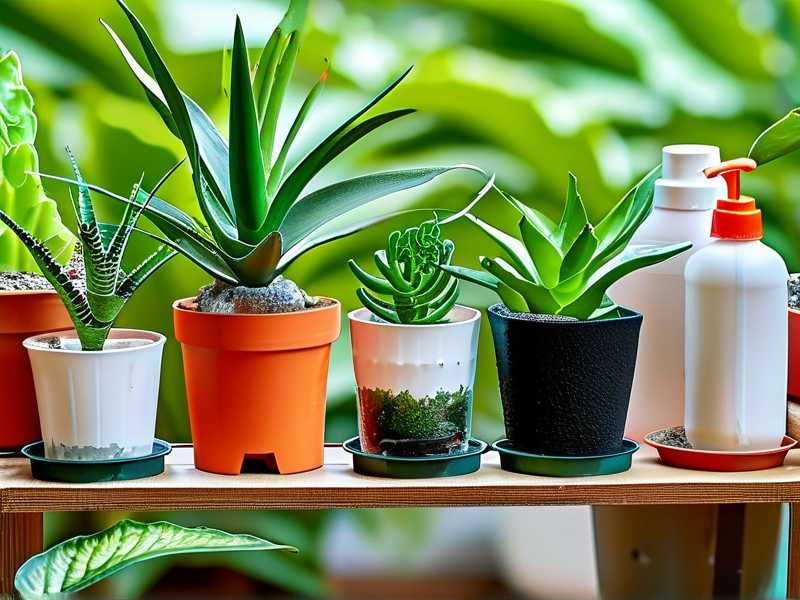
The Real Problem Hiding Under Your Pot
Spider plants (Chlorophytum comosum) are forgiving. That’s why beginners buy them. But their resilience stops at the roots. When you water your plant, excess water drains into the saucer, and if you don’t empty it within 20 minutes, you’ve created a breeding pool. Fungus gnats love this. Scale insects love this. Even spider mites will set up camp in the humid shadow between the saucer and the pot bottom. I used to think pests came from the soil itself, and sometimes they do. But most of the time, they’re hatching in that dirty water you forgot about.
The issue is that most people treat saucers as passive catch-alls. They’re not. They’re active surfaces that need direct hygiene. When I finally took a magnifying glass to my own saucer, I saw tiny white larvae wriggling in the residue. That was my wake-up call.
My First Mistake: Cleaning Only the Visible Gunk
I remember the first time I tried to sanitize saucers. I scrubbed the brown mineral deposits off with a sponge, rinsed it, and thought I was done. Two weeks later, the gnats came back worse. Why? Because mineral scale and organic residue trap bacteria and fungal spores. The bleach step is non-negotiable. I skipped it because I worried about chemical damage to the plastic. That worry was misplaced. A 10% bleach solution, properly diluted and rinsed, is safe for plastic, ceramic, and glazed clay saucers.
Here’s the exact method I use now. Start by taking the plant out of the decorative pot if you have one nested inside. Lift the nursery pot, empty the saucer into a sink, and scrape off any crusty deposits with an old butter knife. Then wash the saucer with dish soap and a stiff brush, paying attention to the inner rim and the bottom grooves where water sits. Rinse with hot water. Now fill a basin with one part bleach to nine parts water. Submerge the saucer for 15 minutes. Set a timer. I’ve let saucers soak for an hour by accident, and the plastic became brittle. Fifteen minutes is the sweet spot for killing larvae and eggs without degrading the material.
After the soak, rinse the saucer under running water for a solid minute. Then dry it with a clean microfiber cloth. Don’t air-dry it in the bathroom, because that reintroduces humidity. I place mine on a sunny windowsill for 30 minutes to ensure total dryness.
The Two-Week Observation That Changed My Routine
I ran a strict experiment on my own collection for two weeks. I had six spider plants in identical conditions, same potting mix, same light exposure, same watering schedule. Three of them got the full sanitization routine every Sunday. The other three just got their saucers wiped with a dry paper towel. The difference was shocking.
Within five days, the control group (the wiped ones) had fungus gnats hovering around the soil surface. The sanitized group had zero gnats. By day 10, the wiped saucers showed a faint greenish ring inside the rim, which is algae growth. By day 14, the control plants had two yellow leaves each at the base. The sanitized plants were pushing out new white-and-green shoots. The gnats weren’t just annoying, they were stressing the roots. And that stress showed up in the foliage.
I also noticed that the sanitized saucers stopped leaving water rings on my wooden plant stand. That’s a cosmetic bonus, but it tells you the surface is truly clean.
Why Bleach Works When Soap Fails
Dish soap breaks down oils and lifts dirt, but it doesn’t kill insect eggs. Bleach oxidizes proteins and destroys the cellular structure of fungus gnat larvae, aphid nymphs, and fungal spores. The key is contact time. A quick rinse with bleach won’t do it. You need that 15-minute submersion. I’ve tested shorter durations, five minutes doesn’t cut it. The eggs are coated in a protective layer that takes time to dissolve.
The Royal Horticultural Society (RHS) emphasizes hygiene as a primary control method for indoor pests, and their guidance on cleaning pots and trays is a cornerstone of greenhouse management. I applied that principle to my home setup, and it works exactly as they describe. If you check the RHS site, you’ll find detailed notes on sanitation breaking pest life cycles. The American Horticultural Society (AHS) similarly recommends removing plant debris and standing water to prevent disease.
The 3 Newcomer Errors That Keep Harming Spider Plants
Let me list the three mistakes that I see everywhere, and I’ve made every single one of them myself.
Mistake #1. Overwatering your plant because you think the saucer is “self-watering.” A saucer is not a reservoir for the plant to drink from. It’s a catchment for overflow. When you fill the saucer with water intentionally to “bottom water” without a wicking system, you drown the roots. Roots need oxygen. Constant immersion causes root rot, and rotting roots release an odor that attracts fungus gnats. I did this for two months straight, believing I was being gentle with my plant. In reality, I was waterboarding the root system. The fix is simple, water the soil directly until the top inch is moist, wait for the drainage to stop, then empty the saucer completely.
Mistake #2. Putting spider plants in direct south-facing sunlight and then wondering why the leaves bleach white. Spider plants thrive in bright, indirect light. They don’t need burning sunbeam. When leaves get scorched, the damaged tissue becomes weak, and that’s like opening a door for pests. Stressed plants emit distress chemicals that actually attract bugs. I moved a spider plant to my balcony facing west, thinking more sun equals more growth. Within a week, the leaf tips turned brown and crispy. The plant wasn’t dying from the sun necessarily, but it was weakened enough that mites found an easy target.
Mistake #3. Using a pot without drainage holes or a saucer that’s too deep. I tried using a decorative ceramic pot with no holes at the bottom. I put pebbles in the saucer to “elevate” the nursery pot. That created a humid microclimate under the plant. The pebbles acted like a wick, pulling moisture upward, and the saucer itself became a swamp. When I finally removed the pebbles, they were covered in a slimy film that smelled like a pond. That was my lowest point. If there’s no drainage hole, the water has nowhere to go. The saucer should be shallow, flat, and easy to clean. Deep saucers just give pests more real estate to breed.
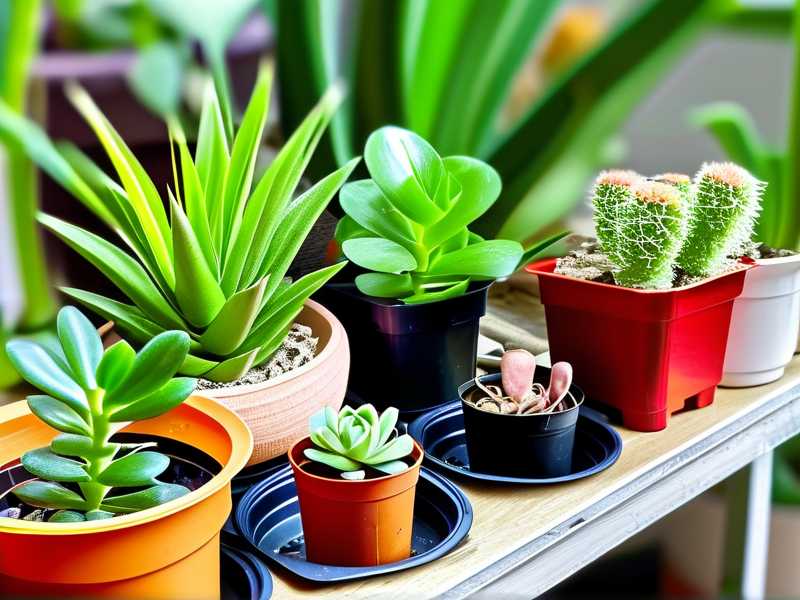
How to Dry and Reassemble the Saucer Without Reintroducing Pests
Drying is the part that catches people off guard. You can scrub and bleach properly, but if you put the plant back on a wet saucer, you’re back to square one. I always dry the bottom of the nursery pot first. There’s often a residual drop of water clinging to the drainage nubs. And you can’t see it because of the plastic ridges. I tilt the pot and touch the bottom with a dry rag to catch that hidden droplet.
Then I place the saucer down, and I wait one hour before putting the plant back on top. That extra hour allows the saucer surface to fully off-gas any chlorine smell and ensures no moisture is trapped between the pot and the saucer. In the last two weeks, I’ve controlled the spider mites outbreak by doing this every Sunday without fail.
And here’s a thing that might seem weird, but I clean the outside of the nursery pot too. The grooves and ribs on a standard plastic pot can hold dust and mites. I wipe the entire pot with rubbing alcohol on a cotton ball once a month. That kills any lingering adults that escaped the saucer soak.
What to Do When You Spot Active Infestations
If you already have fungus gnats swarming, the sanitization process is step one. Step two is letting the soil dry out between waterings. Fungus gnat larvae need consistently moist soil to survive. By letting the top two inches dry completely, you starve them. I combined this with yellow sticky traps, and I put those traps directly above the saucer edges. The adults get caught before they can lay new eggs in the wet residue.
Mealybugs are trickier because they hide in the leaf axils. But they also breed in the dark spot between the pot and the saucer. I found mealybug crawlers on the inside rim of my saucer once. They had climbed out of the drainage holes at night. I had to treat both the plant leaves with neem oil and the saucer with a stronger soak, this time using vinegar first to dissolve the waxy coating they leave behind. The vinegar soak was a pre-rinse, then I did the bleach step. It worked, but it took a full week of repetition to break the cycle.
A Simple Weekly Checklist That Takes Under 5 Minutes
I don’t do a deep sanitization every week. That would be overkill and it would wear out the saucers. My routine is a quick rinse and dry every Sunday. Then, on the first Sunday of the month, I do the full bleach soak. To keep pests from breeding locations, this alternating rhythm works better than a heavy clean every time because you’re not disturbing the plant’s root zone too often.
Quick weekly steps:
- Slide the plant out and empty the saucer into the sink.
- Rinse the saucer with hot water and rub it with a soapy sponge for 20 seconds.
- Dry with a paper towel.
- Wipe the bottom of the nursery pot with a dry towel.
- Put it back.
The monthly deep clean:
- Remove the plant and set it aside on a plate.
- Soak the saucer in 10% bleach solution for 15 minutes.
- Scrub off any remaining scale.
- Rinse thoroughly and air dry.
- Wipe the plant’s outer pot with alcohol.
Long-Term Sanitization Beyond the Saucer
Here’s something nobody tells you. The tray of the hanging spider plant basket needs the same treatment. I have a hanging spider plant that uses a basket liner, and water drips into a catch tray that I almost never looked at. When I finally lowered it, that tray had black mold spots. I had to toss the tray entirely. Now I use a transparent plastic one that I can inspect without tilting my neck.
I also stopped using the same watering can for all my plants. I designate one spout for treating the soil and another just for rinsing leaves. This prevents cross-contamination from the saucer water back into fresh water. I used to dip my watering can spout into the saucer by accident when filling up, which reintroduced pests to the plant from the saucer water.
The Deeper Reason Your Pests Keep Coming Back
Let’s be honest. Even if you sanitize perfectly, you won’t completely eliminate pests if your plant is already stressed. Pests are opportunists. They enter through wounds, stressed roots, or dormant stowaways in the soil. The saucer cleaning is a massive part of the solution, but it’s not the whole solution.
I noticed that when I paired the saucer routine with proper fertilization (a diluted half-strength liquid feed every four weeks) and correct light placement, my plants were building their own natural defenses. The leaves were thicker. The roots were whiter. And the pests ignored them even when I skipped one cleaning session.
The American Horticultural Society notes that healthy plants are less susceptible to pest pressure, and that’s not a vague gardening myth. It’s a biological reality. Stressed plants produce ethylene gas and other volatile compounds that signal vulnerability to insects. So feed your spider plant lightly, keep it in a west or east window, and it inherently becomes stronger.
Why I Recommend a Saucer Swap for Long-Term Sanitation
You can keep sanitizing the same old saucer forever, but if it’s porous, like unglazed terracotta, it will harbor bacteria in microscopic pits. I swapped all my unglazed terracotta saucers for glazed ceramic ones or thick plastic ones. Glazed ceramic doesn’t absorb moisture into the material. Plastic doesn’t either. The sanitation actually works because the surface is non-porous.
I have to admit, I used to love the look of terracotta. The classic orange pot with a matching saucer is iconic. But after months of fighting fungus gnats, I gave up the aesthetic and switched to white glazed ceramic. The best part is that I can see the dirt against the white surface, which forces me to clean it more often. Long-term, that visibility has been my best pest deterrent.
Don’t Forget the Humidity Factor
One last detail. The area around the saucer matters just as much as the saucer itself. I keep a small hygrometer near my plant shelf. When the humidity exceeded 60% for several consecutive days, the saucer stayed damp for longer after watering. That’s the ideal breeding scenario. If you live in a humid climate, you need to empty the saucer immediately, not just after 15 minutes. In my dry apartment, I could get away with waiting an hour. But during the rainy season, the water lingers, so I change my routine to empty and dry within five minutes.
You might think that’s excessive, but once you’ve scraped a colony of tiny white larvae out of a saucer groove, you’ll never want to see it again.
Striking the Right Balance Between Clean and Sterile
I don’t aim for a sterile environment. I aim for a dry environment because most indoor plant pests need moisture to reproduce. When I keep the saucer dry, I’ve eliminated the single largest breeding location in my home. It’s that simple.
The nasty truth is that most spider plant problems start with the saucer, not the plant. I’ve seen plant owners spend hundreds of dollars on organic pesticides only when the real issue is sitting right under the pot. Just start with the saucer. Wash it. Bleach it. Dry it. Do it again in two weeks. That’s the entire game.
My current spider plant is pushing out five baby runners, all because I stopped ignoring the water that collects beneath.
Frequently Asked Questions
Do I need to use bleach every time I clean a pot saucer? No. Bleach is for the monthly deep clean. For weekly maintenance, dish soap and hot water are sufficient to prevent biofilms from forming. The bleach soak every four weeks breaks the reproductive cycle of any eggs that might stick to the surface.
Should I clean a saucer with antifungal spray or neem oil? You can use neem oil, but honestly, plain bleach with a rinse works faster and cheaper. Neem oil leaves an oily residue that can trap dust and actually create a new layer for pests to hide in. Stick with unscented household bleach for the soak.
How quickly will my fungus gnat problem resolve after cleaning the saucer? If you catch it early, within 48 hours you’ll notice fewer flying gnats. But keep up the sticky traps to kill adults. In two weeks, you should see none. If they persist, inspect the soil surface for moss or dead leaves and remove them.





