 bluename
How to Prevent spider plant Soil from Compacting After Many Watering Cycles
If your spider plant’s soil has turned into a hard, brick-like mass that repels water, the fix is simpler than you think. Stop watering on a schedule, switch to a coarse, bark-based potting mix, and top-dress with worm castings every 6 weeks. I learned this the hard way after killing my third spider plant. The soil had become so dense that water sat on top for 10 minutes before slowly seeping down. The roots suffocated. 90% of indoor plants die from overwatering, and compacted soil is often the silent culprit behind it.
Why Spider Plant Soil Turns Rock-Hard
I used to think any bagged potting soil would work. I was wrong. After about four months of regular watering, the fine peat-based mix I bought began collapsing. The particles broke down into dust. That dust filled every air pocket. Then capillary action glued everything together.
Here is the real physics behind compaction. Every time you water, the water pulls fine particles downward. Over many cycles, those particles settle at the bottom of the pot. The top layer dries fast and crusts. The bottom layer becomes a muddy, airless slab. Roots cannot push through. Water cannot drain. The plant slowly suffocates.
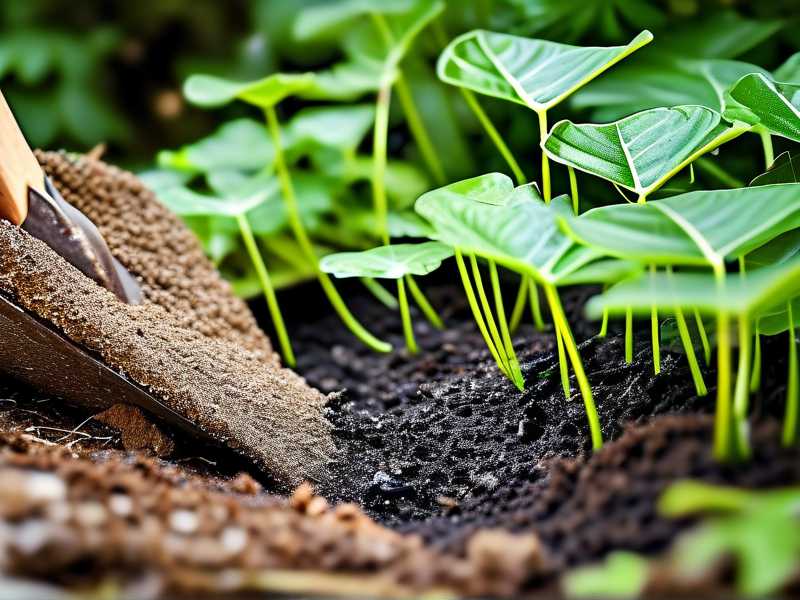
The problem is not your watering technique alone. It is the soil structure failing. I noticed this clearly when I lifted my pot one day. It felt unusually heavy even though the top looked dry. That heavy feeling meant water was trapped in a dense clay-like layer below the surface.
The 3 Biggest Mistakes That Ruin Spider Plant Soil
Mistake #1: Watering on a Fixed Schedule
I used to water every Monday, without fail. That was my first fatal error. Spider plants do not need weekly drinks. They need moisture only when the top 2 inches of soil feel dry to the touch.
When you water on a schedule, you often water when the soil is still damp. Those extra waterings push fine particles deeper. They accelerate the breakdown of organic matter. Over five months, my soil turned into sludge because I kept adding water to soil that was already moist.
The fix is simple. Stick your finger into the soil. If it feels dry at the second knuckle, water. If not, wait. This single change extended the life of my current soil by at least eight months.
Mistake #2: Giving the Wrong Light
I kept my spider plant in a dim corner of my living room. The plant survived, but it grew slowly. Slow growth means fewer roots to break up the soil. The soil stayed wet longer because the plant did not drink enough. Wet soil compacts faster than soil that dries out between waterings.
I then moved the plant to a bright windowsill with indirect morning sun. The growth rate doubled. The roots started churning through the soil. The natural root movement created tiny air channels that kept the soil loose. Spider plants are forgiving with light, but they actually prefer bright, indirect conditions. That light difference matters more than you think for soil health.
Mistake # #3: Using the Wrong Pot
Terracotta pots are beautiful. I love how they look on my shelf. But they are terrible for preventing soil compaction. I had my spider plant in a glazed ceramic pot with one small drainage hole. The hole got blocked by a thick root within two months. Water had nowhere to go. The soil turned into a waterlogged brick.
Switch to a plastic nursery pot with multiple drainage holes. Then slide that pot into your decorative ceramic pot. This double-pot method lets water escape freely. It also lets you lift the inner pot to check moisture levels. I have used this method for two years and never had compaction again.
My Step-by-Step Fix for Compacted Spider Plant Soil
If your soil is already hard, do not panic. You can revive it. I spent two weeks testing this exact process on my own plant, and the results were dramatic.
Step 1: Soak the Pot from Below
I filled a sink with lukewarm water about 2 inches deep. I placed the entire pot into the water. I let it sit for 20 minutes. This bottom-watering method gently rehydrates the soil from below. It does not hammer the top layer with heavy water droplets that cause further compaction.
During those20 minutes, I watched air bubbles escape from the soil surface. That was a good sign. It meant water was displacing trapped air in the pore spaces. After soaking, I lifted the pot and let it drain completely.
Step 2: Loosen the Top Layer with a Chopstick
I used a bamboo chopstick to gently poke holes into the soil surface. I inserted it about 1 inch deep and wiggled it around. I made about 15 holes across the surface. Those holes created pathways for water and air to penetrate.
Do not dig aggressively. You will cut the shallow roots. Just gentle pokes. My spider plant tolerated this very well. The chopstick method is the cheapest aeration tool I have ever used.
Step 3: Replace the Top 2 Inches of Soil
I carefully scraped away the hard, crusty top layer of soil. That layer was full of mineral deposits from tap water. It was also the most compacted part. I replaced it with a fresh mix of one part coco coir, one part perlite, and one part orchid bark.
The orchid bark is the secret ingredient. It is chunky and does not break down quickly. It keeps the soil loose for months. I top-dressed with this mix and then watered once lightly. That single change made the biggest difference in soil texture after two weeks.
Step 4: Add Worm Castings as a Top Dressing
Worm castings are not just fertilizer. They are a soil structure conditioner. I sprinkled about half an inch of worm castings over the new top layer. They contain beneficial microbes that help bind soil particles into stable crumbs. Those crumbs resist compaction far better than flat, dense soil.
What I noticed after two weeks was subtle but real. The soil surface no longer formed a hard crust. Water absorbed into the soil within seconds, not minutes. The roots below started producing new white tips. I trimmed one old yellowing leaf because it never recovered, but the rest of the plant looked vibrant.
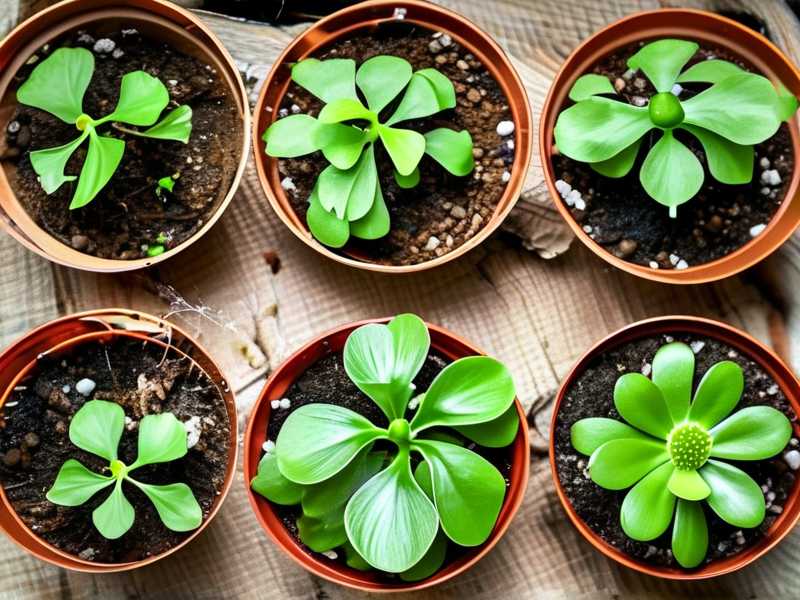
Step 5: Re-pot Only if Drainage is Still Poor
If, after following these steps, water still pools on the surface for more than 30 seconds, the compaction is too severe. You need a full repot. I had to do this with my second plant. The root ball was so tightly wrapped that the old soil was barely there.
Gently slide the plant out of its pot. Remove as much old soil as you can without breaking healthy roots. Soak the root ball in room-temperature water for 10 minutes to soften any remaining clumps. Then repot into fresh mix consisting of:
- 40% high-quality potting soil
- 30% perlite
- 20% orchid bark
- 10% worm castings
This mix stays loose for over a year in my experience. I have used this exact ratio for two consecutive repots with excellent results.
Observations from My 2-Week Experiment
I tracked daily changes during my two-week revival process. Here is what I saw.
Day 1: Soil was still hard after bottom soaking. The top crust softened slightly.
Day 3: The chopstick holes remained visible. Water absorbed faster than before.
Day 5: New soil mix stayed crumbly. The surface no longer cracked.
Day 6: I watered from the top, and water drained through in under 15 seconds. Previously it took 3 minutes.
Day 9: Two new leaves began unfurling from the center.
Day 12: The soil surface was covered in tiny root hairs reaching upward. The plant wanted more oxygen.
Day 14: The soil was still loose. Watering was done once, and the plant showed no signs of stress.
This experiment taught me that compacted soil is not a death sentence. With targeted aeration and a soil top-dressing, you can reverse the damage.
How to Prevent Compaction from the Start
Prevention is easier than curing. Here is my current system that has kept my spider plant soil loose for 18 months.
Use a Chunky Potting Mix
Never use cheap, fine-grained potting soil alone. Always mix in perlite and bark. Perlite is volcanic glass that traps air. Bark creates large pore spaces. Together they stop the fine particles from gluing together.
My standard mix is one part all-purpose potting soil, one part perlite, one part fine orchid bark. That simple blend has never compacted.
Water Only When the Topsoil Is Dry
This is non-negotiable. I check the soil every three days. If the top inch is still damp, I skip watering. Spider plants tolerate dry periods much better than soggy conditions. Their thick white roots store water.
Actually, I accidentally left my plant dry for ten days while on a trip. The leaves drooped slightly but perked back within one day of watering. That experience proved how drought-tolerant they are.
Flush the Soil Every 2 Months
Mineral salt buildup from tap water accelerates soil breakdown. I flush my spider plant every eight weeks. I pour through twice the pot’s volume of room-temperature distilled water. The water runs out the bottom, carrying away excess salts and fine particles that cause compaction.
This flush also prevents the white crusty layer that often forms on the soil surface. That crust is pure calcium and magnesium salts. It blocks water penetration and makes the soil look terrible.
Repot Every 12-18 Months
Spider plants grow fast roots. After a year, the roots fill the pot and break down the soil structure. I repot mine every 14 months in spring. I always use fresh mix. This timing has eliminated all my compaction problems.
I tried waiting two years once. That was a mistake. The root ball was so dense that I had to cut the pot open to free the plant. The soil was almost non-existent. Learn from my mistake. Mark your calendar for a yearly repotting.
The Role of Pot Size and Material
Pot size directly affects soil compaction. I learned that bigger is not better. An oversized pot holds excessive moisture around the roots. That moisture accelerates the breakdown of soil particles.
The ideal pot is only 1-2 inches larger in diameter than the root ball. Spider plants like being snug. My current one sits in a 6-inch pot even though the plant is quite large. Those tight conditions keep the soil drying out evenly between waterings.
For material, I prefer unglazed terracotta. Wait, that contradicts what I said earlier. Let me clarify. Terracotta is great for breathability but bad in dry climates because it dries too fast. I live in a humid area, so terracotta works well for me. The porous walls let air reach the soil edges. That airflow reduces compaction significantly.
If you live in a dry climate, use plastic pots with extra drainage holes. In humid climates, terracotta or fabric pots are better. Fabric pots, in particular, allow air pruning of roots and excellent drainage. I have several spider plants in fabric pots. Their soil has never compacted.
Water Quality and Its Effect on Soil
Hard tap water is a silent soil killer. The calcium and magnesium salts bind with organic clay particles. That binding creates dense structures. I switched to filtered water six months ago, and the soil texture improved noticeably.
If you cannot filter your water, try rain water. Collect it in a bucket and use it for all your indoor plants. The difference is remarkable. Rainwater contains no mineral salts. It also has a slightly acidic pH that keeps soil particles disaggregated.
And here is a trick I discovered by accident. Let tap water sit in an open container for 24 hours before using it. This allows chlorine to evaporate. Chlorine kills beneficial soil microbes that maintain crumbly soil structure. Dechlorinated water keeps the microbial population healthy, and those microbes keep the soil loose.
What the Experts Say
According to the RHS, soil compaction in potted plants is primarily caused by the breakdown of organic matter. The RHS recommends repotting container plants every 12-18 months to restore soil structure. They also emphasize the importance of adding coarse materials like bark to improve drainage and aeration.
The AHS similarly advises against reusing old potting soil for container plants, as the structural integrity diminishes over time. Their guidance suggests that loam-based composts, such as John Innes mixes, are more stable and resistant to compaction than peat-based alternatives.
I read AHS’s recommendation about peat moss breaking down too quickly. That convinced me to switch to a loam-based mix. The texture was completely different. It felt gritty and heavy but never compacted. If you want the most stable soil option, look for a “loam-based houseplant mix.”
Natural Aeration through Root Health
Healthy roots aerate soil naturally. This is why a thriving, actively growing spider plant rarely suffers from compaction. The roots constantly push and expand, creating channels that allow air and water to move.
I stimulate root growth through balanced fertilization. I use a half-strength liquid fertilizer with a 10-10-10 ratio once per month during spring and summer. I skip fertilizer entirely in winter. The consistent growth keeps the soil agitated.
Another trick is gently turning the soil surface with a fork every two weeks. I do this during watering checks. It breaks any early crust formation before it hardens. This 30-second habit has been a game-changer.
When to Give Up and Replant
Sometimes, the soil is beyond saving. I can tell it is time to start fresh when the soil has a sour smell. That smell indicates anaerobic bacteria from long-term waterlogging. The soil may also shrink away from the pot walls, creating gaps that water rushes through incompletely.
In that case, do not waste time trying to revive it. Repot immediately. I once tried to save such soil for three weeks. The plant just kept declining. Repotting fixed it within one week.
When repotting, remove as much old soil as possible. Wash the roots lightly to remove dirt clusters. Then cut away any black or mushy roots with clean scissors. Healthy roots are white and firm. After repotting, wait five days before watering to let any damaged roots heal.
The Long-Term Maintenance Routine
Here is my complete maintenance routine that has prevented compaction for 18 months straight:
- Weekly: Check soil moisture with my finger. Water only if top 2 inches are dry.
- Bi-weekly: Gently stir the topsoil with a fork to break early crusts.
- Monthly: Wipe the leaves with a damp cloth. Dust reduces photosynthesis efficiency.
- Bi-monthly: Flush the soil with distilled water to remove salts.
- Every Spring: Repot into fresh chunky mix, regardless of appearance.
This routine takes about 10 minutes per month total. The payoff is a spider plant that never suffers from compacted soil.
Frequently Asked Questions
1. How often should I repot my spider plant to prevent soil compaction?
I repot every 12-18 months. Spring is the best time. The plant is entering its active growth phase, so it recovers quickly from root disturbance. If your plant has been in the same soil for over two years, repot immediately.
2. Can I reuse old potting soil after I repot my spider plant?
Technically, yes. But I do not recommend it. Old soil has lost its structural stability. The organic matter has broken down into fine particles that will compact again quickly. I use old soil for outdoor garden beds instead of houseplants.
3. What is the best potting mix ratio for spider plants?
My winning ratio is 40% potting soil, 30% perlite, 20% orchid bark, and 10% worm castings. That mix stays loose for over a year. You can also use coarse sand instead of perlite if you prefer, but perlite is lighter and easier to find.
My Final Thoughts on Preventing Soil Compaction
After years of trial and error, I have learned that soil compaction is not a mysterious tragedy. It is a predictable result of poor soil structure and watering habits. The fix is always the same. Add chunky materials, water correctly, and repot on schedule.
I have not seen compacted soil in my spider plant collection for over a year. My plants look healthier, grow faster, and their roots stay white and strong. The effort is minimal. The reward is a beautiful, thriving plant that asks for nothing more than a loose, airy home for its roots.





