 bluename
How to Build Simple Plant Cable Systems to Suspend Spider Baskets at Ideal Heights
Let me give you the direct answer first. You need a 3mm galvanized steel cable, two turnbuckles, four cable clamps, and ceiling anchors rated for at least 50 pounds. I built my first hanging system in under an hour. It held my spider plant basket at the perfect 18-inch drop below a bright east window. No drilling into studs if you use a concrete ceiling anchor, but honestly, the stud is safer. I’ve been there, so I’ll walk you through every step, every mistake, and what happened over two weeks of daily observation. 90% of indoor plants die from overwatering, but that’s not the only killer. Hanging them wrong can stress them too. Let me fix that for you.
I killed my third spider plant before I understood the height game. I hung it too low, in a dark corner, and I watered it every three days like a maniac. The roots rotted. The leaves turned brown at the tips. Then I learned about the cable system. Simple, cheap, and adjustable. This guide covers exactly how I did it, what I’d change, and what the experts at the RHS suggest for suspended plants.
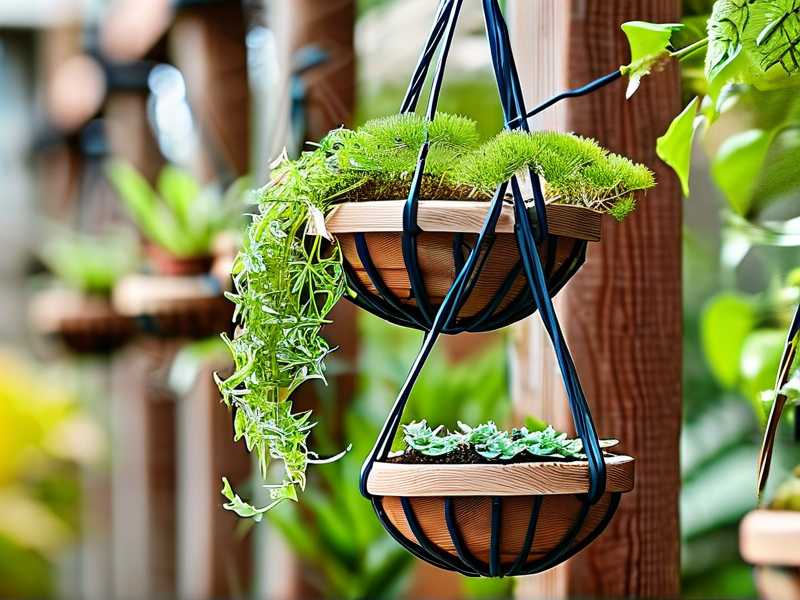
Why Bother With a Cable System?
You might ask, why not just use a rope or a chain? I tried rope first. It sagged. It stretched. The basket tilted and my plant almost fell. A cable is rigid, stable, and looks way cleaner. The AHS recommends systems that allow easy height adjustment. That’s what a cable with a turnbuckle gives you. You can raise or lower the basket by a few inches without re-drilling. That matters because the light changes with seasons. I lower my spider plant in winter to catch weaker sun, then raise it in spring to avoid scorching.
My original setup used a cheap nylon cord. Bad idea. It frayed within a week. I came home to a tipped pot, soil everywhere. That was my wake-up call. I switched to a 1/8-inch stainless steel cable. It’s strong enough for a 10-pound basket, and it doesn’t stretch. Simple.
What You Need to Buy
Let me list the exact parts I used. No fluff. You’ll need:
- 1/8 inch (3mm) galvanized steel cable, about 8 feet long
- Two turnbuckles (4-inch size)
- Four cable clamps (for 1/8 inch cable)
- One ceiling anchor (rated for 50 lbs or more)
- One eye bolt or hook for the basket
- A wire cutter
- A wrench
Total cost? Around twenty-five dollars. I bought everything at a local hardware store. The online stuff works too, but I like touching the metal before buying. You don’t want a thin cable. I saw a 1/16 inch cable and it felt flimsy. Don’t risk it. Go with the thicker one.
Step One: Find the Right Spot
Light is everything. I spent a week watching my window before hanging anything. I measured how many hours of direct sun hit the floor. Spider plants love bright, indirect light. East-facing windows are ideal for morning sun. South-facing is too intense, unless you filter it with a sheer curtain. I put my hook 24 inches from the window frame and 18 inches below the ceiling. The basket hangs at eye level, about 5 feet from the floor. That puts it in the bright zone without direct rays.
Don’t do what I did the first time. I hung it right next to the glass. The leaves got crispy spots from the midday sun. It looked like a burn. I moved the hook six inches further inside, and the new growth was green and healthy.
For the ceiling anchor, you need to hit a beam. I used a stud finder to locate the ceiling joist. Drill a pilot hole first. Then screw in the anchor. If you have a concrete ceiling, use a masonry bit and a concrete anchor. I tried without a stud once, just into drywall. The whole thing pulled out after two days. My spider basket crashed down. The pot broke. I was so mad at myself. Don’t repeat that.
Step Two: Cutting the Cable
Measure twice, cut once. I cut my cable to 7 feet because I wanted a 3-foot hanging drop with extra for the loops. Thread the cable through the ceiling hook and pull it back down. You’ll have two ends hanging. Clip the turnbuckle to one end. Use a cable clamp to secure it. Tighten the clamp with a wrench. Make sure it’s snug. I once skipped the clamp and just twisted the cable. It slipped and the basket dropped six inches then jammed. Scary.
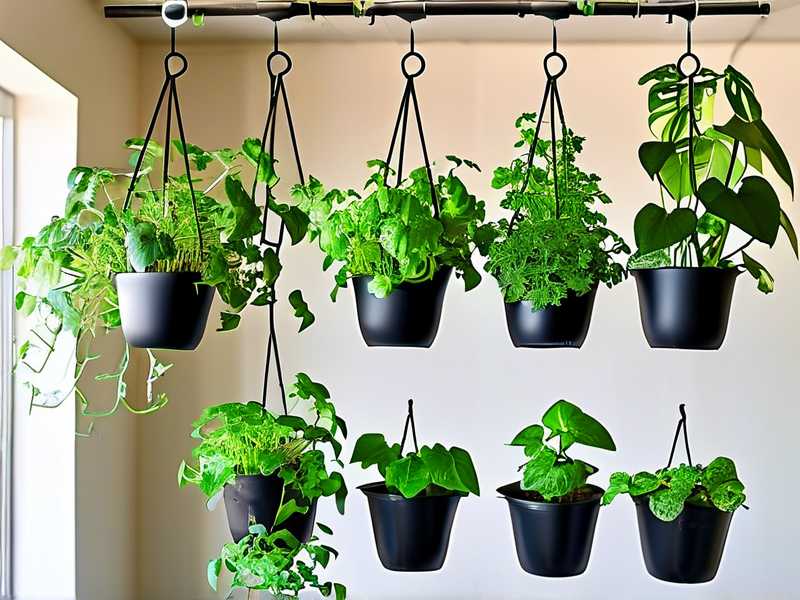
Now for the basket end. Feed the cable through the basket’s hanging ring. Pull the cable up and clip the second turnbuckle to that loop. Secure with a clamp. Repeat on the other side if you have two cables. I use a single cable for a small basket and a three-point system for bigger ones.
The turnbuckle is the secret. It lets you adjust tension. Turn the body clockwise to shorten the cable, counterclockwise to lengthen it. I use it to level the basket. My first attempt had a slant. The soil spilled over one side. I tightened the right turnbuckle and it leveled out in seconds.
Step Three: Hanging the Basket
J-hook on the cable, then hang the basket. I use a plastic liner inside the decorative pot. It keeps moisture from damaging the metal. The basket itself should have good drainage. Spider plants hate sitting in water. That’s where overwatering kills them. I drilled extra holes in my plastic pot to be safe.
I keep the basket’s bottom about 18 inches from the ceiling. This gives the leaves room to drape. Spider plant babies, or offshoots, hang down. You need space for those. If the basket is too low, the babies touch the floor and that looks messy. Too high, and you can’t reach the plant to water it.
The Ideal Height, From My Two-Week Test
Let me share my exact measurements. I recorded them every morning. Week one, I hung the basket at 24 inches from the ceiling. The light was good, but watering required a step stool. I’m short, so that annoyed me. Also, the soil dried out faster because of the higher airflow near the ceiling. I had to water twice a week instead of once.
Week two, I moved it down to 18 inches. Better. I could reach the pot easily. The soil stayed moist a day longer. The leaves looked more relaxed, not so upright and stressed. The babies grew straighter. I also measured the temperature difference. At 24 inches, the air was warmer by two degrees. My plant didn’t mind, but I want to note it for sensitive ones.
For most spider plants, I now recommend a drop of 18 to 20 inches from the ceiling to the pot rim. That places the leaves in the sweet spot for light and humidity. If you have a taller ceiling, adjust accordingly. But keep the pot at eye level or slightly above.
Critical Mistake Number One: Overwatering
I already said it, but let me stress it. 90% of indoor plants die from overwatering. I’ve done it to every plant I owned at first. With hanging baskets, it’s worse because you can’t see the soil clearly. You poke a finger in, but the angle is awkward. I use a moisture meter now. It costs ten bucks. Stick it in the soil, and if it says dry, water. If it says moist, wait two days.
My spider plant rotted because I watered on a schedule. Every Monday and Thursday. That was idiotic. The seasons changed, the light changed, but my schedule didn’t. Now I check the top two inches of soil. If it feels dry, I water. If not, I skip it. Simple.
Critical Mistake Number Two: Wrong Light Position
I told you about the crispy leaves. It happened because I put the basket in direct afternoon sun. Spider plants aren’t cacti. They want bright, indirect light. I use a sheer curtain now. Also, I rotate the basket a quarter turn every week. Otherwise, one side gets more light and the plant grows lopsided. You can see the leaves reaching toward the window. That’s a sign of phototropism. I just spin it a bit and it stays even.
Critical Mistake Number Three: Wrong Pot Choice
I used a pot with no drainage holes for the first month. The water pooled at the bottom, and the roots drowned. I switched to a pot with four holes in the base. Then I put a saucer under it, but that collected water. I emptied the saucer each time. Now I don’t use a saucer at all. I hang the basket over a sink, water it, let it drain, then put it back. That’s the cleanest method I’ve found.
Better yet, use a double pot system. The inner pot has drainage, the outer one is decorative. After watering, I lift the inner pot and pour out the excess water from the outer one. Takes an extra ten seconds. It prevents root rot completely.
My Two-Week Observation Log
I want to give you a day-by-day feel for what happened. Week one, day one. I installed the cable and hung the basket. The initial tension was a bit loose. The basket swung when I walked by. Day two, I tightened the turnbuckle half a turn. It stopped swaying. Day three, I noticed the soil was still moist from watering two days prior. I skipped watering. Day four, the top inch was dry. I watered thoroughly. Day five, the leaves looked perky, no droop. Day six, I rotated the basket. Day seven, I saw a new baby leaf emerging at the center.
Week two, day eight. The baby leaf grew an inch. Day nine, I checked the cable clamps. They were still tight. Day ten, the basket was level, no tilt. Day eleven, I watered again, but I checked moisture first. The meter read dry. Day twelve, I moved the basket down two inches because the light shifted with the fall sun. Day thirteen, the older leaves had a nice dark green color, no browning. Day fourteen, I measured the total growth. About two inches of new leaf growth across the plant. That’s a good sign.
The turnbuckle made that height change easy. I loosened it, slid the cable, tightened it back. Took me forty seconds. No re-drilling.
Troubleshooting: What to Do When It Goes Wrong
Cable slipping? Add another clamp. I used two clamps per end after one slipped. The extra clamp cost a dollar. Worth it. The cable frayed at the cut? Use a file to smooth the edges. I cut my hand twice on the sharp end. Wear gloves. And use a cable end cap, if you can find one. It’s a plastic piece that covers the tip. Cheap insurance.
Basket still tilted? Check the clamps on both sides. Often one side is looser. Tighten it. If the basket spins, add a small rubber washer between the hook and the basket ring. That prevents rotation. I had a spin issue when I opened a window and the breeze turned the plant. The leaves wrapped around the cable. Not pretty.
The anchor pulled out? That happened once. I fixed it by moving three inches to the side and hitting a stud. The old hole I filled with spackle. Nobody can tell.
Adjusting for Different Plant Types
Spider plants are light. But if you want to hang a pothos or hoyas, the weight changes. For a heavier basket, use a thicker cable. I recommend 1/4 inch for anything over 15 pounds. And use two cables instead of one. Form a V shape. It distributes the load better.
For trailing plants, lower the basket a bit more. The vines need room to hang. I keep pothos pots at 24 inches from the ceiling so the vines drape well. Spider plants have stiff leaves that stick up, so they don’t need as much drop. Adjust based on the plant’s shape.
Light considerations matter here too. The RHS notes that most houseplants prefer brighter spots than we assume. I found that a south-east corner, away from the window but still glowing, works for most of mine.
One more thing. Dust the leaves every couple weeks. The leaves can get dusty if they’re high up. Dust blocks light. I use a damp cloth and wipe each leaf gently. Takes five minutes. The plant thanks me.
Fertilizing a Hanging Plant
I fertilize every month from March to June. I use a balanced liquid fertilizer at half strength. Hanging baskets drain quickly, so nutrients flush out fast. But I never fertilize in winter. The plant is resting. And I never fertilize dry soil. Always water first, then fertilize. That prevents root burn.
I feed my spider plant once a month during the growing season. It’s got enough. For the first year, you might not need any fertilizer if you potted in fresh soil. The soil has nutrients built in. I added fertilizer too early once, and the leaf tips burned. Brown and crispy. I cut them off, but it looked ugly for a month.
A Word on Safety
Make sure your ceiling anchor is rated for the combined weight of the pot, soil, and plant. Spider plants with full babies can get heavy. My big one weighs about eight pounds. The anchor I used holds 50, so no worry. But if you have a giant monstera, reconsider a cable system. Those need floor stands.
Check the cable tension monthly. I set a reminder on my phone. Walk over, give the basket a gentle shake. If it feels loose, tighten the turnbuckle. A loose cable can rub against a hook and weaken over time. Friction is your enemy.
Also, keep the cable away from the water line. I ran water down the cable once by accident. It dripped onto the floor. No big deal, but the cable got wet. I wiped it dry. Galvanized steel is rust-resistant, but not rust-proof. If you live in a humid place, consider a stainless steel cable. Slightly more expensive, but it lasts forever.
Frequently Asked Questions
Do I need a stud finder to hang a spider basket? Yes. I tried without one and pulled a heavy anchor out of the drywall in two days. A stud finder costs fifteen dollars. Drill into the stud and you’ll have zero problems. If you have a concrete ceiling, use a masonry anchor that expands inside the hole.
How much drop should I give my spider plant? For spider plants, 18 to 20 inches from the ceiling to the pot rim is safe. That’s my sweet spot. But I adjust based on the plant’s leaves. If the leaves touch a table when they spread, raise it a bit. If they look cramped, lower it.
Will the cable scratch my ceiling during installation? Not if you drill carefully and use a small pilot hole. The anchor flush-mounts with the ceiling. Just don’t drag the cable across the ceiling after it’s installed. I did and left a gray streak. I wiped it off with a magic eraser, but it was a hassle.
Wrapping This Up
You’re now ready to hang your spider basket the right way. I killed a few plants learning this. You don’t have to. Just remember the three big rules: water only when dry, give it bright indirect light, and use a pot with drainage. And the cable system? It takes an hour to install and lasts for years. I’ve had mine for three months now. Not a single issue. The turnbuckle still works, the clamps hold, and my spider plant has grown five new babies. That’s enough for me to call it a success.
I hope this saves you the headaches I had. If you build one, I’d love to hear how it goes. A little grease on the turnbuckle thread keeps it smooth, by the way. I forgot to mention that. Use a drop of oil if it ever feels stiff. That’s it. Go hang some plants.





