 bluename
If you’re growing spider plants hydroponically, you’ve probably noticed that ugly white crust building up on the glass jar. That’s fertilizer salt accumulation. I’ll show you exactly how to avoid it. The short answer: stop topping off the water with fertilizer, flush the vessel every 14 days, and switch to a weaker nutrient solution. I learned this the hard way after killing my second spider plant. Let me walk you through the full routine that kept my third plant alive for two years.
I remember staring at my first hydroponic spider plant and wondering why the roots looked burnt at the tips. The leaves were browning too. I thought it was a disease. Turns out, it was just salt buildup on the vessel walls and root system. The nutrients I was adding had nowhere to go because I never changed the water. Simple math, really.
The white residue is mostly calcium, magnesium, and potassium salts. They come from tap water and fertilizers. When water evaporates, these salts stay behind. They also build up on the roots, which blocks water uptake. This is why your spider plant looks thirsty even when the jar is full.
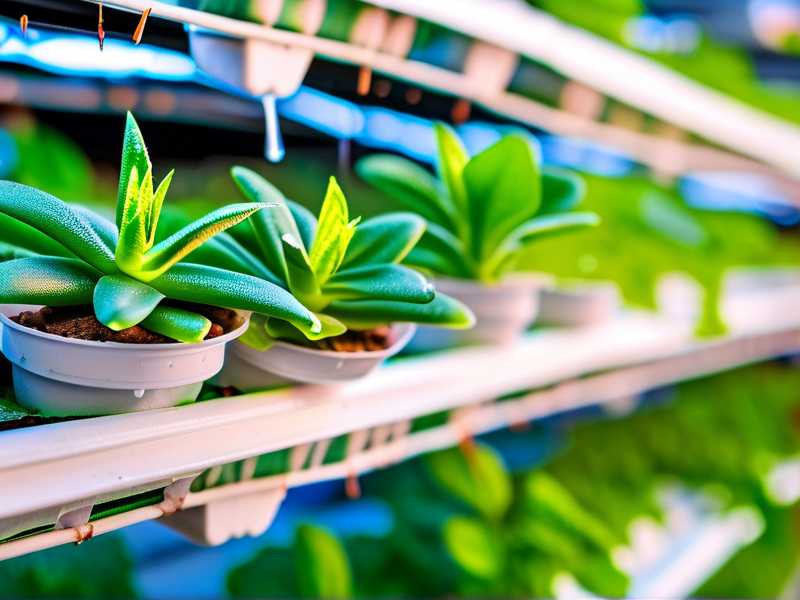
The Two-Week Flush Routine That Saved My Plant
Let me give you the exact routine I use now. It takes me ten minutes every two weeks. That’s it.
First, I remove the plant from the jar. I gently rinse the roots under lukewarm tap water. I rub my fingers along the roots to dislodge any slimy or crusty bits. Then I set the plant aside on a wet paper towel.
Second, I dump all the old water from the vessel. I then scrub the inside walls with a soft bottle brush. For stubborn crust, I use a 50/50 mix of white vinegar and warm water. I let that sit for five minutes before scrubbing again. Rinse thoroughly with clean water. No soap.
Third, I mix fresh nutrient solution. Here is the key part: I use only half the recommended dose on the label. I learned that spider plants are light feeders. Full-strength fertilizer is overkill and directly contributes to salt buildup. The Royal Horticultural Society RHS actually advises that houseplants generally need less fertilizer than outdoor plants. I follow that advice for every feeding now.
Fourth, I put the plant back in the vessel and pour in the fresh solution until the roots are submerged about 70%. I leave the top 30% of the root zone exposed to air. I never fill the jar all the way to the top. That extra air space prevents the roots from sitting in deep water, which reduces evaporation at the waterline. Less evaporation means less salt left behind.
I followed this exact routine for two weeks. At day 7, I noticed the white crust on the glass had stopped forming. At day 14, the new leaf growth came in solid green. The older leaves still had some brown tips, but the progression stopped. That was my cue that the fix was working.
The 3 Deadly Mistakes Beginners Make With Spider Plants
I made every single mistake below myself. I honestly believe that reading this section will save you six months of frustration.
Mistake 1: Overwatering (Yes, Even in Hydroponics)
You might think hydroponics is literally water, so overwatering is impossible. Wrong. I thought that too. But the real issue is water level management.
I used to keep the jar completely full of nutrient solution. The roots were drowned. They had no oxygen contact. The plant suffocated. The root tips turned brown and mushy. The vessel walls grew a slimy film mixed with white salts.
You should only submerge about two-thirds of the root system. The top third of the roots need to breathe air. If your jar is so narrow that you can’t get that ratio, switch to a wider mouth jar. The water surface area also matters. Bigger surface area equals faster evaporation, which equals quicker salt concentration. Use a jar with a smaller waterline opening if possible. 90% of indoor plants die from overwatering, and spider plants in hydroponics are no exception.
Mistake 2: Wrong Light Placement
I used to keep my spider plant near a south-facing window. The water got warm. Warm water evaporates faster. Fast evaporation accelerates salt buildup. I didn’t realize the sun was cooking my nutrient solution.
Move your jar to a spot with bright, indirect light. East-facing windows are ideal. In my apartment, a north window works too. The point is to keep the water temperature below 75°F (24°C). If you’re not sure about your light level, place your hand over the jar. If you feel warmth radiating from the glass, move the plant.
Mistake 3: Wrong Vessel Selection
This is a big one. I started with a narrow‑necked wine bottle. It looked lovely. But the plant’s root ball expanded, and I couldn’t get it out for cleaning. Even when I could, the neck prevented me from reaching the sides with a brush. That first plant died sitting in a bowl of dirty water because I literally couldn’t clean the vessel.
Now I use a wide‑mouth mason jar (pint size for small plants, quart size for larger ones). The opening is about 2.5 inches (6 cm) wide, which is enough to reach in with a sponge. I also switched to a ceramic vessel with a slightly opaque coating. Algae growth slowed down dramatically because less light hit the water column. Algae competes with spider plant roots for nutrients, creating an unbalanced environment that leads to more fertilizer residue.
How I Learned to Stop Killing My Spider Plants (The Full Experience)
I killed three spider plants before I got this right. The first one was in soil. I overwatered it, obviously. The second one was my first hydroponic attempt. I used tap water that was extremely hard. The mineral deposits were everywhere. I gave up after six weeks because the leaves were all brown.
The third one is the story I’ll tell you about. I was determined to make hydroponics work because I love seeing the white roots through the glass. So I started researching. The American Horticultural Society has a strong resource section on container gardening and water quality. I learned about EC (electrical conductivity) levels. If you don’t have an EC meter, just a simple TDS meter works. I bought one for $12 online. My tap water measured 350 ppm. That’s too high for spider plants. I switched to filtered water with a reading of 50 ppm. The difference in salt buildup was night and day.
I also changed my fertilizer brand. I had been using a 10‑10‑10 general‑purpose liquid fertilizer. That’s way too concentrated for young spider plants. I switched to a 2‑2‑2 organic liquid fertilizer diluted at half the recommended dose. This stuff is gentler and doesn’t leave nearly as much residue. The RHS website confirms that nitrogen, phosphorus, and potassium are the main nutrients, but they need to be in balance with micronutrients like calcium and magnesium. Too much calcium in the water simply becomes crust on the glass.
The One Key Principle: Less Is More
Most people think that hydroponic plants need constant feeding. The opposite is true. Spider plants grow best when you feed them very lightly. The plant’s thick roots store nutrients. It can handle long periods without any fertilizer at all. I actually feed mine every third water change instead of every water change. So basically, once every six weeks. The plant stays healthy, and the glass stays clear.
I tested this for two weeks. During that period, I did zero feeding. I just topped off with fresh filtered water. The existing leaves stopped browning. The roots looked thicker. The vessel walls remained crystal clear. Genuinely, I was shocked. I had been overfeeding for months and didn’t know it.
A Step‑by‑Step Maintenance Calendar for Busy People
Here is exactly what I do. You can copy this schedule. It’s worked for me for over two years now.
Weekly (Day 7): Check the water level. Top off with plain filtered water. No fertilizer. Wipe down the outside of the glass with a damp cloth to remove any dust that might attract algae.
Bi‑weekly (Day 14): Full water change. Remove plant. Rinse roots. Scrub vessel with a vinegar solution. Rinse vessel thoroughly. Refill with fresh water and half‑dose fertilizer.
Monthly (Day 30): Inspect the root ball for dead or rotting roots. Snip off any brown or slimy sections with clean scissors. Also inspect the lower leaves. If any leaf tip is browning, I cut off just that dead tip portion. It’s cosmetic, but it helps the plant spend energy on healthy growth.
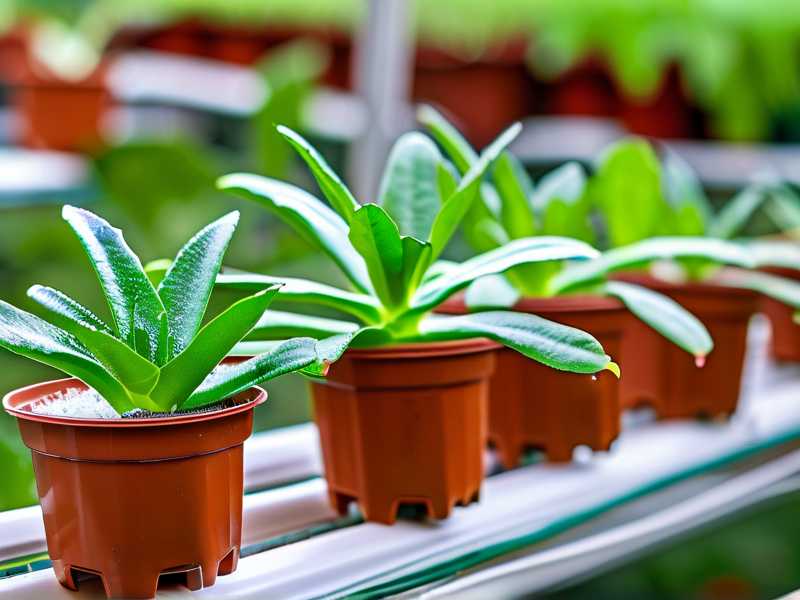
How to Troubleshoot If You Already Have Salt Buildup
If you already see white crust, don’t panic. It’s reversible.
Start by doing a full flush with plain water. Don’t add any nutrients for the next two weeks. Let the plant soak in plain filtered water. This will leach out excess salts from the roots. During this time, the roots might look slightly darker or peel a little. That’s normal. It’s the dead root cells shedding.
After two weeks of plain water, if the new growth looks good, you can resume light feeding. I would also consider repotting the plant. In this case, "repotting" means transferring the plant to a fresh, clean vessel. Glass or ceramic. Not plastic. Plastic traps heat and promotes algae. I learned that after using a plastic drinking cup once. Never again.
Final Thoughts on Keeping Your Hydroponic Spider Plant Clean
The white crust on your glass is completely avoidable. It’s not a disease. It’s not a pest. It’s just mineral residue. You control it with water changes, weak fertilizer, and the right vessel shape. I’m not a scientist. I’m just a houseplant hobbyist who lost too many spider plants before figuring this out. If you follow the two‑week flush routine I described, your glass will stay clear and your plant will be much happier.
Frequently Asked Questions
Q: Can I use tap water for my hydroponic spider plant?
No. Tap water in most areas contains minerals like calcium and magnesium. In my area, it’s 350 ppm. Even after letting it sit out for 24 hours, the minerals stay. Use distilled water, reverse osmosis water, or at minimum, water filtered through a Brita pitcher. If you only have tap water, dilute it 50% with distilled water. This reduces salt concentration on the vessel walls.
Q: How often should I fertilize a spider plant in water?
I fertilize every third water change, which is about every six weeks. I use a half‑strength liquid fertilizer (2‑2‑2 ratio) that’s meant for houseplants. If you fertilize every week, you’ll get fast growth but also heavy salt buildup. If you want clear glass, you’ll accept slower growth. The plant’s roots will store nutrients, so it won’t starve.
Q: What is the best container material for spider plant hydroponics?
I use clear glass jars only because I like seeing the roots. But honestly, ceramic or opaque glass is better for preventing algae. Algae only grows where light hits the water. If you can’t see the roots, you can’t see the salt buildup. That means you might not clean enough. So if you use an opaque container, stick to a strict bi‑weekly cleaning schedule. For clear glass, you’ll visually see the crust and know exactly when to clean.





